


Installing OpenJDK 14
Ubuntu 20.04 includes the latest version of JDK latest (ver. 14 at the time this article was written) in the official Ubuntu repository.
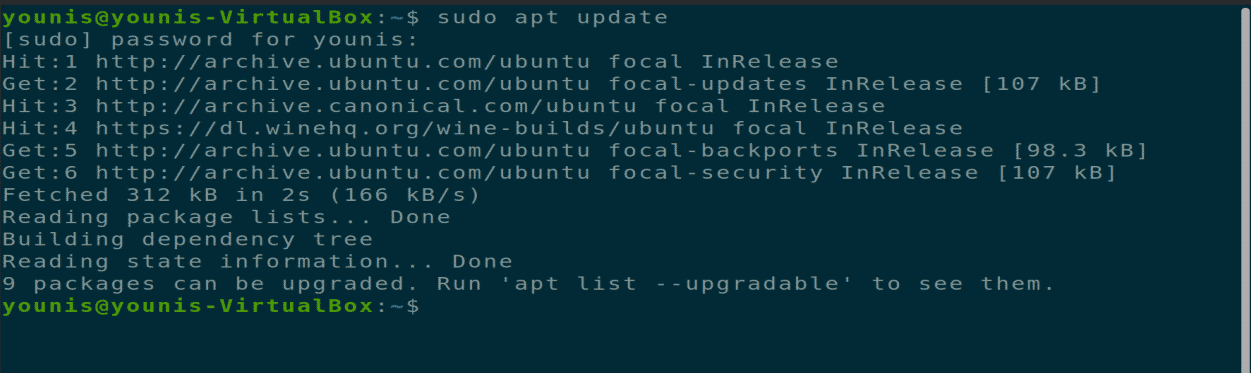
Step 1: Update APT
As always, first, update and upgrade your APT through the following command.

Step 2: Download and Install JDK Kit
Next, download and install the latest JDK kit using the given terminal command.

Step 3: Check Installed JDK Framework
You can check the installed JDK framework on your system using the following terminal command.
Now, you have successfully installed the JDK package. This package includes JDK, JRE (Java runtime environment), and the 64-bit Server VM.

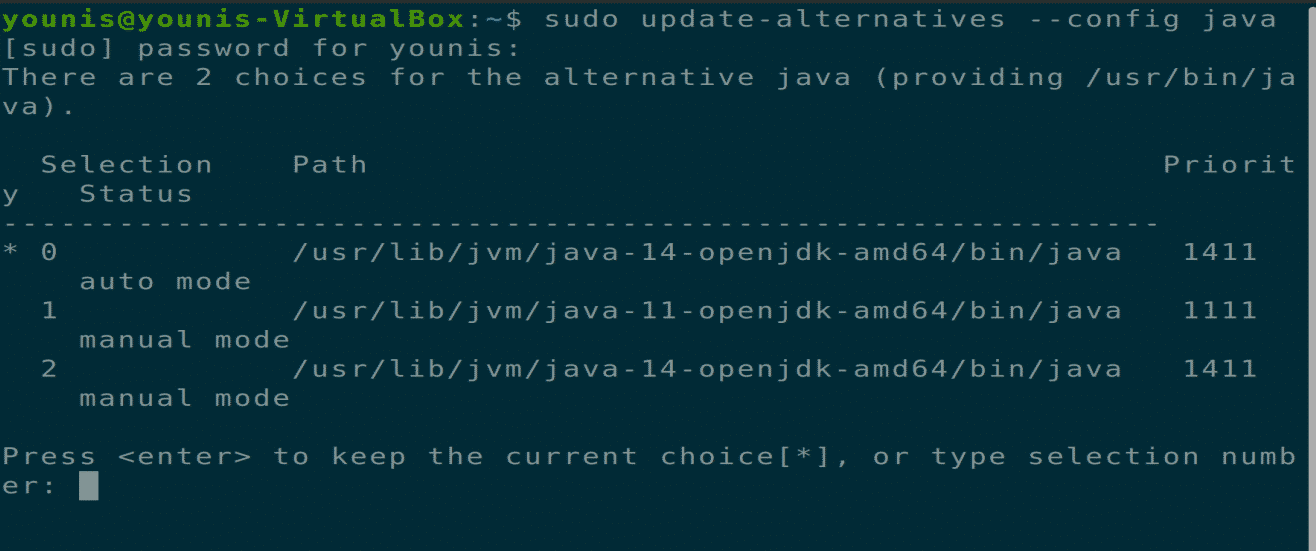
Step 4: Update Path to JDK (Optional)
Now update the path to the latest JDK package using the following terminal command. This step should be performed when there are multiple JDK versions installed on the Ubuntu machine. Since the current version (at the time this article was written) is JDK 14, select JDK 14 from this list.
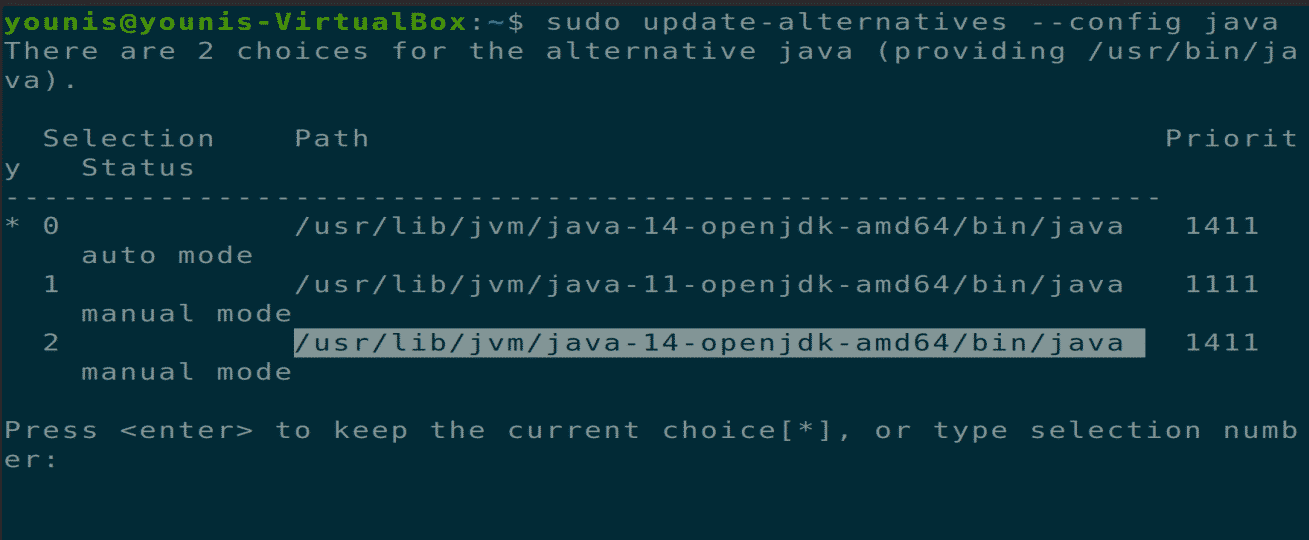
Select the JDK14 version in the list and continue to the next step.
Step 6: Set Up Environment Variable
The JAVA_HOME environment variable must be set up before using dependent applications. Use the following terminal command to find the java installation path.
Find the path to JDK 14 and copy this path.
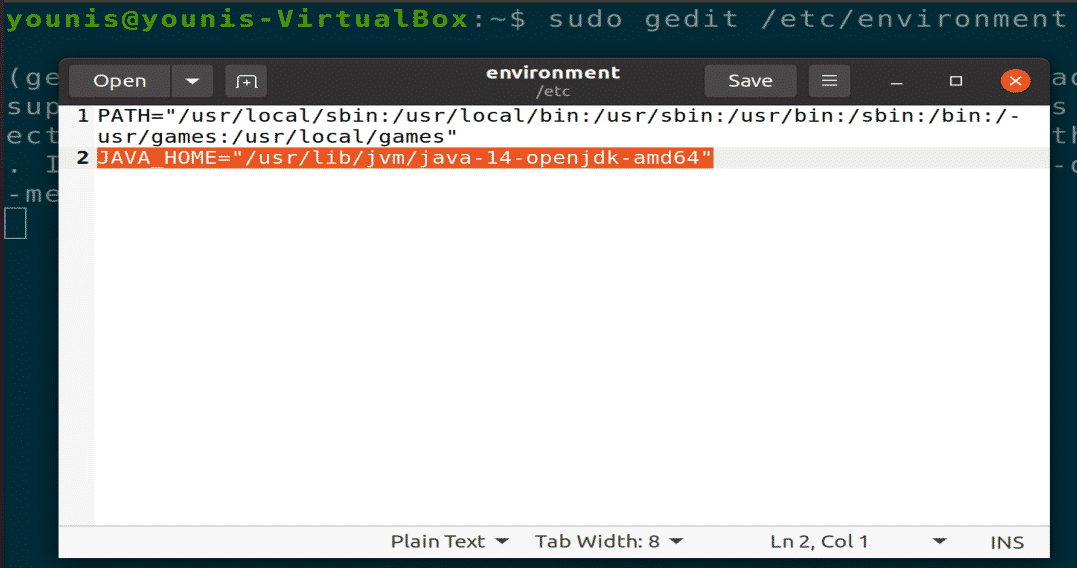
Step 7: Open Environment File
Now, open the environment file using your preferred text editor via the following terminal command.
Add the copied path to this file at the end, as follows.
Step 8: Save Your Changes
To save the changes made to the Java Home variable, close the current terminal window. Open the terminal again and type the following command.
$ echo $JAVA_HOME

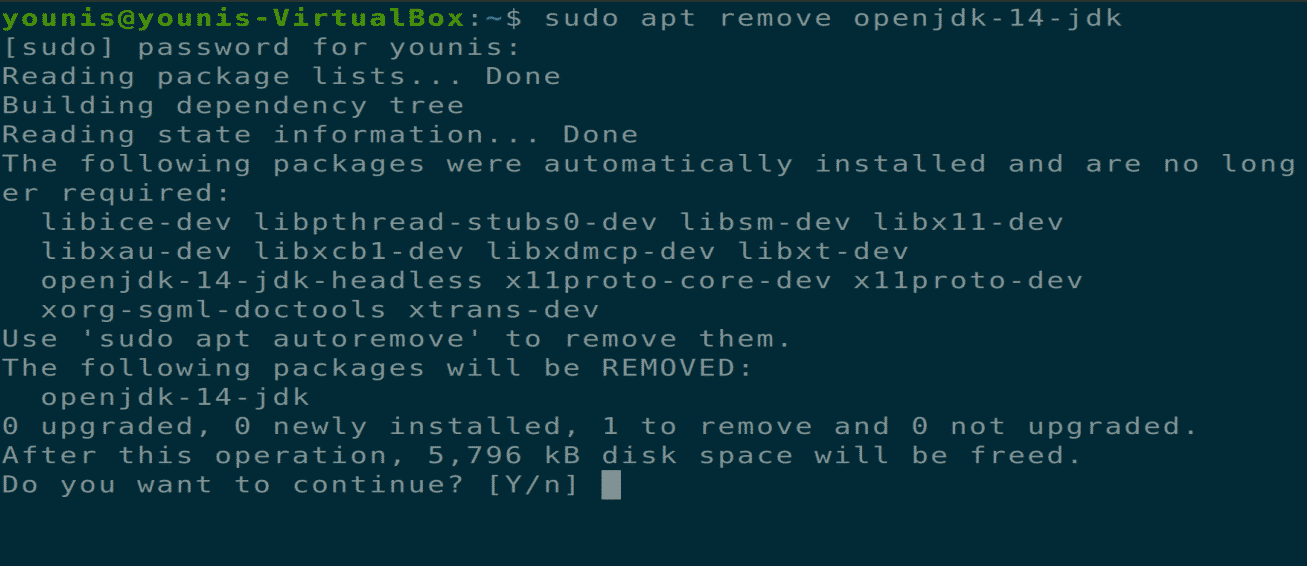
Uninstalling JDK
You can remove the JDK package using the following terminal command.
Conclusion
This article covered how to install JDK14 on Ubuntu 20.04, how to set up the JAVA HOME environment variable, and how to uninstall JDK 14 package. After reading this article, you should know how to install and set up the current JDK package.
from Linux Hint https://ift.tt/30NEeq6


0 Comments