
Introduction
Apache Tomcat can run various Java technologies, and runs the JavaServer (JSP), JavaServlet, and Java Expression languages. This article will show you how to install Apache Tomcat Server and set up the Web Application Manager on Ubuntu 20.04 in 11 easy steps. Apache Tomcat Server can be installed right from Ubuntu’s software repository, which contains the latest, most stable version of the Tomcat server.
Step 1: Update APT
First, as always, update your APT.
Step 2: Check for Tomcat in Repository
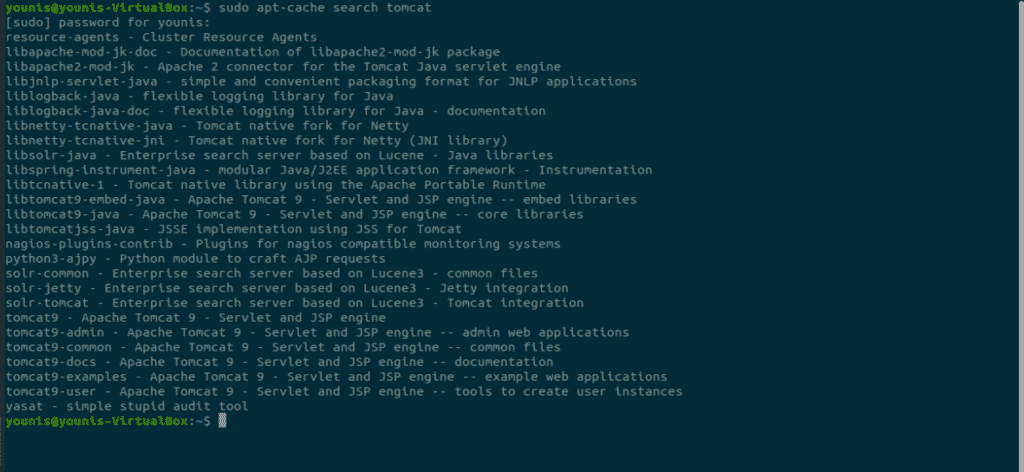
Check for the Tomcat server package in the repository. The repository will show you all the latest packages available for download.
Step 3: Download Tomcat
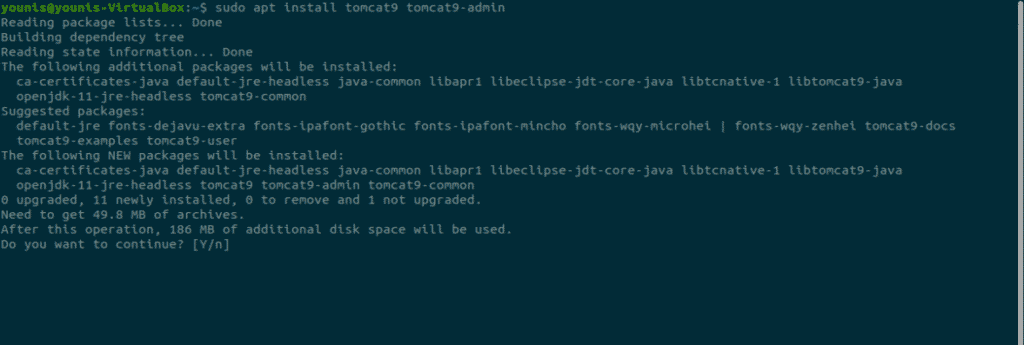
Download the tomcat9 package and the tomcat9 admin package and its dependencies with the following terminal command.
Step 4: Install Apache Tomcat Server
When the download is finished, it will install the Apache Tomcat Server, which will start up automatically. For verification, type the following ss command, which will show you the 8080 open port number, the default open port reserved for Apache Tomcat Server.
Step 5: Change Tomcat Settings
When the Ubuntu OS reboots, the Apache Tomcat Server will start automatically. This program setting can be changed by entering one of the following two commands.
OR
Step 6: Allow Traffic to Port 8080
If firewall ports, specifically UFW, are active on your system, devices that want to connect with the Apache Tomcat Server will have difficulty connecting. To allow traffic from any source to port 8080 of the Tomcat Server, type in the following command.
Step 7: Test Tomcat Server
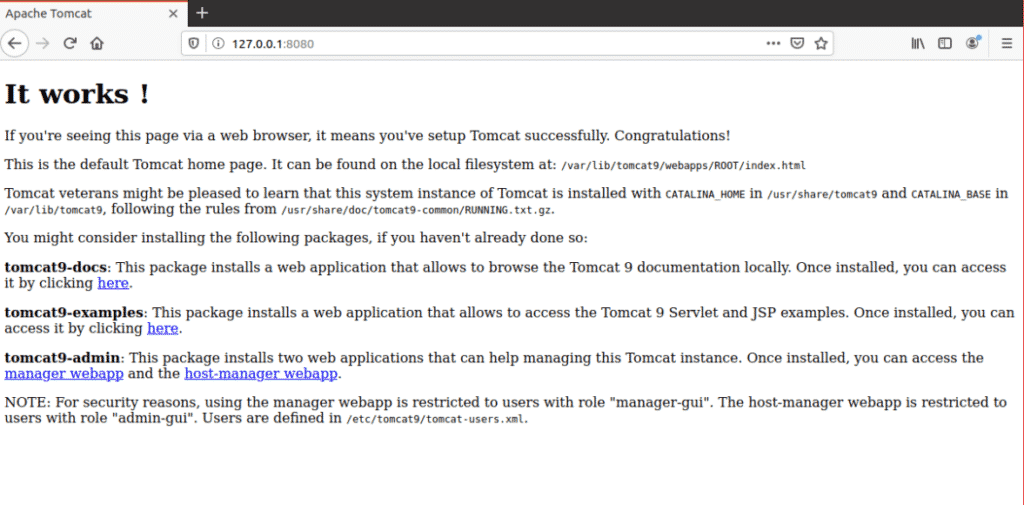
Now, you may test your Tomcat server. When Tomcat starts running, you can test the program in a web browser. Using the system’s loopback address, you can connect to the Tomcat server by specifying the port with the address in the URL search bar, as follows:
Tomcat is up and running if you see this page, “it works!”.
Step 8: Create User
You should create a user for the Web Application Manager in the Tomcat Server. A new user account must be set up to use the Apache Tomcat Web Application Manager.
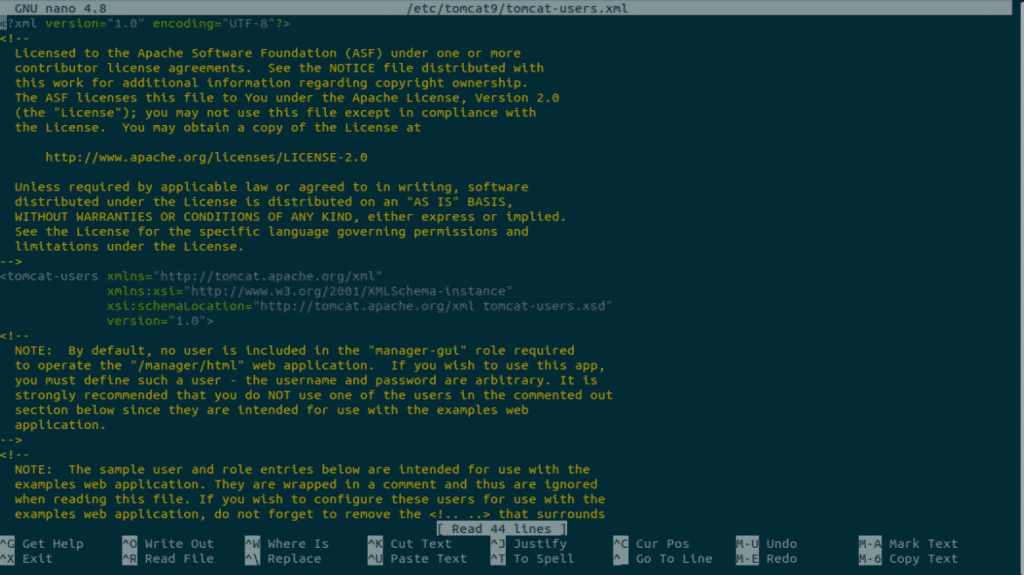
Open the tomcat-users.xml file in the Tomcat directory with your favorite text editor.
Step 9: Add Tagged Lines
When the file is opened, add these three tagged lines in the file above the “<” tag. Here, new user with the name “tomcat” has been created with a password set as “pass.” Add your own values as substitution for the username and password.
<role rolename="manager-gui"/>
<user username="tomcat" password="pass"roles="admin-gui,manager-gui"/>
Save the file and close it. Now, we can move on to accessing the manager application area.
Step 10: Restart Tomcat
Restart the Tomcat Server with the following command.
Step 11: Access Tomcat Application Manager
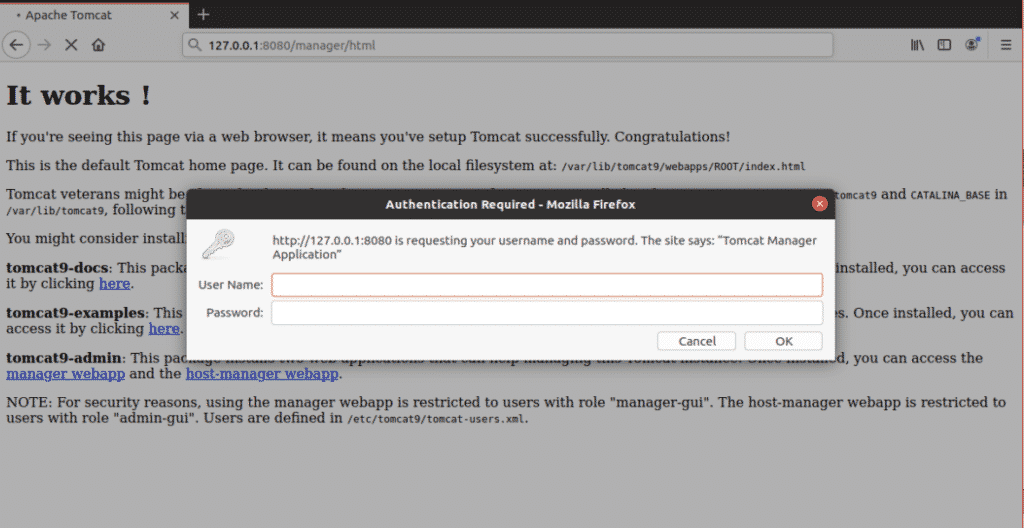
In order to access the Tomcat server web application manager, enter the URL: http://127.0.0.1:8080/manager/html into the web browser URL search bar and press enter. Next, enter the credentials that you gave to the new user in Tomcat Server. You should now see the Web Application Manager Window.
Conclusion
The Apache Tomcat Server is a great software program for deploying a Java HTTP server. Setting up Apache Tomcat Server on Ubuntu 20.04 is very easy and does not require complex commands.
from Linux Hint https://ift.tt/3fClBK4






0 Comments