


How to install MySQL client DBMS on Ubuntu:
MySQL clients enable you to run MySQL shell command to connect to MySQL server databases remotely.
Step 1:
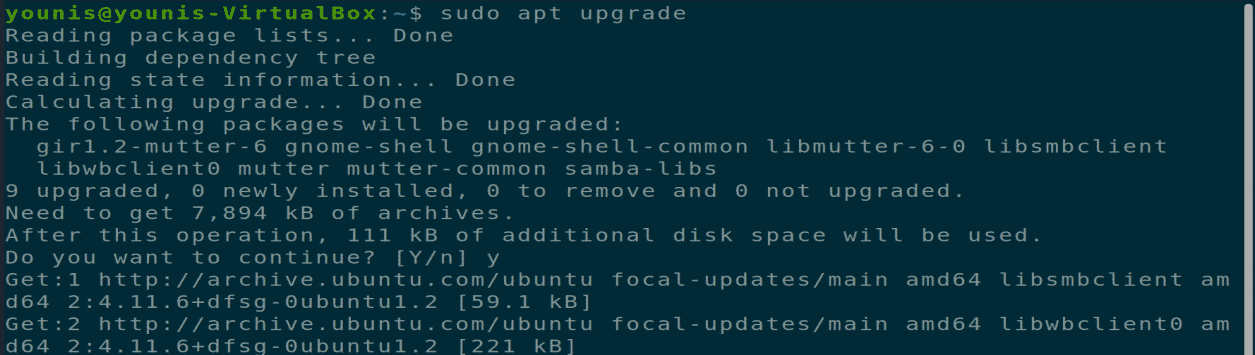
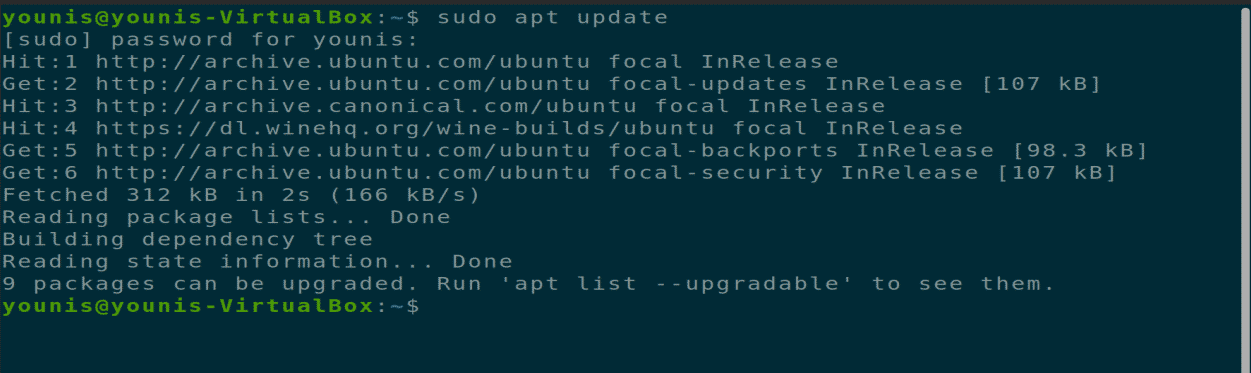
As always, first, update and upgrade your APT.

Step 2:
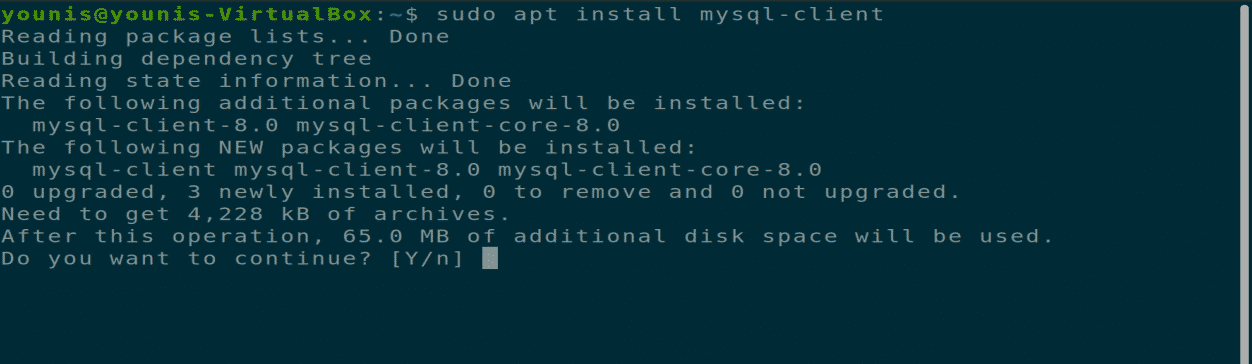
Now download and install MySQL client with the following terminal command.
Step 3:
Now to check whether the MySQL client is installed or not, type the following command to see its version.

Step 4:
Now you can connect to MySQL server remotely through the given command.
Enter the correct username, password, and server hostname or IP address to connect to the server.

How to install MySQL Server DBMS on Ubuntu:
You can host one or many MySQL databases on your local machine with the help or MySQL server package.
Step 1:
As always, first, update and upgrade your APT.
Step 2:
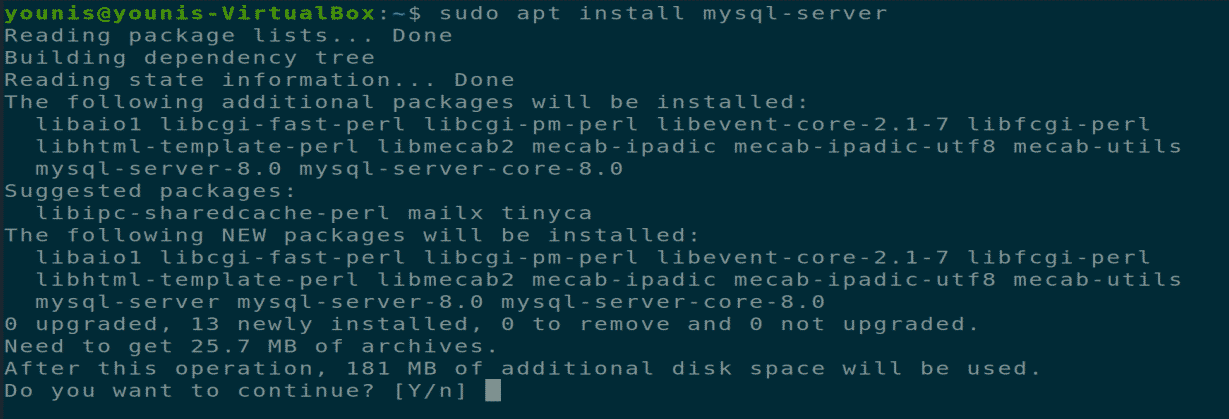
Now download and install the MySQL server package via the command.
Step 3:
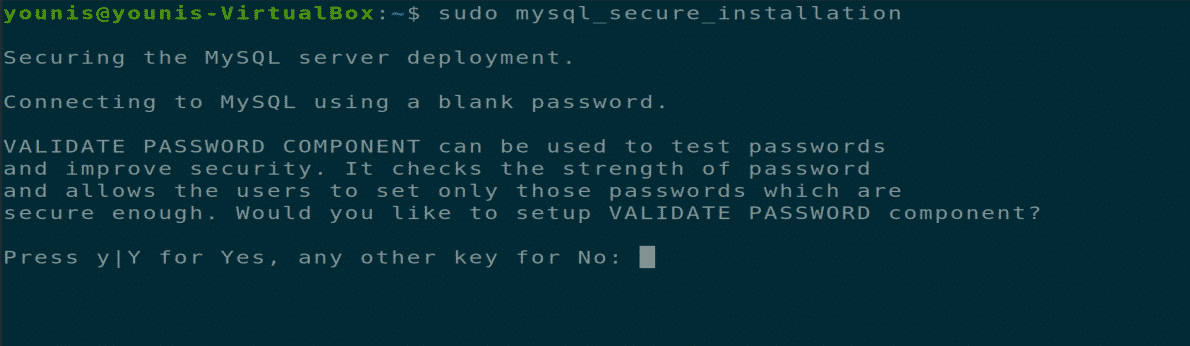
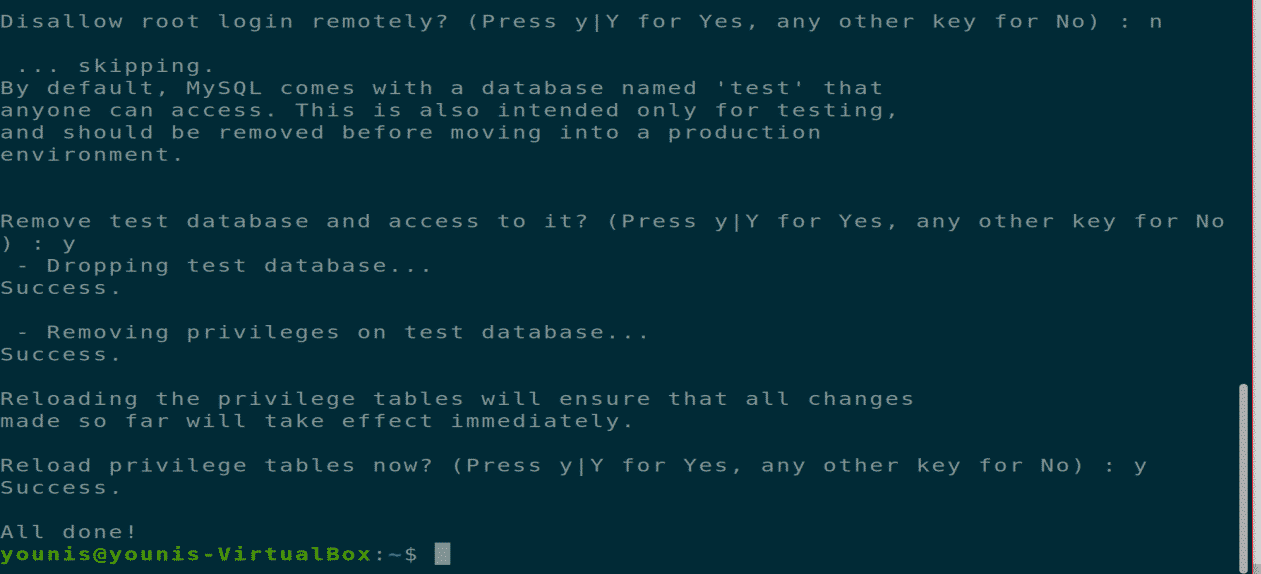
MySQL server package comes with a unique feature called MySQL-Secure-Installation. You have to install it to secure your MySQL server package. Execute the below command to secure your MySQL server from unauthorized root logins locally and remotely.
Step 4:
When MySQL server installs, it is accessible from a local machine only. You can change this setting in the MySQL configuration file to allow remote access. Enter the following command to open MySQL configuration file in gedit or any other text editor.
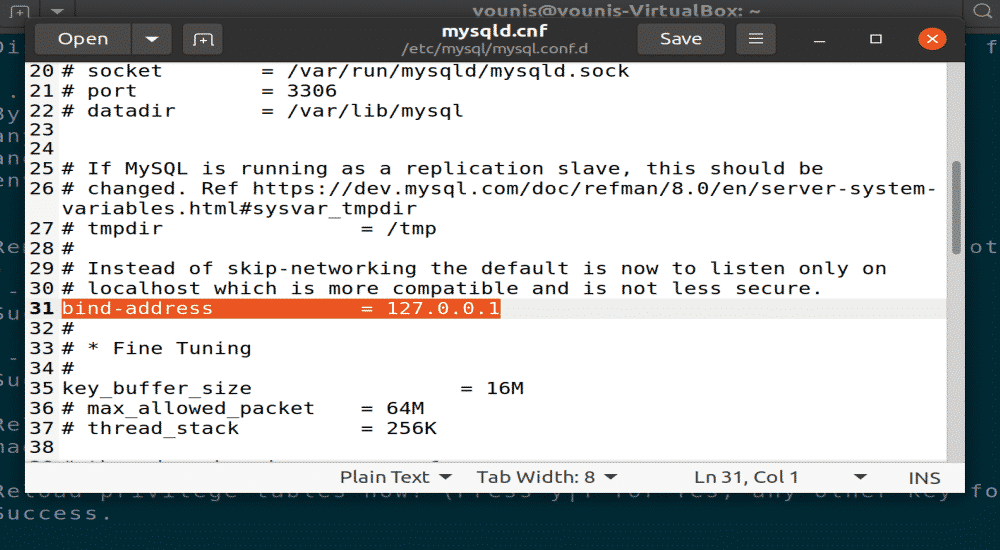
Figure: Opened mysqld.cnf file in gedit editor
Change the following IP, save the file, and close it.
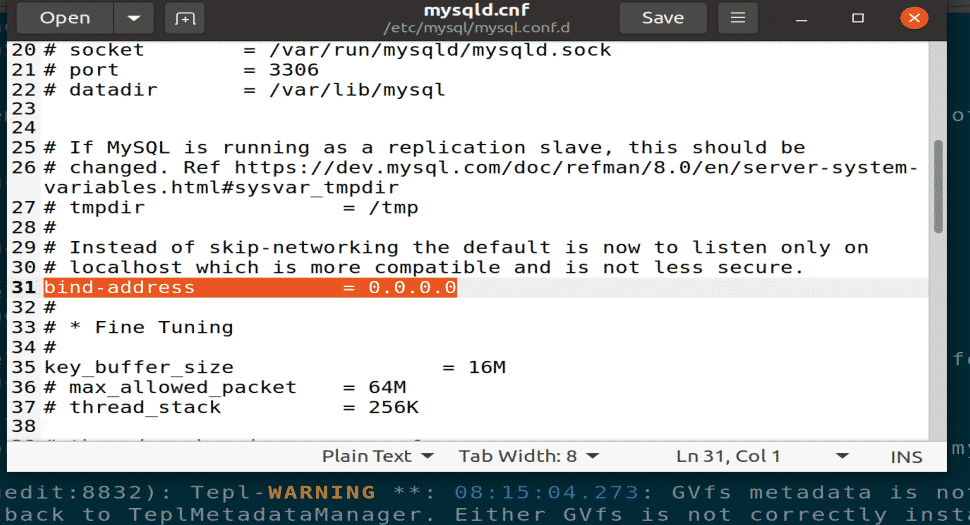
Figure: changed the bind-address with gedit editor.
Step 4:
You can also change startup settings of MySQL after system boot-up through the systemctl commands.


Step 5:
You will need to restart mysql service to take effect of all the changes to do that execute the following command in your terminal window.

Step 6:
You can check the MySQL post usage and IP address by using the listening command.

Step 7:
You should make sure that the firewall doesn’t stop incoming connections from SQL port that port 3306. For this purpose, you should give the following command in the terminal window.

Setting up a MySQL DBMS system on Ubuntu:
Now I am going to show you how to set up a fully functional and complete MySQL server that can be accessed from remote hosts. First of all, you will need to create a database, then a user account, and then allow other users to access your server remotely via the following steps.
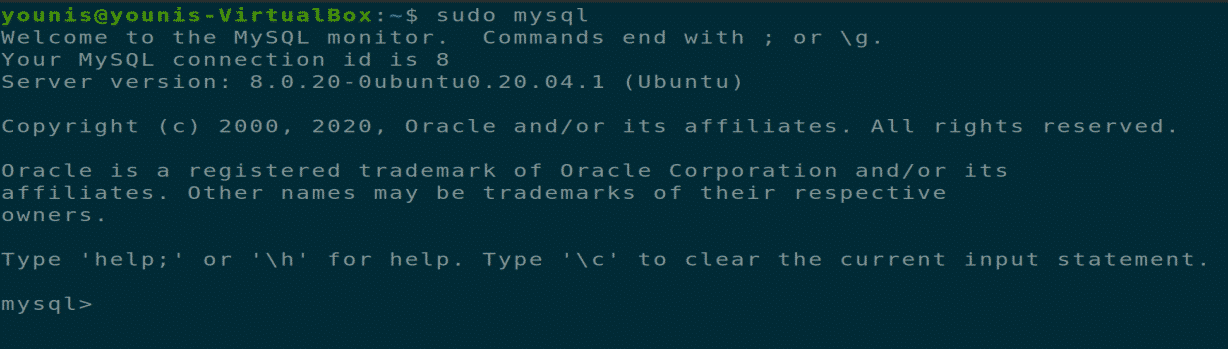
Step 1:
Start MySQL service with root privileges; it opens up the mysql shell.
Step 2:
Now setting up database requires some basic MySQL commands; we will show you the most basic commands used in creating and starting the database, but you have to check MySQL documentation and tutorials for further help. Create a new database using the following command, replace database1 with your desired text.

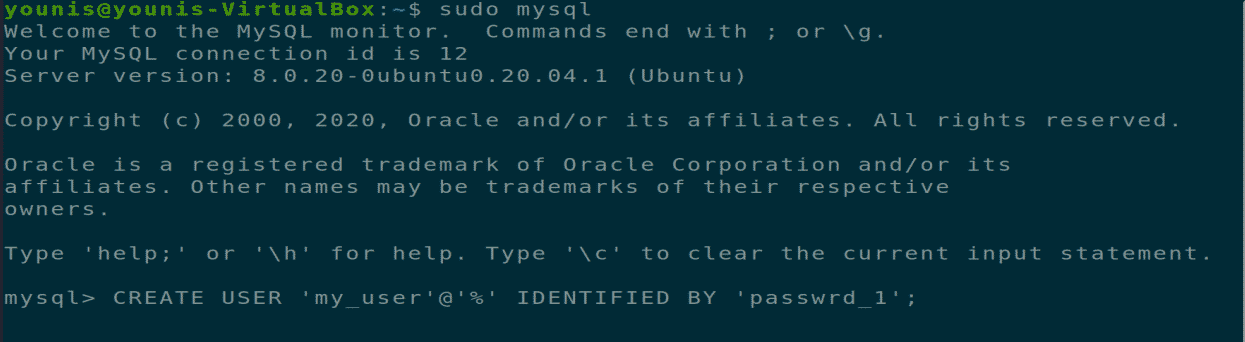
Step 3:
Now create a user account that will have necessary privileges to the database1 through the following shell command.
This will create a user account with the login name “my_user” and a password “password_1”, “%” gives allows remote access from anywhere through the internet.
Step 4:
Now give permissions the new user account to view or edit/modify this database with the following shell command.
Step 5:
Save all these changes and exit the MySQL shell terminal window.

Conclusion:
We have covered how to install MySQL client package, how to install the MySQL server package, and how to set up a MySQL database. We have also shown you how to grant access to accounts for remote access to the server or a database.
from Linux Hint https://ift.tt/3fovDhK


0 Comments