In this article, we will explain how to remove PPA from your Ubuntu system using both the GUI and the command line. We have explained the procedure mentioned in this article on the Ubuntu 20.04 system.
List PPAs
To see which PPA repositories are available on your system, simply run the following command in Terminal:
An alternative way to see the repositories available on your system is by listing the /etc/apt/sources.list.d directory like this:
Remove PPA via GUI using the Software & Updates utility
In the following method, we will see how to remove the PPA by using the Software & Updates utility in the Ubuntu system.
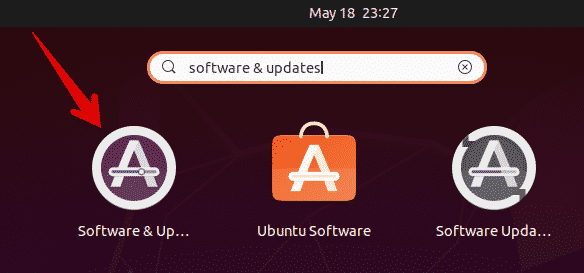
Launch the Software & Updates utility by searching it through the Activities search bar.
In the Software & Updates utility, go to Other Software tab. Here you will see a list of PPA repositories available on your system. Select the PPA that you want to remove and click the Remove button.
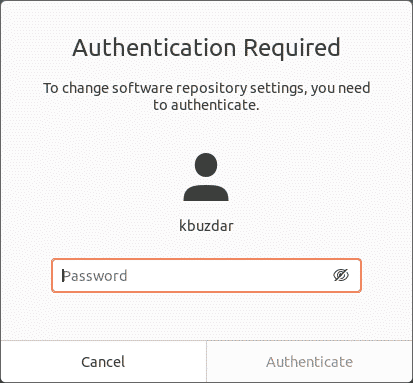
The system will then ask for authentication. Enter the password and click the Authenticate button, after which the selected PPA will be removed from your system.
Remove PPA via command line
You can remove the PPA from your system in different ways using the command line. To open the command line Terminal application in your system, use the Ctrl+Alt+T keyboard shortcut.
Using the add-apt-repository command
The add-apt-repository command is used to add or remove the PPA repositories to the /etc/apt/sources.list.d directory. In order to remove a PPA repository from your system, simply use the add-apt-repository in the following format:
Example:
This command will remove the PPA for the Y PPA Manager from the system.
Using the /etc/apt/sources.list.d Directory
The /etc/apt/sources.list.d directory contains the repositories available in your system in the form of separate files.
To remove a PPA from this directory, simply use the rm command followed by the PPA file name like this:
Example:
It will remove the skype PPA from the /etc/apt/sources.list.d directory.
Using the PPA Purge Command
All the methods we have discussed above only remove the PPA from the system. They do not remove the application that was installed using the PPA. In the following method, we are going to use the PPA purge utility that not only removes the PPA, but also removes the application installed using this PPA.
The PPA purge utility is not installed by default on Ubuntu. You can install it with the following command in Terminal:
Once installed, use the ppa-purge command to purge any PPA from your system. Here is the syntax to do so:
This command will remove the PPA as well as the application installed from this PPA.
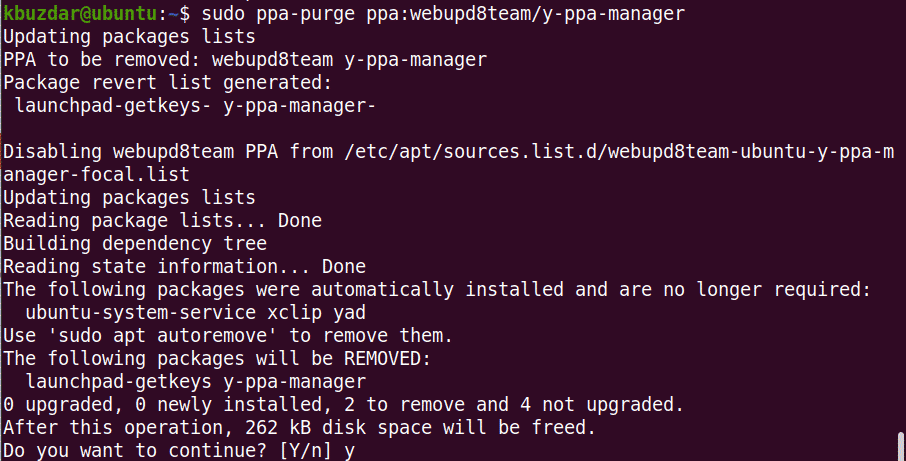
Example:
When you run the above command, the system might ask for confirmation by providing a Y/n option. Hit y to continue, after which the removal process will be started on your system.
In this article, we have discussed different ways through which you can remove PPA from the Ubuntu system. Using either of the above-discussed methods; whether it is GUI or command line based, you can easily remove the PPA. All the above methods except the PPA purge just remove the PPA from the system, while the PPA purge also removes the application from the system.
from Linux Hint https://ift.tt/3cgFXGy


0 Comments