


Skype does not come installed by default on Linux operating systems. In this article, you will learn how to install Skype on Ubuntu 20.04 LTS OS through a variety of methods. If you are using an older version of Ubuntu, you may follow the same commands and procedure for installing Skype. We will be using the following methods:
- Install Skype via Ubuntu Software (GUI)
- Install Skype via Snap Store (GUI)
- Install Skype from the official website (Command Line)
Note: You will need sudo privileges to install the Skype package on your system.
Install Skype via Ubuntu Software (GUI)
Installing Skype via the Ubuntu Software Center is very easy. Follow these simple steps to install Skype on Ubuntu using the Software Center:
Open the Ubuntu software center by searching for it through the Activities search bar.

When the Ubuntu Software Center opens, click the search icon on the top left corner and type skype. From the search results list, select the Skype application.
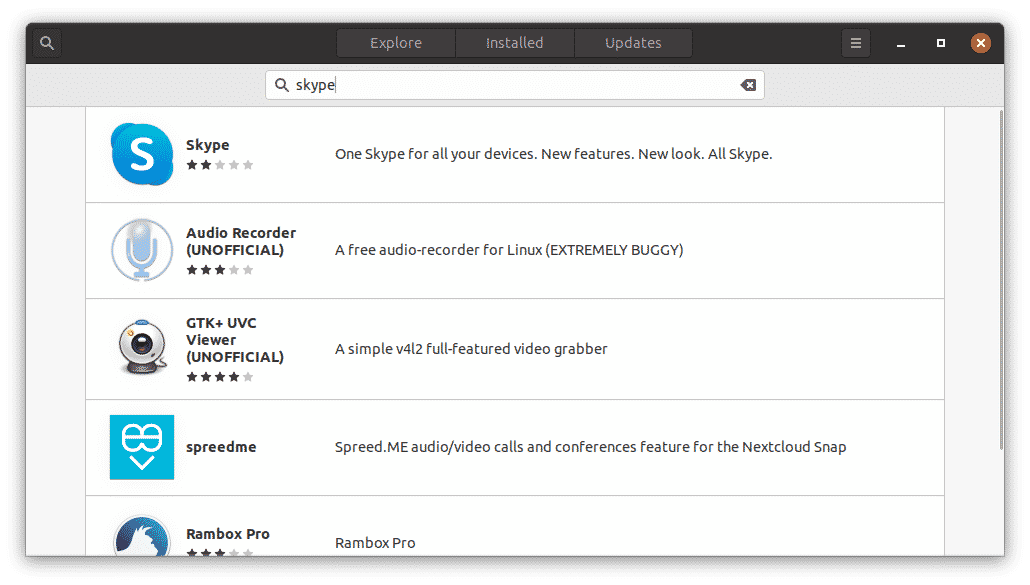
Click the Install button to begin the installation process.

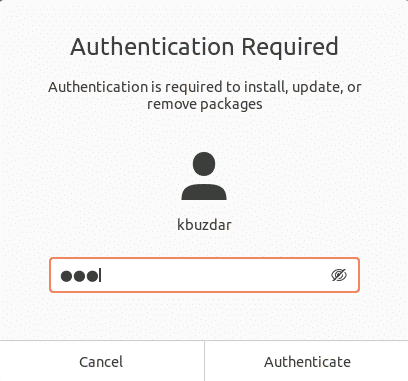
By doing so, the following authentication dialog box will appear. Enter the password for your user account and click the Authenticate button.
The installation will now begin. You will see the following window appear, showing the progress of the installation process in real time.

The installation process will take a while, depending upon your internet speed. Once finished, you will see the following view, indicating that Skype is now installed on your system.

Install Skype via Snap Package (Command Line)
Skype is also available as a snap package. Snap is an application packaged with all the required dependencies and libraries. To install any snap package, you will need to have snap installed on your system. In Ubuntu 16.04 and later, the snap is already installed. In the case that this package is missing from your system, you may install it using the following command in Terminal:
To install the Skype snap package, simply type the following command in the Terminal:

The above output shows that the Skype application has been installed successfully on the system.
Install Skype from the Official Website (Command Line)
In this method, we will download the Skype .deb package from the official Skype website and install the program using the Dpkg package manager. Follow the steps below to download and install Skype.
Step 1: Download the .deb Package for Skype
The official Skype website contains different packages for different distributions. As we want to install Skype on Ubuntu, we will download the .deb package.
To download the .deb package of Skype from the official website, use the following command:
The package downloaded via wget command will be saved to your Home dircetory.
Step 2: Install Skype Using the Dpkg Package Manager
In this step, we will install the Skype .deb package that we downloaded in the previous step using the Dpkg package manager. To install the Skype .deb package, use the Dpkg command, as follows:

Now, Skype will be successfully installed on your system.
Launch Skype
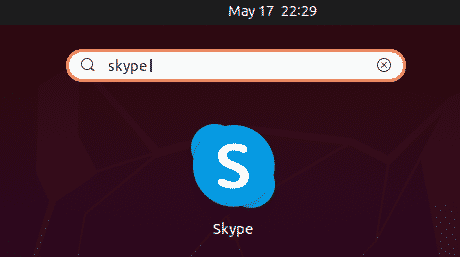
To launch Skype, hit the super key on your keyboard and type skype. Once the icon for Skype appears, click on the icon to launch the program.
Alternatively, you may launch Skype using the following command in the Terminal:
Once Skype has launched, you will see the following window. Click on the Let’s go button and you will be able to sign in, or create a new account if you do not have one already.

This article explained how to install the most popular communication tool on your Ubuntu 20.04 LTS system both using the GUI and the command line. You may use any of these ways to install the Skype program, based on your preferences and ease of installation.
from Linux Hint https://ift.tt/2zcwL8Z


0 Comments