Redis can be configured to work with a plethora of programming languages, including C/C++, Go, Lua, Python, Ruby, Rust, Java, Bash, Scala, PHP, and much more. Check out the programming languages for which Redis is available.
In this article, I will teach you how to install Redis on Linux Mint.
Redis on Linux Mint
There are many ways to install Redis. The most convenient way to obtain Redis is from the package repository. It is also possible to build and install Redis from the source. However, unless you have reasons to do so, I recommend using the most convenient way.
Ready? Let’s get started!
Installing Redis from the Package Server
Linux Mint is an Ubuntu-based distro and uses Ubuntu package servers as a source for its packages. Redis is readily available on the Ubuntu package server and thus, also readily available for Linux Mint. All we need to do is just tell APT to do the job.
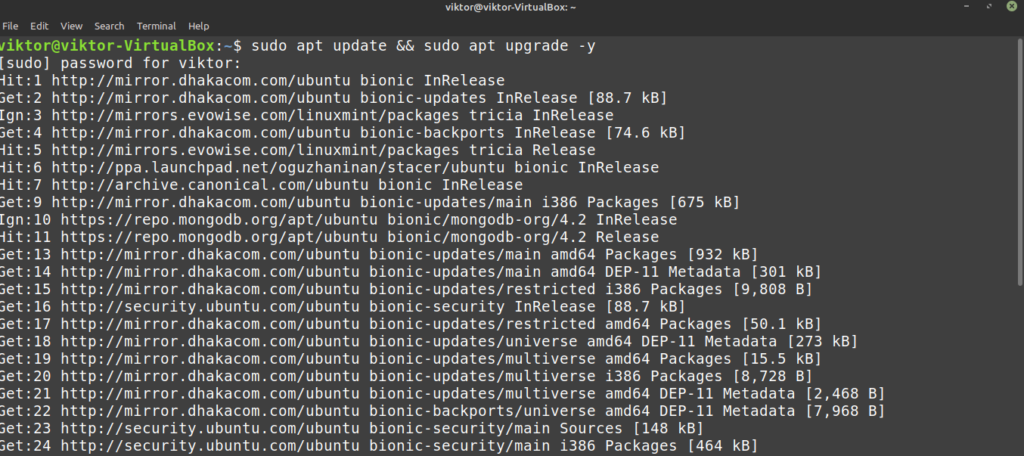
Fire up a terminal. First, we need the APT repo cache to be updated. We are also going to ensure that all the packages are up to date. Before running any installation with APT, I always recommend performing this step first.
After the APT cache is updated, Redis is ready to be installed. Run the following command.
Redis is installed successfully.
Before using the program, make sure that it starts with the system start. To do so, tell systemctl to enable the Redis service:
Installing Redis from Source
Building Redis from source is relatively simple. First, we need to install the necessary tools and dependencies. Then, grab the source code and start compiling!
Fire up a terminal. We’ll be installing the building tools and necessary dependencies for compiling Redis locally. Enter the following commands:
$ sudo apt install build-essential tcl
Now, download the Redis source code:
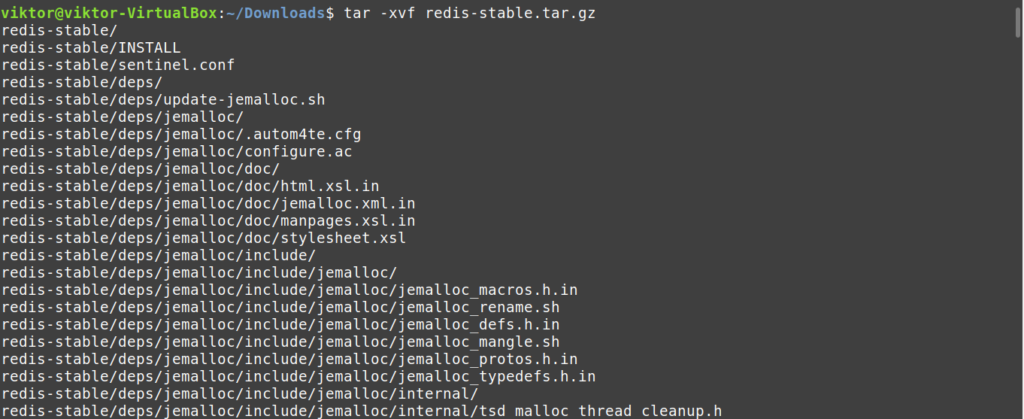
Next, extract the tarball:
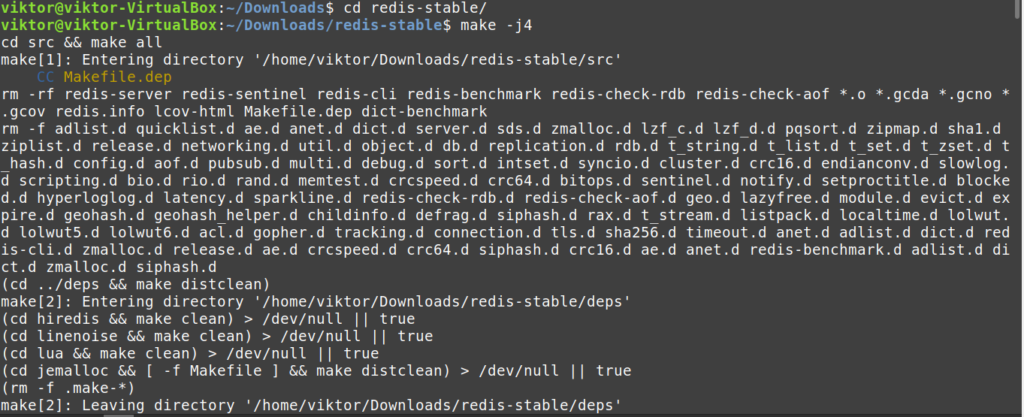
Everything is set. We are now ready to begin compiling Redis.
Run the following commands to complete compilation:
$ make
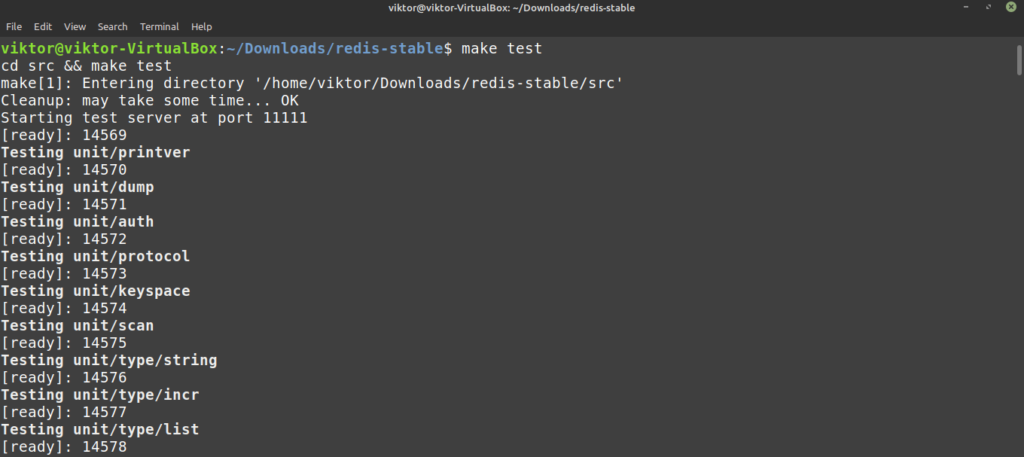
Once the compilation is complete, run the following command to test that everything was built correctly.
Finally, install Redis.
The installation is not yet complete. Copy the Redis default configuration file to /etc/redis:
$ sudo cp ~/Downloads/redis-stable/redis.conf /etc/redis
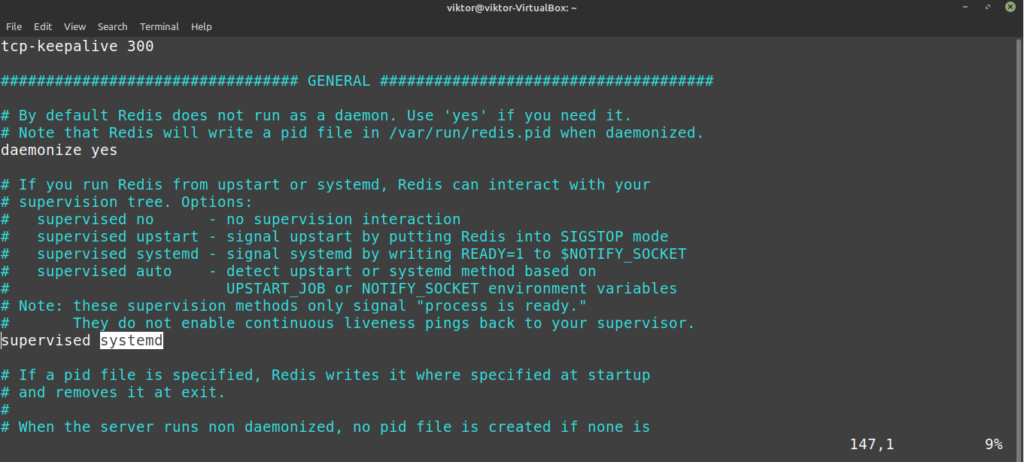
We also need to modify the configuration file for this purpose. I will be using Vim to change the supervised directive to systemd:
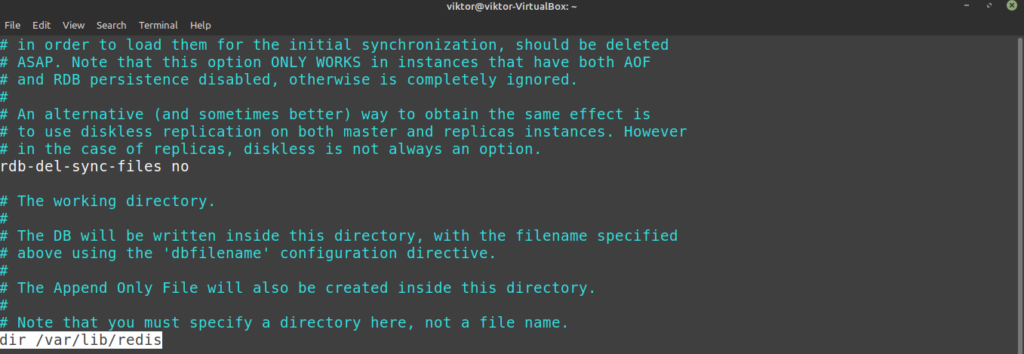
Now, add the directory /var/lib/redis as the working directory. Find the directive dir from the configuration file:
Save and close the editor. Now, we have to create the systemd unit file for Redis. Create a file redis.service under /etc/systemd/system directory. Add the following lines:
$ Description=Redis In-Memory Data Store
$ After=network.target
Add the [Service] section. This section defines the behavior of the service, and should not be set as root for security reasons. We will be using a dedicated user and group redis for this:
$ User=redis
$ Group=redis
$ ExecStart=/usr/local/bin/redis-server /etc/redis/redis.conf
$ ExecStop=/usr/local/bin/redis-cli shutdown
$ Restart=always
Finally, add an [Install] section:
$ WantedBy=multi-user.target
Let’s get started by creating the Redis user and group:
Now, it’s time to create the /var/lib/redis directory:
Change the owner of this directory to redis:
Adjust the file permission of the directory so that general users are not allowed to access the location:
Using Redis
Redis can run without any custom configuration. If not configured, Redis will use the default settings. Here is a recommended tweak to perform before using Redis.
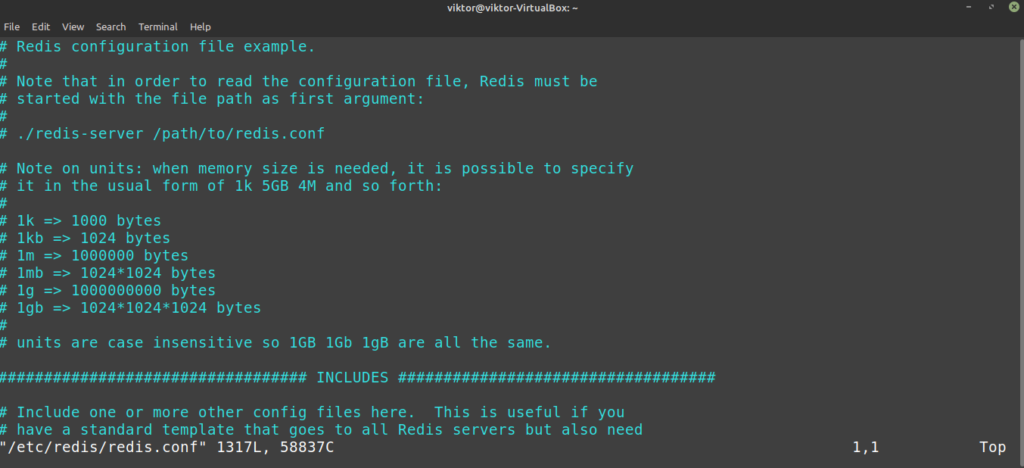
First, open the config file in your favorite text editor. In this case, I will be using Vim. Learn more about Vim.
Scroll to the “supervised” directive of the configuration file. This directive sets which init system (for example, systemd) is to manage Redis as a service. This way, you have more control over the behavior and operation of Redis. By default, the supervised directive is set as no. As we’re using Linux Mint, it is better to configure this to systemd:
Save the file and close the text editor. To take the changes into effect, restart the Redis service:
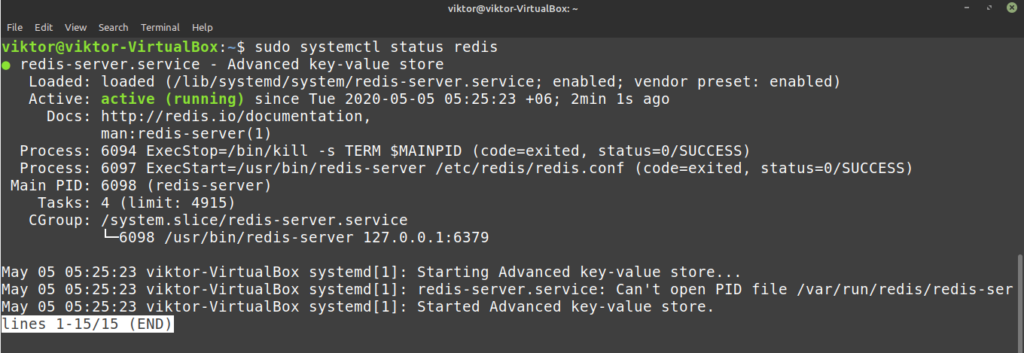
It is now time to test Redis. The following command will report the service status of Redis:
Launch the Redis command-line client. This will ascertain whether Redis is working as it should.
This is the Redis console. A simple way of testing if the connectivity is working is through the ping command:
As you can see, the connection is working properly. Now, test whether you can set keys. In this example, set a key called test with the value “hello world:”
Assuming that everything is functioning properly, this key can be fetched without any issue:
Exit out of the Redis by running the exit command:
The final test will be whether Redis can persist data. Redis is designed to hold data even if it is stopped or restarted. Restart the Redis server, launch the Redis console, and test whether you can still retrieve the test key with the following commands:
$ redis-cli
$ get test
Voilà! Redis is running perfectly!
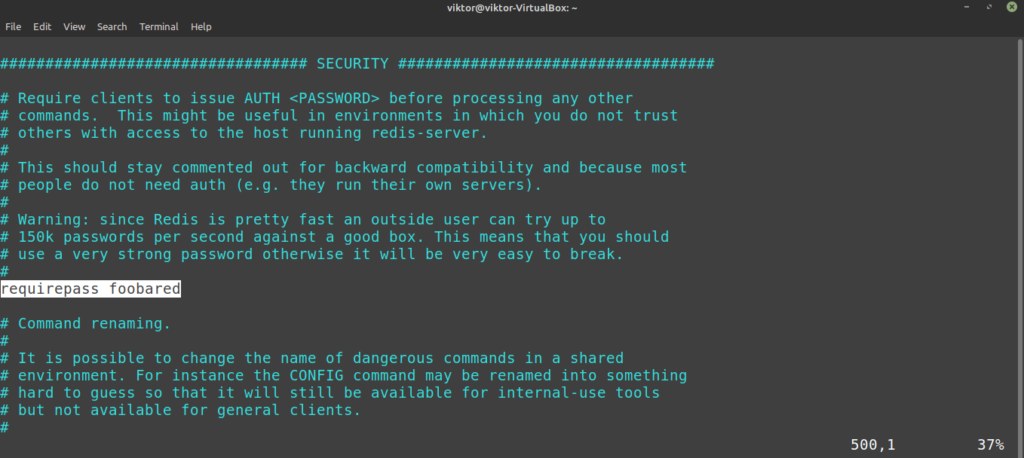
Despite Redis being very powerful, security is still a major concern. By default, Redis does not have a password set. This opens up the possibility of unwanted access to the server. To add a password, launch the Redis configuration file in a text editor and scroll to the SECURITY section.
Remove the comment symbol (#) from the requirepass entry. In this example, the phrase “foobared” is going to be the password of the server. Set it to something strong and secure.
Did you notice the warning message above the requirepass entry? Redis is a very high-performance server that is subject to brute force attack. An attacker can test 100k+ passwords against a high-performance Redis server. Unless the password is very strong, it can be brute-forced very easily.
Once the password is set, save the configuration file and restart the Redis service.
Let’s test out whether the password is set successfully. Launch the Redis console:
And then, try to set a key:
The console will show NOAUTH error.
To set a key, you must first authenticate your identity. To do so, run the following command:
Only now will Redis allow you to use the program as usual.
$ get testKey
Final Thoughts
Redis is a powerful solution that can be used for many distinct purposes. If you want to learn more about Redis, check out the official Redis documentation. There are also numerous tutorials available all over the internet.
Enjoy!
from Linux Hint https://ift.tt/2Ts7Cy3













0 Comments