Downloading Ubuntu Server 20.04 ISO Image:
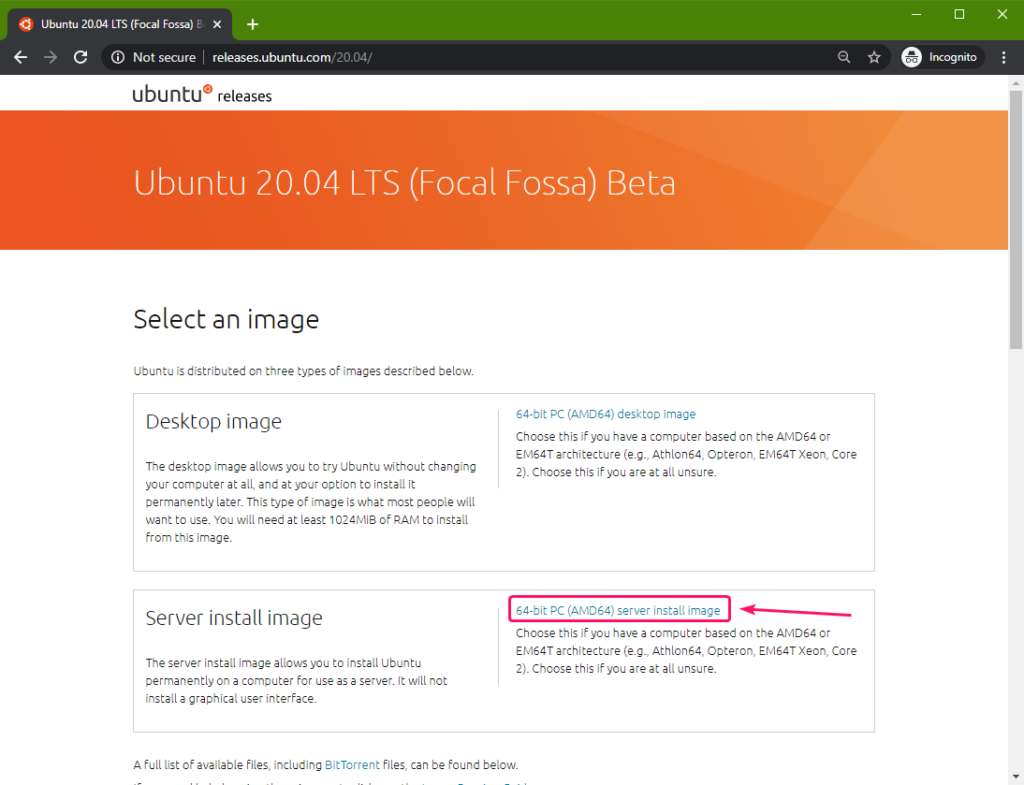
To download Ubuntu Server 20.04 LTS ISO image, visit the official release page of Ubuntu 20.04 LTS and click on the server image link as marked in the screenshot below.
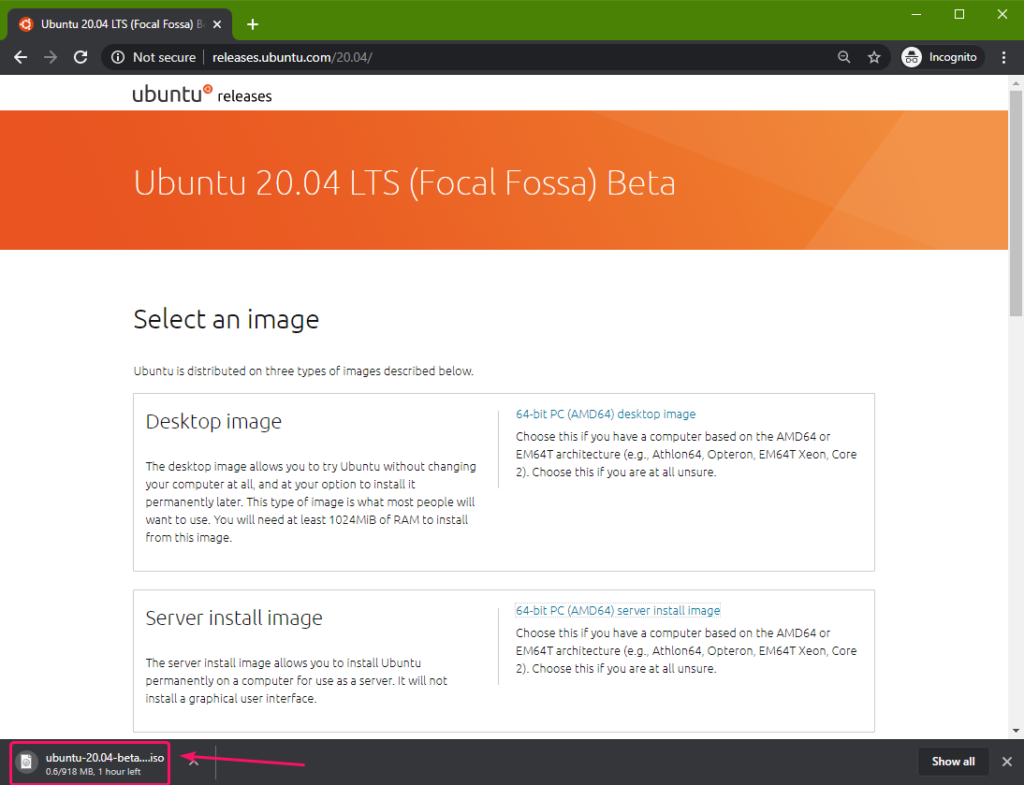
Your browser should start downloading the Ubuntu Server 20.04 LTS ISO image. It may take a while to complete.
Making a Bootable USB Thumb Drive on Windows:
You can use many tools to make a bootable USB thumb drive of Ubuntu Server 20.04 LTS on Windows, i.e. Etcher, Rufus. In this article, I am going to use Rufus.
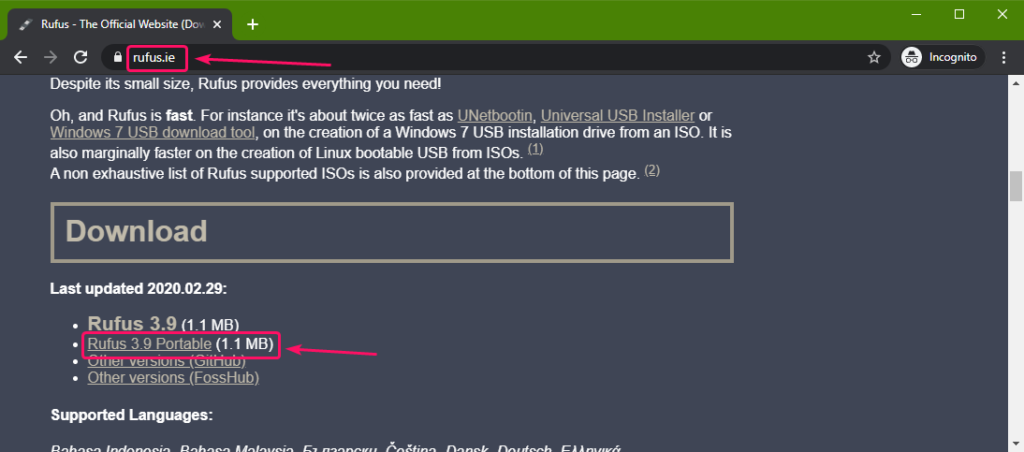
You can download Rufus from the official website of Rufus. Download the Rufus portable version as marked in the screenshot below.
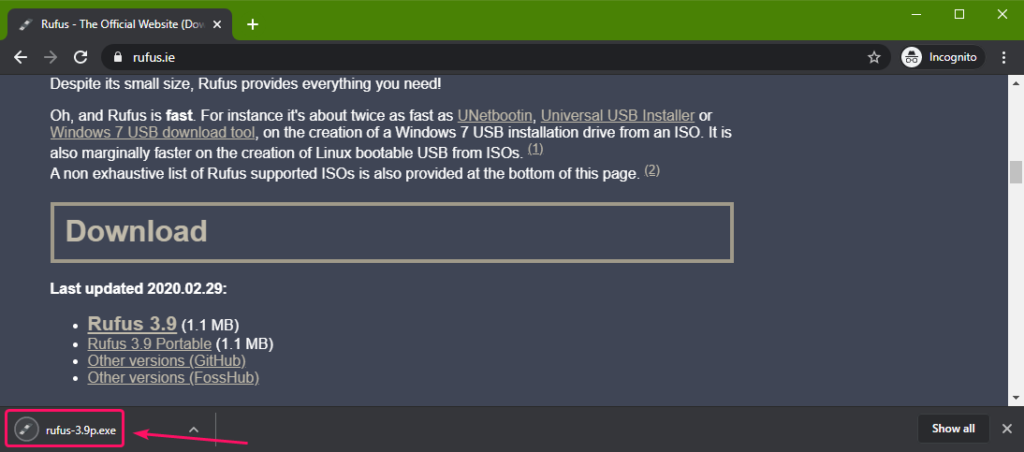
Rufus should be downloaded.
Now, insert a USB thumb drive on your computer and run Rufus. Then, click on SELECT.
Now, select the Ubuntu Server 20.04 ISO image that you’ve just downloaded and click on Open.
Now, click on START.
Now, click on Yes.
Now, click on OK.
If you have any important data on your USB thumb drive, move them somewhere safe and then click on OK.
Rufus should copy all the important files to your USB thumb drive. It may take a while to complete.
Once the USB thumb drive is ready, click on CLOSE and unplug the USB thumb drive from your computer.
Making a Bootable USB Thumb Drive on Linux:
Once you’ve downloaded the Ubuntu Desktop 20.04 ISO image, navigate to the ~/Downloads directory as follows:
You should find the Ubuntu Server 20.04 ISO image file there.
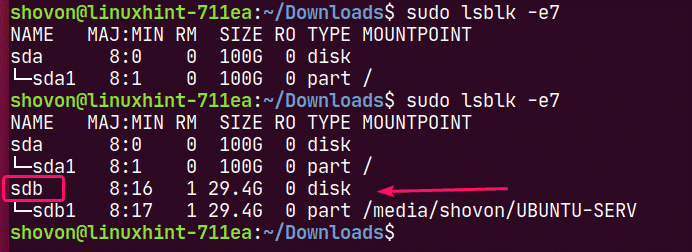
If you compare the outputs, you should see a new disk (sdb in my case). This is your USB thumb drive. You can access it as /dev/sdb.
Now, run the following command to write the Ubuntu Server 20.04 ISO image to your USB thumb drive /dev/sdb:
of=/dev/sdb bs=1M status=progress
NOTE: Make sure that there are no important files on your USB thumb drive.
The requires files are being copied to the USB thumb drive. It should take a while to complete.
At this point, the USB thumb drive should be ready.
Now, eject the USB thumb drive as follows:
Booting Ubuntu Desktop 20.04 from the USB Thumb Drive:
Now, insert the USB thumb drive on your server and boot from it from the BIOS of your server.
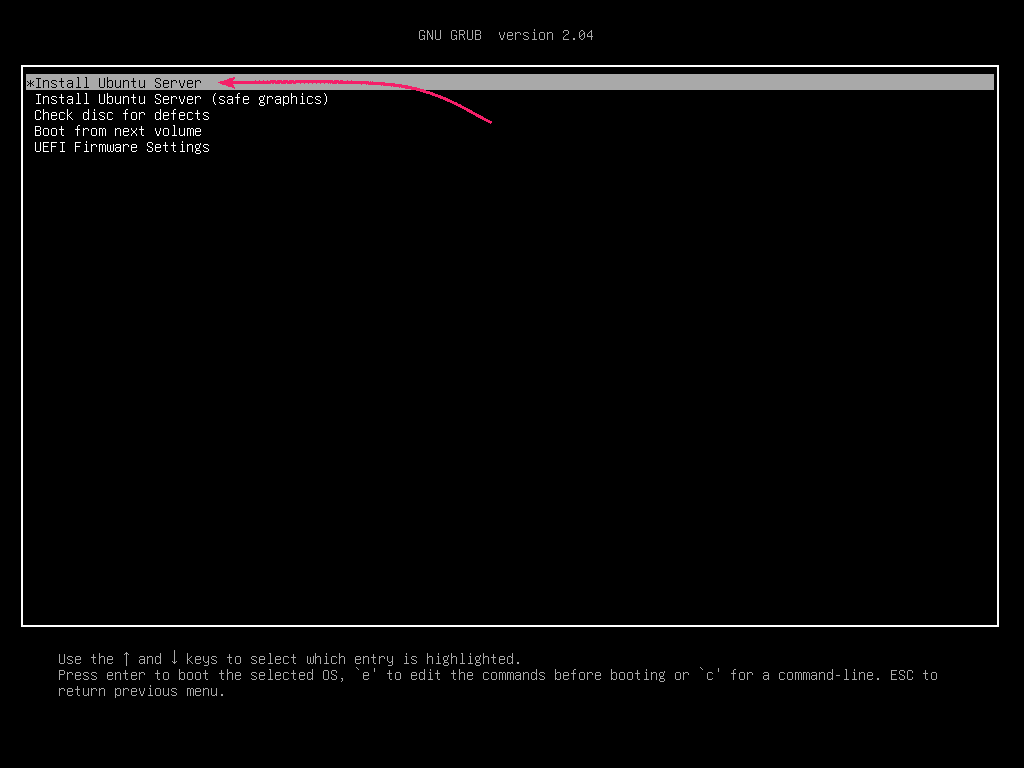
You should see the following GRUB menu. Select Install Ubuntu Server and press <Enter>.
NOTE: If your server is unable to boot for some reason, select Install Ubuntu Server (safe graphics) instead.
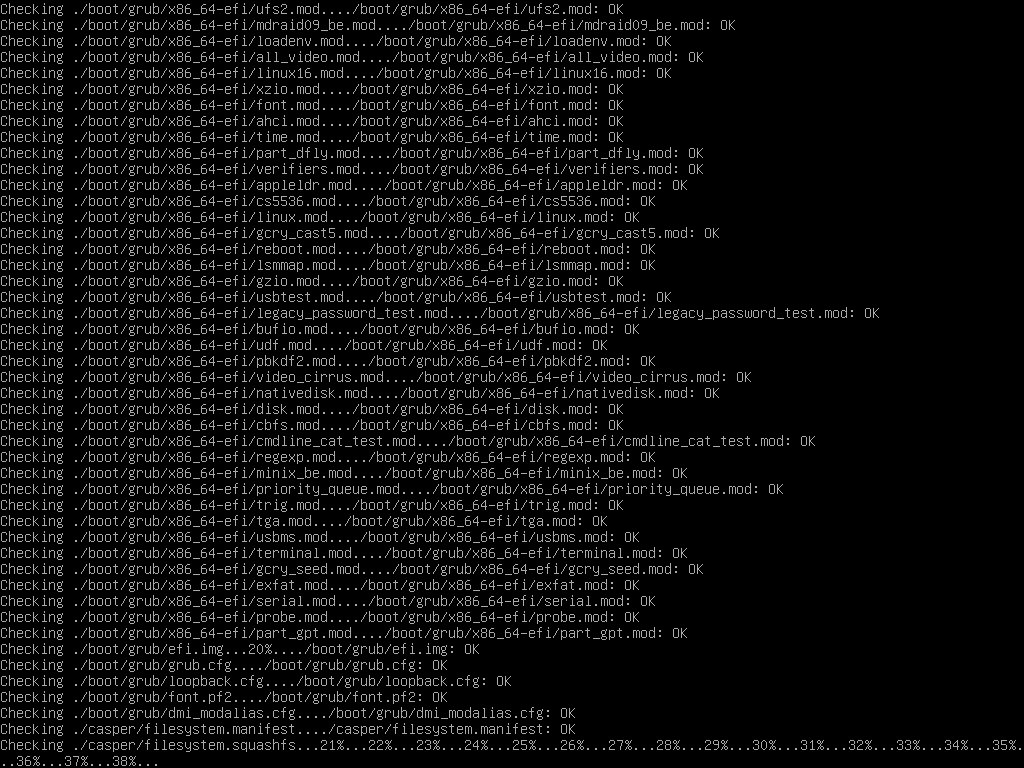
Ubuntu should check the USB thumb drive for errors before starting the Ubuntu Server installer.
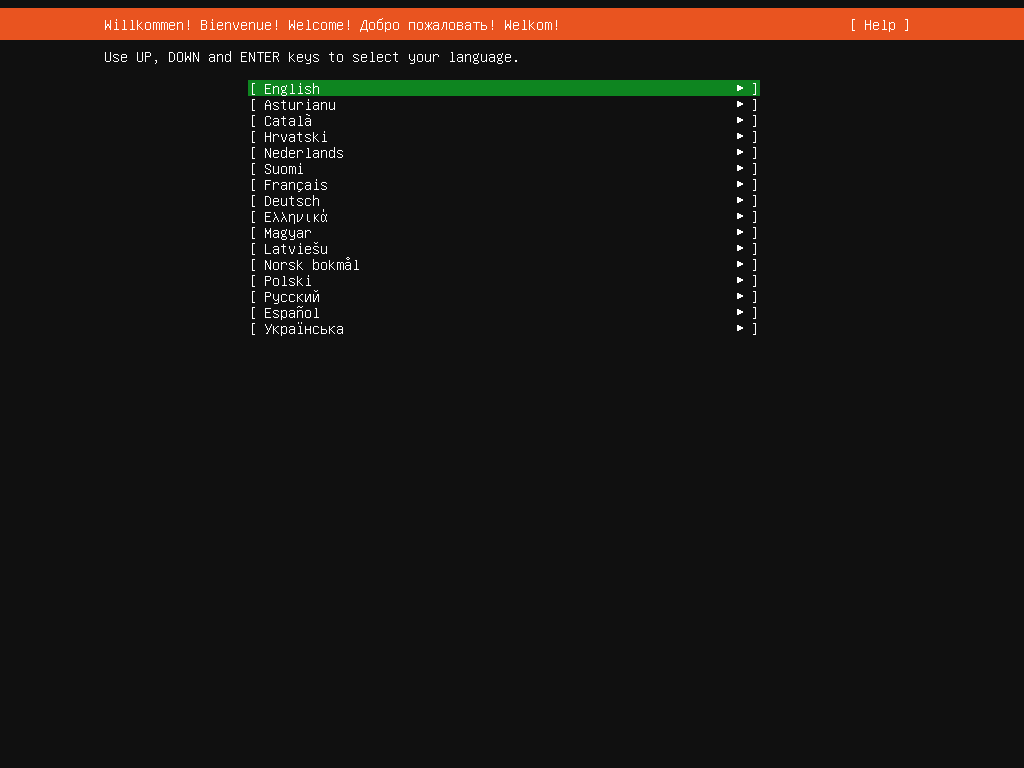
Ubuntu Server 20.04 LTS installer should start.
You can use the <Up>, <Down> and <Tab> keys to navigate and <Enter> to select things in the Ubuntu Server 20.04 LTS installer.
Installing Ubuntu Server 20.04 LTS:
Now, select your language and press <Enter>.
If you’re connected to the internet and any new update of the Ubuntu Server 20.04 installer is available, you will see the following prompt.
Select Update to the new installer if you want to update the installer and use the new one.
Select Continue without updating if you want to use the one provided in the Ubuntu Server 20.04 LTS ISO image.
Then, press <Enter>.
Now, select your keyboard Layout and Variant. Then, select Done and press <Enter>.
Form this section, you can configure the network interfaces of your Ubuntu Server 20.04 LTS.
To configure the network, select a network interface from the list and press <Enter>.
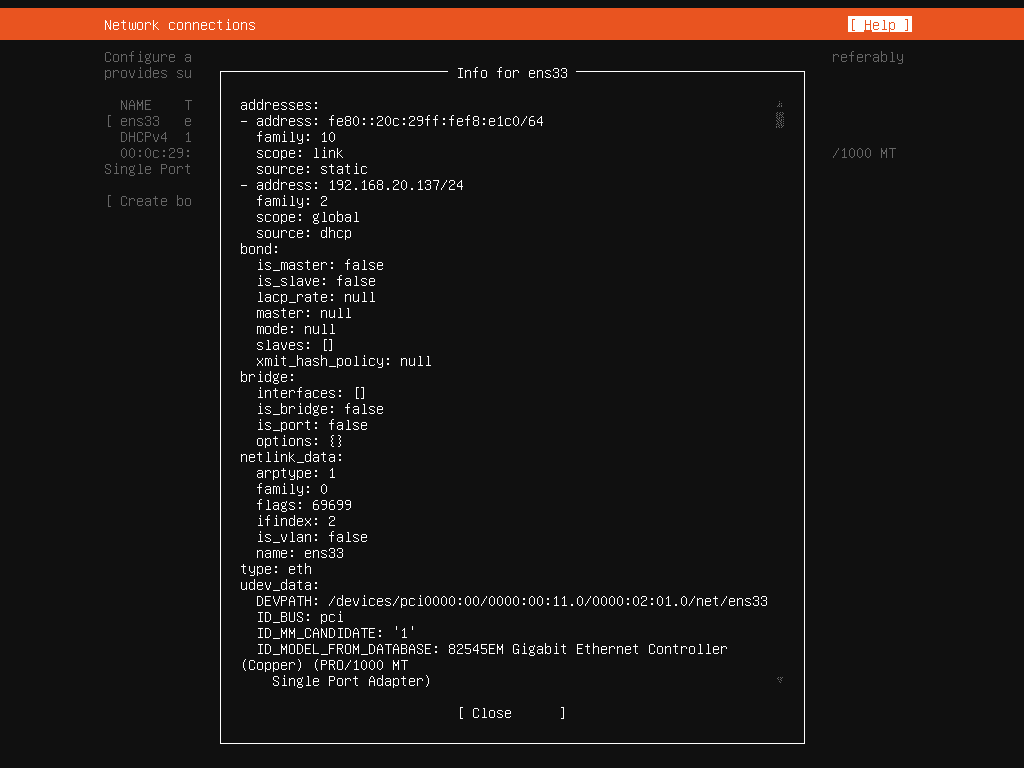
To see more information about the network interface, select Info and press <Enter>.
A lot of information about the network information should be displayed.
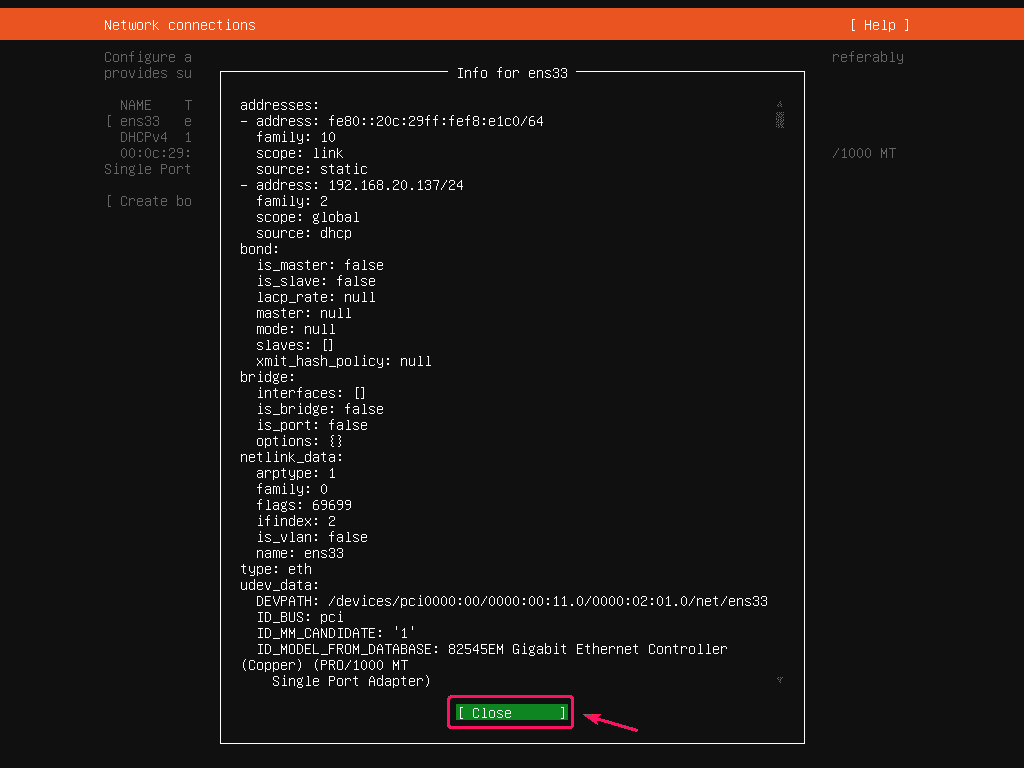
Select Close and press <Enter> to close the network information window.
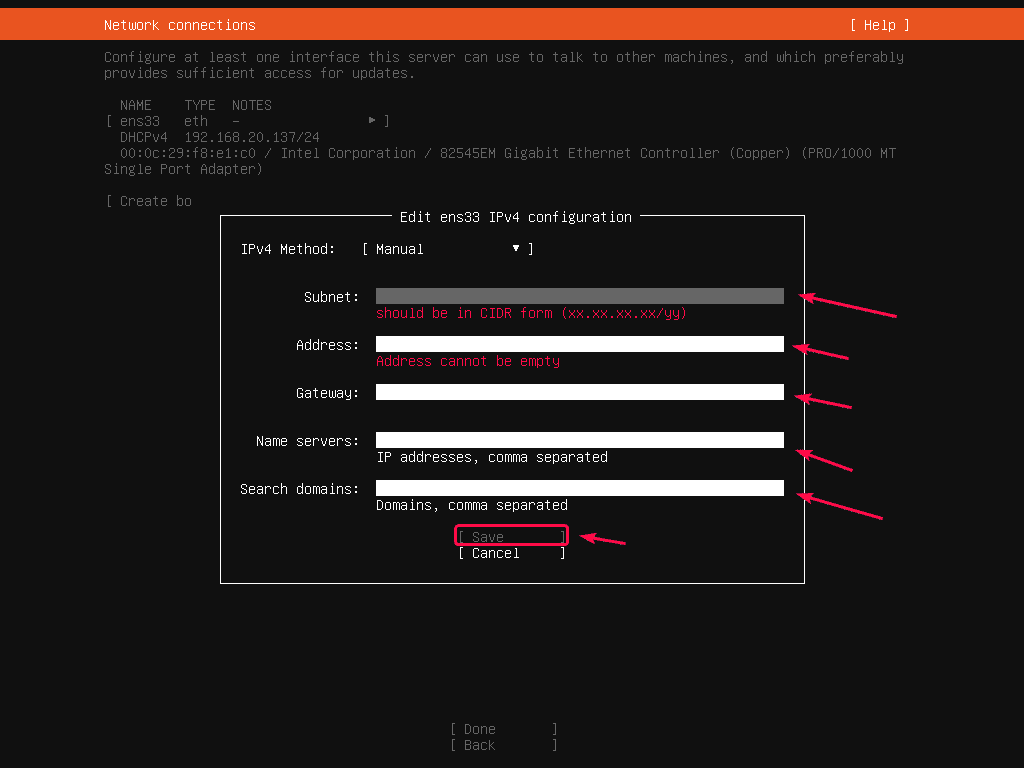
By default, all the network interfaces will use DHCP to automatically get IP addresses. But, if you want to set a static IP address, select Edit IPV4 (for IPv4 address) or Edit IPV6 (for IPv6 address) and press <Enter>.
Now, press <Enter>.
Select Manual and press <Enter>.
Now, type in your IP address details, select Save and press <Enter>.
Once you’re done configuring the network, select Done and press <Enter>.
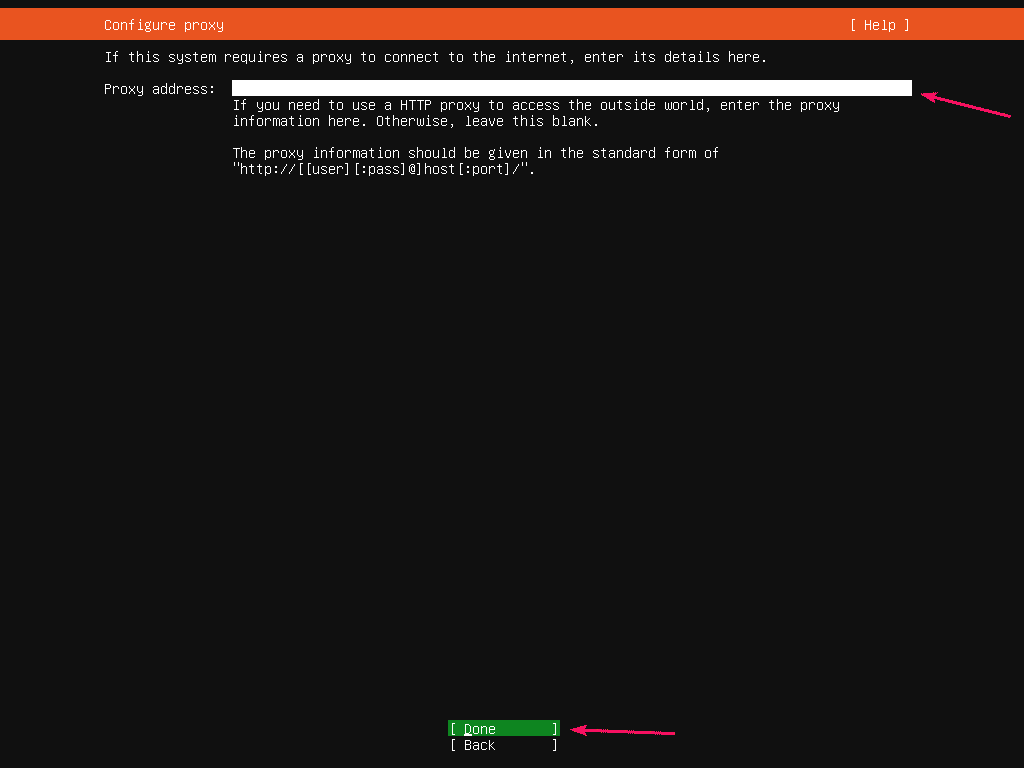
If you want to set any HTTP network proxies for the installer, this is where you put it.
If you don’t know what it is, just leave it blank.
Then, select Done and press <Enter>.
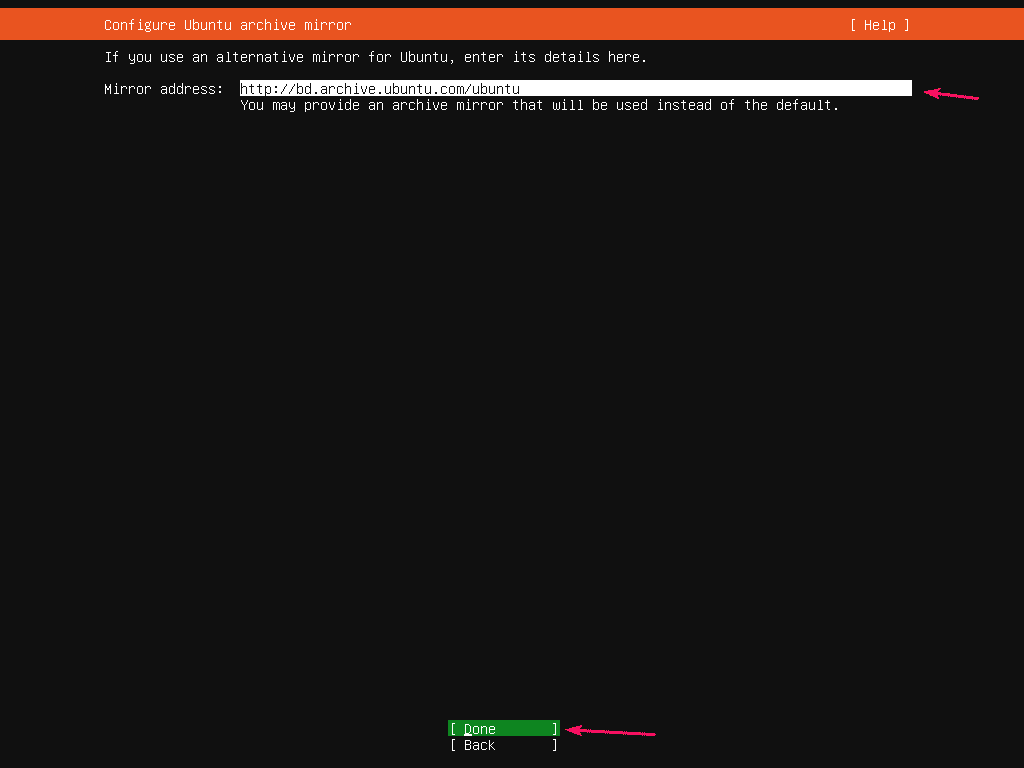
A default Ubuntu repository mirror URL should be displayed here. If you want to use a local mirror/cache server, you can change the mirror URL here. If you don’t know what to do, just leave the defaults.
Then, select Done and press <Enter>.
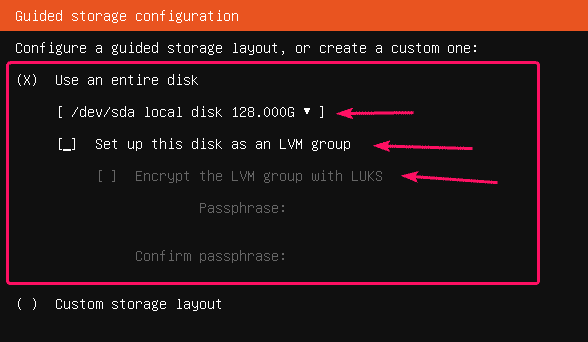
Now, you have to configure the storage for Ubuntu Server 20.04 LTS installation.
If you want the installer to automatically partition the hard drive, select Use an entire disk.
If you want to do partition your hard drive manually, select Custom storage layout.
NOTE: You use the <Space bar> to select/deselect or mark/unmark items in the Ubuntu Server 20.04 LTS installer.
For automatic partitioning, select a hard drive where you want to install Ubuntu Server 20.04 LTS.
You can check Set up this disk as an LVM group if you want to use LVM based partitioning. If you use LVM based partitioning, you can also check Encrypt the LVM group with LUKS to encrypt the LVM partitions for security.
For manual partitioning, select Custom Storage layout and press <Space bar> to mark it.
Then, select Done and press <Enter>.
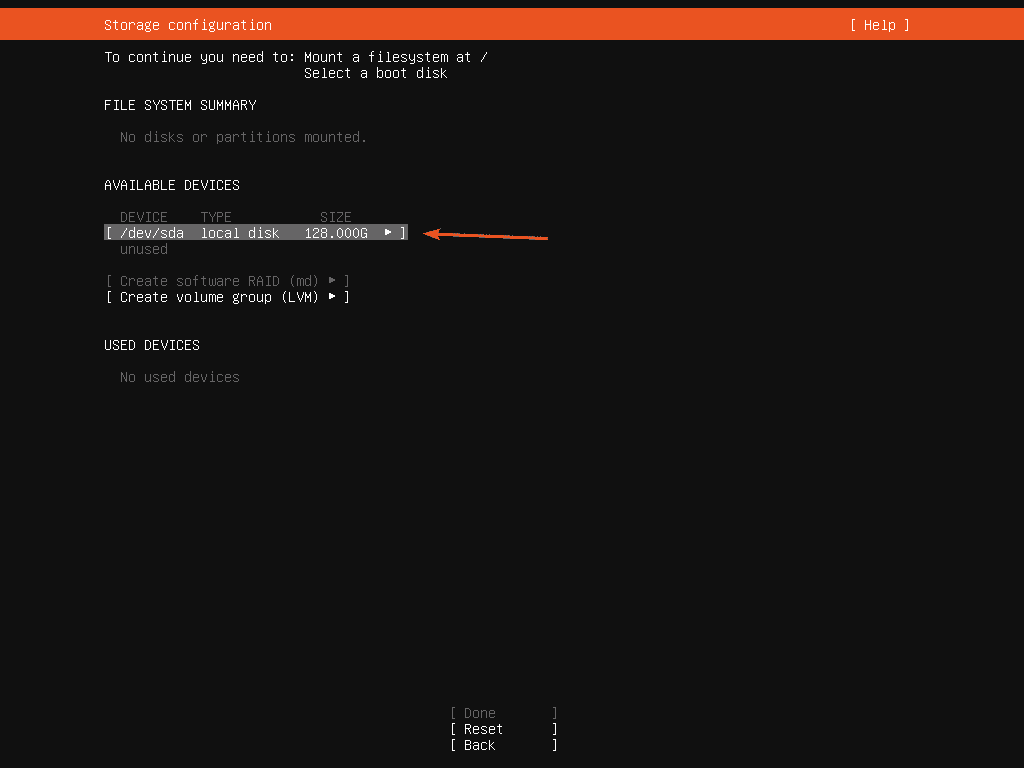
Now, select the hard drive you want to partition and press <Enter>.
Now, select Make Boot Device and press <Enter>.
A boot partition should be created.
Now, you have to add a root (/) partition.
To do that, select the hard drive, press <Enter>. Then, select Add GPT Partition and press <Enter>.
Now, set the Size of the partition to your desired size, Format to ext4 and Mount to /. Then, select Create and press <Enter>.
NOTE: You can use M for Megabyte, G for Gigabyte and T for Terabyte partition size units.
The root partition should be created.
In the same way, you can create more partitions if you want.
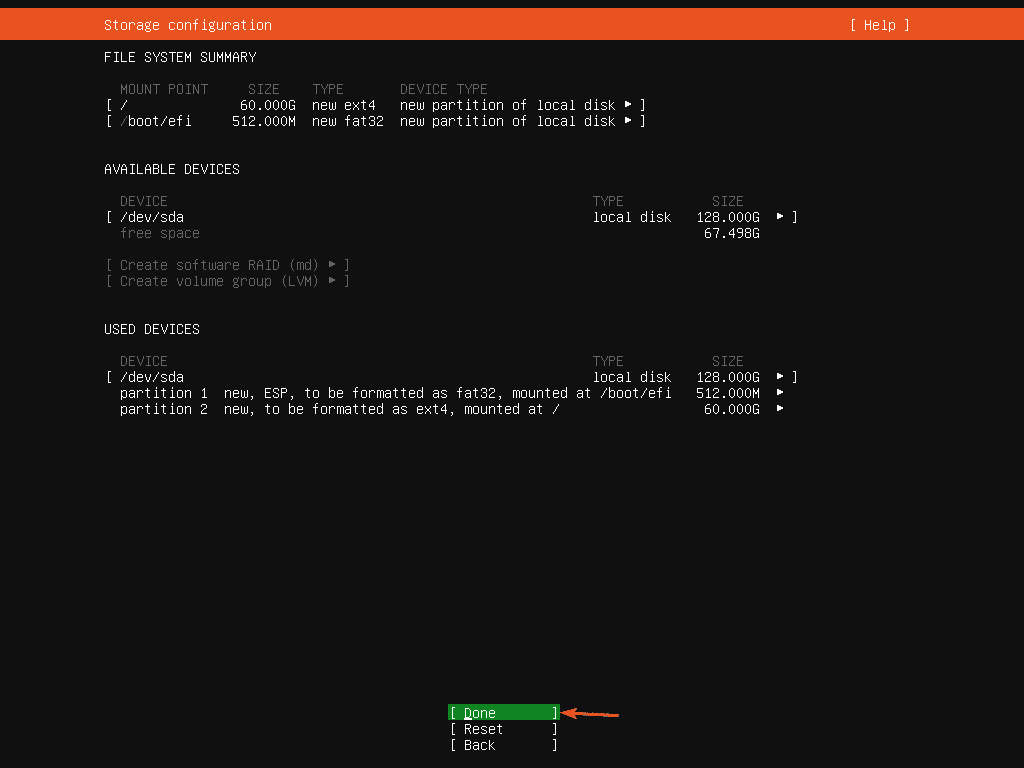
Once you’re done with the partitioning, select Done and press <Enter>.
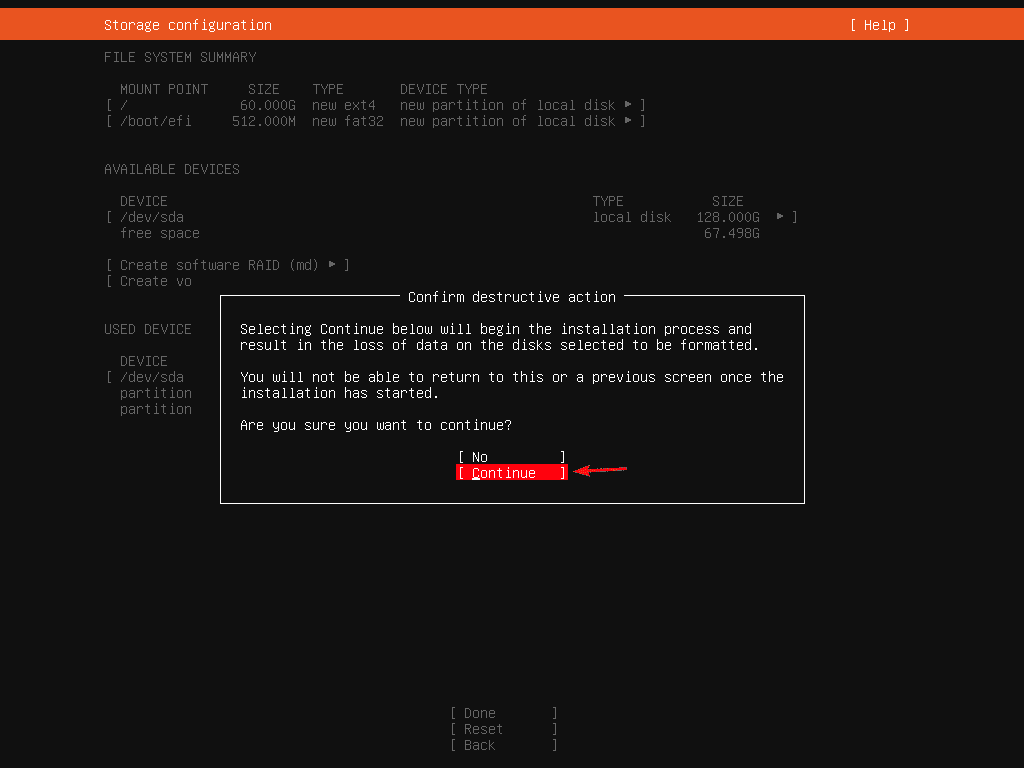
Now, select Continue and press <Enter> to confirm the disk changes.
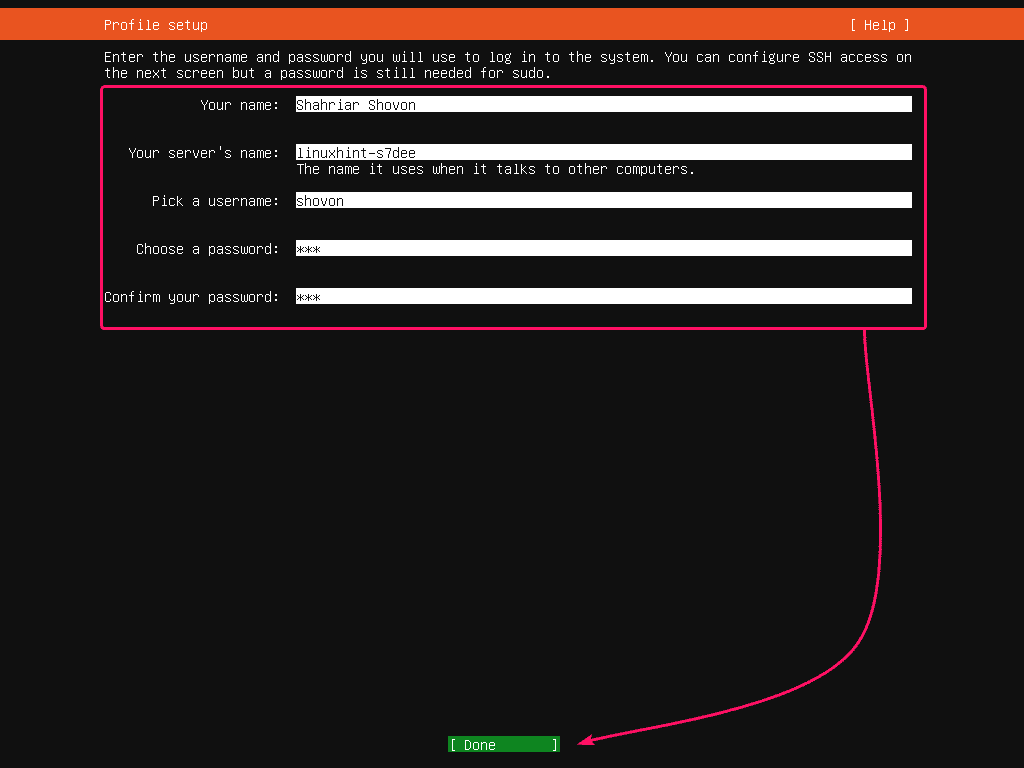
Now, type in your login information. Then, select Done and press <Enter>.
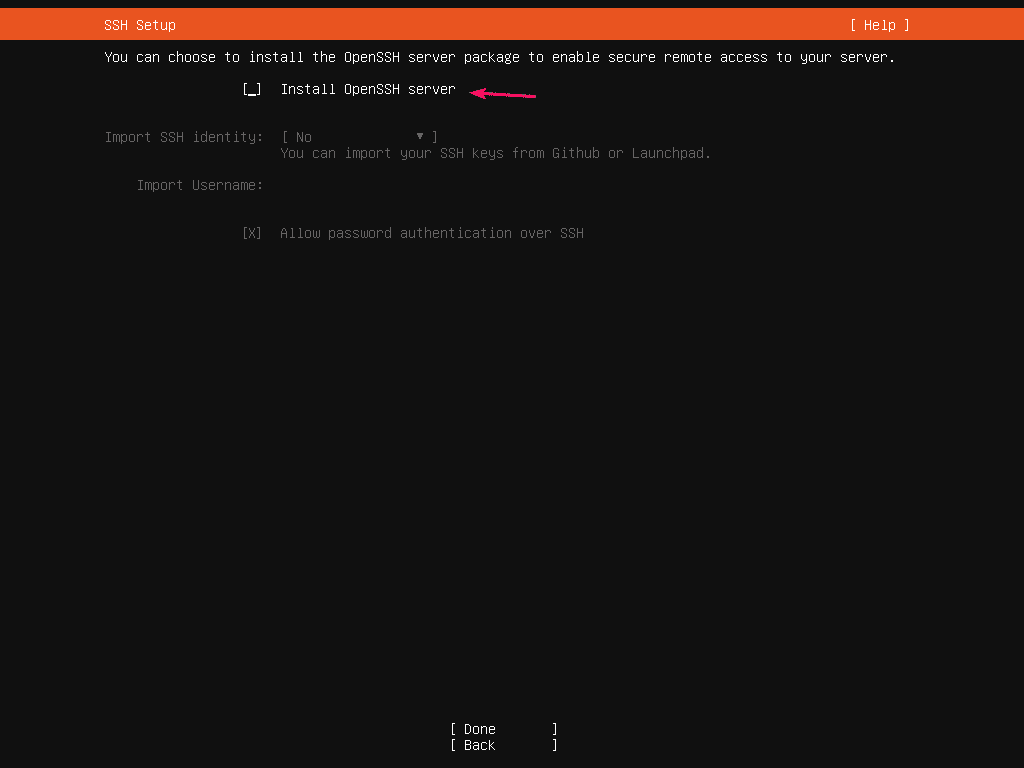
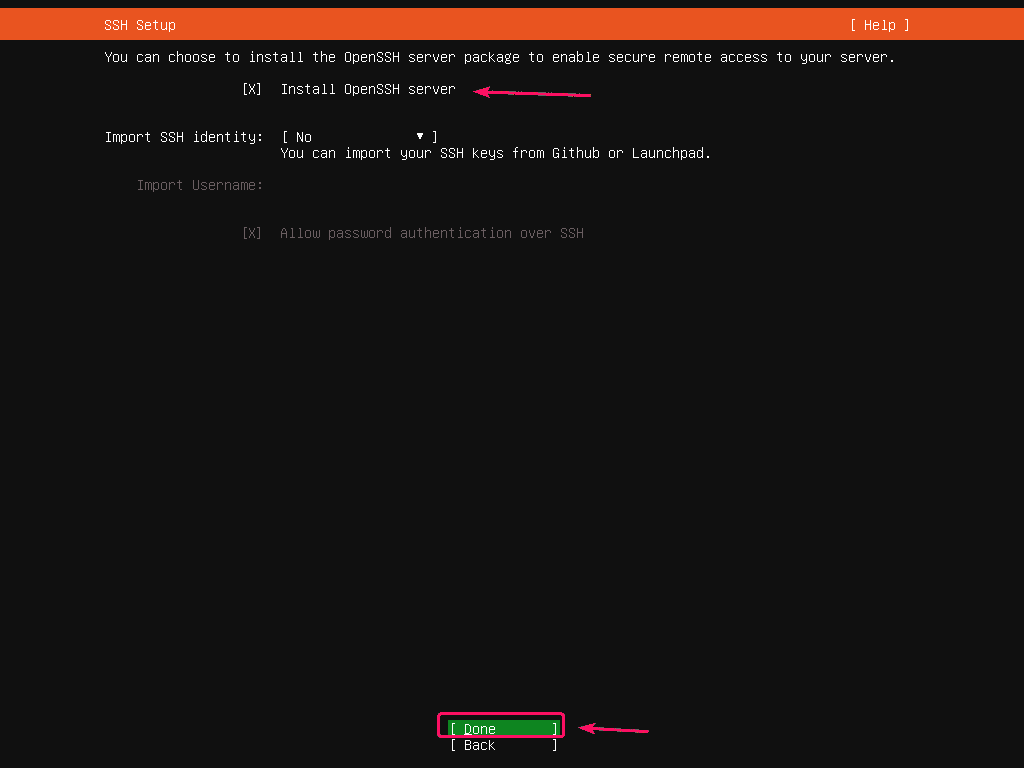
If you want to enable SSH access to your Ubuntu Server 20.04 LTS, select Install OpenSSH server and press <Space Bar>.
Then, select Done and press <Enter>.
If you want to install extra softwares and tools, you can select it from here.
Once you’re done, select Done and press <Enter>.
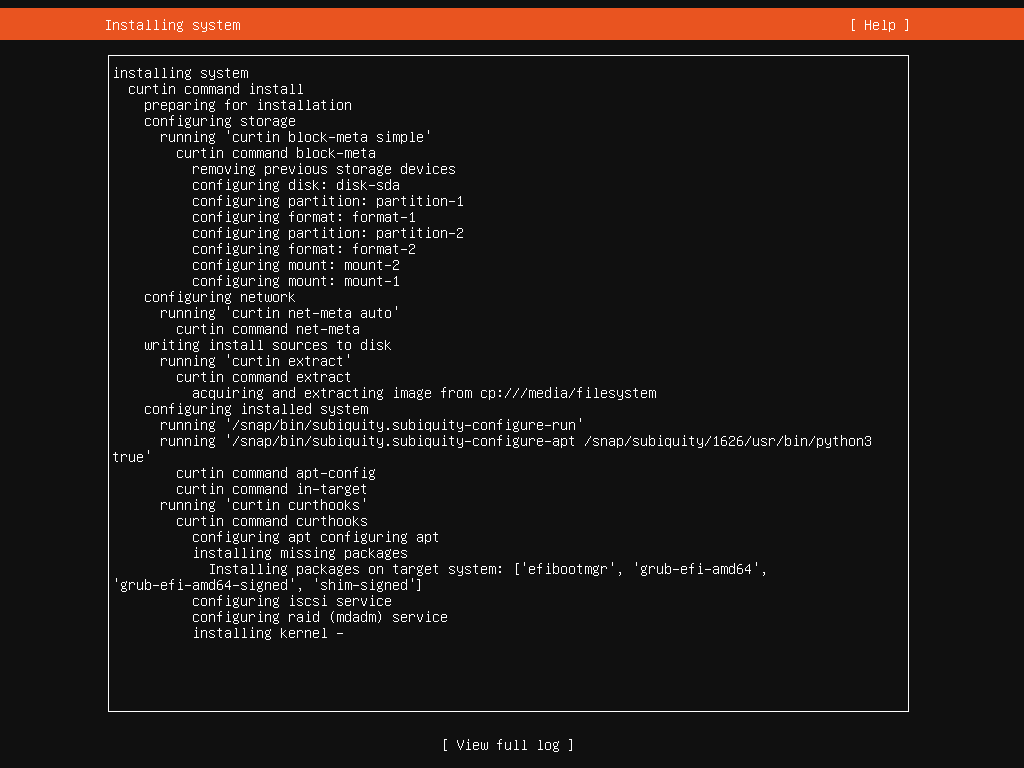
The installer should start copying all the necessary files to your hard drive. It may take a while to complete.
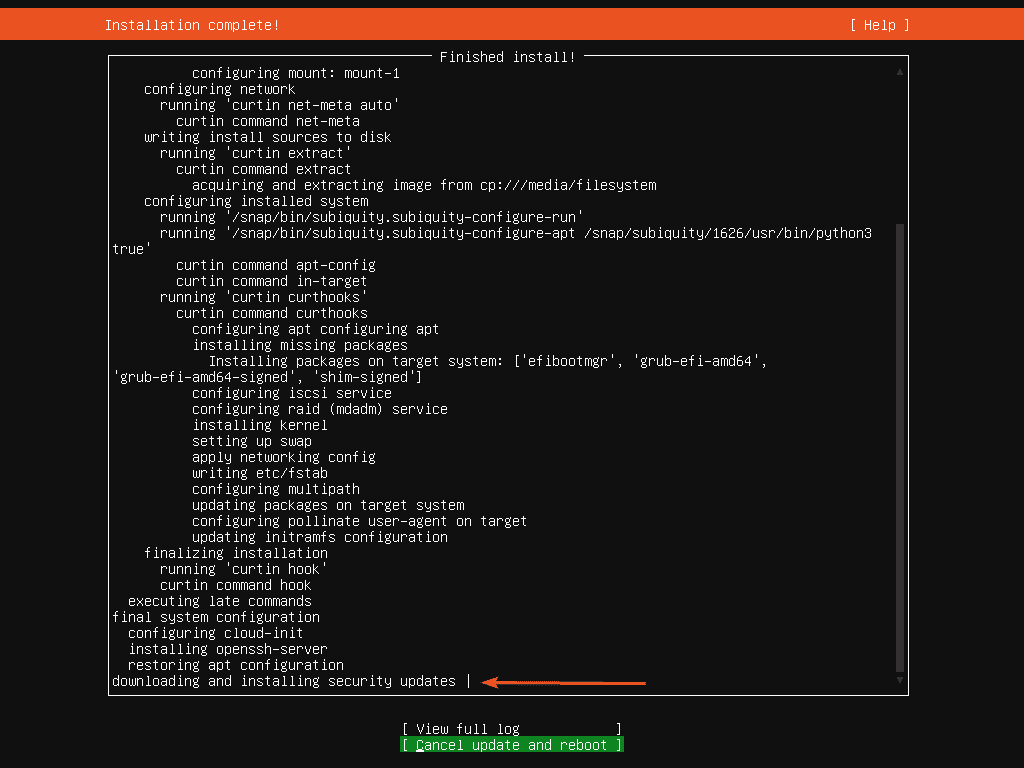
At this point, the installer should install all the available security updates. It may take a while to complete.
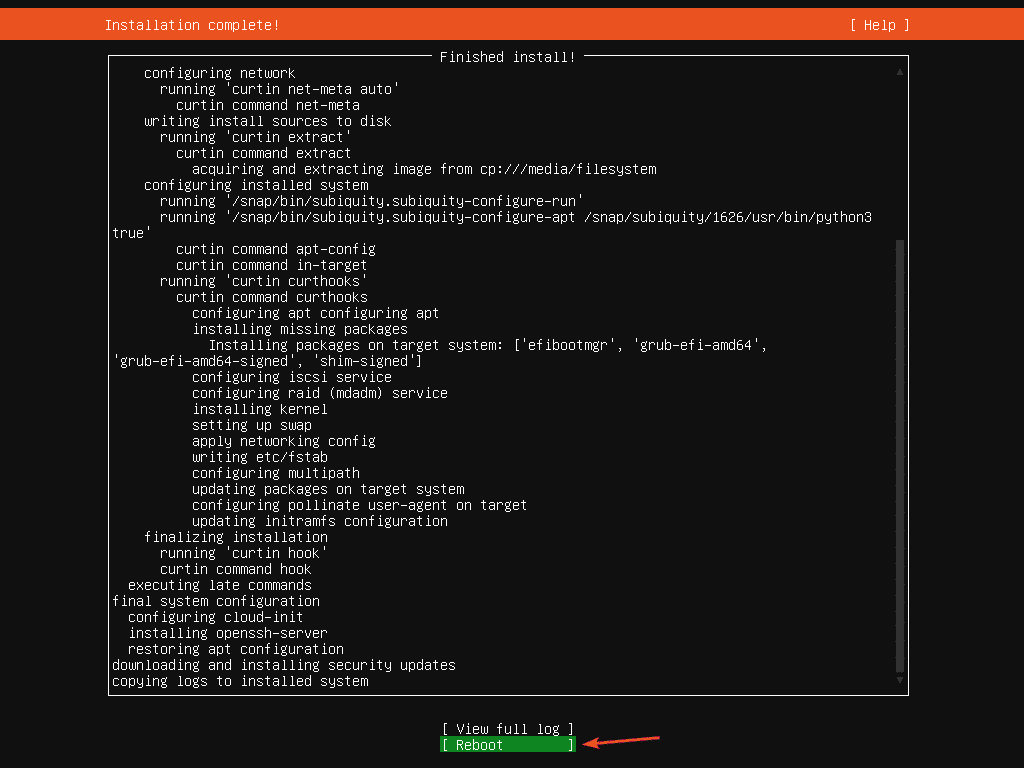
Once the installation is complete, select Reboot and press <Enter>.
Now, unplug the USB thumb drive from your server and press <Enter>. Your server should reboot.
Your server should boot Ubuntu Server 20.04 LTS from the hard drive shortly.
Now, you can log in using the username and password you’ve set during the installation.
As you can see, I am running Ubuntu Server 20.04 LTS.
So, that’s how you install Ubuntu Server 20.04 LTS on your server. Thanks for reading this article.
from Linux Hint https://ift.tt/3ciQtxJ

















0 Comments