Good news for Ubuntu users, Canonical has released Ubuntu 20.04 LTS on 23rd April 2020. As it is an LTS (Long Term Support) release so ubuntu users will keep getting updated and support till April 2025. So, it is worth to update your Ubuntu 18.04 LTS desktop to Ubuntu 20.04 LTS (Focal Fossa).
In this article we will demonstrate how to upgrade Ubuntu 18.04 LTS to 20.04 LTS. There are two ways to do it either via command line or GUI (Graphical Interface). To complete the upgrade smoothly, a stable internet is required on your Ubuntu system.
Upgrade Ubuntu 18.04 LTS to 20.04 LTS via Command Line
We strongly recommend please take backup of your existing Ubuntu 18.04 may be on some external drive.
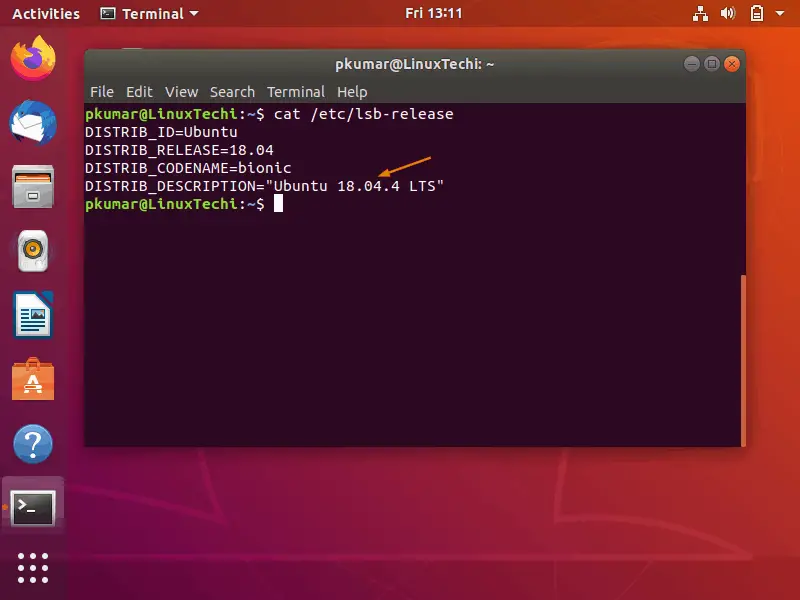
Before start upgrading let’s take a not of exiting Ubuntu Version, open the terminal and run below command,
pkumar@LinuxTechi:~$ cat /etc/lsb-release
We will get the output of above command something like below,
Let’s deep dive into upgradation steps
Step 1) Apply all updates of installed packages
Rub below apt command to install all the updates of installed packages,
pkumar@LinuxTechi:~$ sudo apt update
pkumar@LinuxTechi:~$ sudo apt upgrade -y
Once all the updates are installed including the kernel then reboot your system
pkumar@LinuxTechi:~$ sudo reboot
Step 2) Remove unused Kernels and install ‘update-manager-core’
Once your Ubuntu 18.04 LTS desktop is available after reboot, then it is recommended to remove unused kernel to free up the space from /boot partition, run beneath command:
pkumar@LinuxTechi:~$ sudo apt --purge autoremove
Execute below command to install “update-manager-core“, as it is required for upgrade, though on most of the system it should be installed by default. In case it is not installed run below command,
pkumar@LinuxTechi:~$ sudo apt install update-manager-core -y
Step 3) Start Upgrade Process
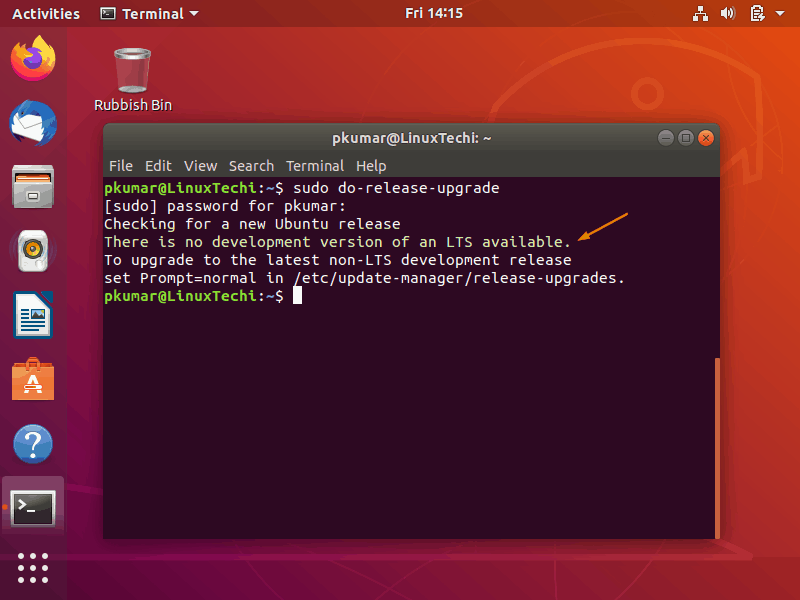
Run following command to view whether new 20.04 LTS version is available for your system.
pkumar@LinuxTechi:~$ sudo do-release-upgrade
If, in the above command’s output, you got a message that “There is no development version of an LTS available” then we can force the above command by passing the parameter “-d” to look for the new latest LTS version.
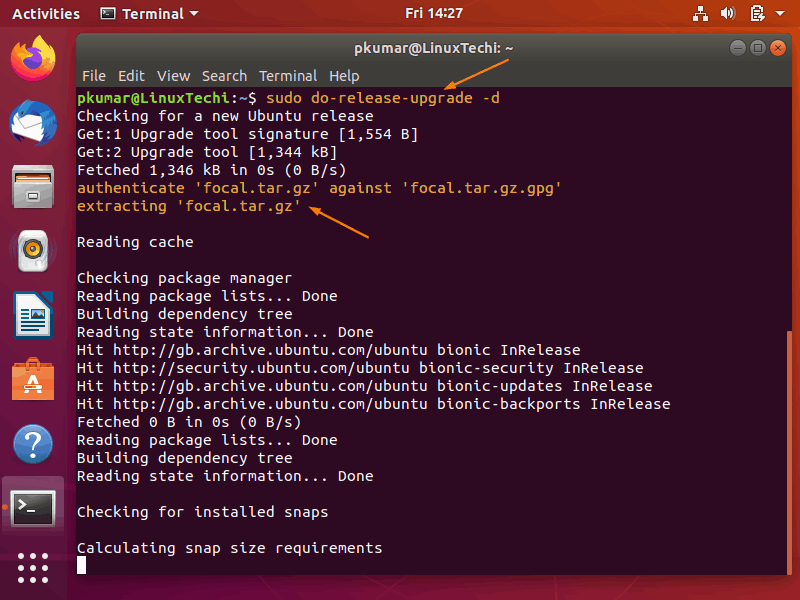
Now run the command to initiate the upgrade procedure,
pkumar@LinuxTechi:~$ sudo do-release-upgrade -d
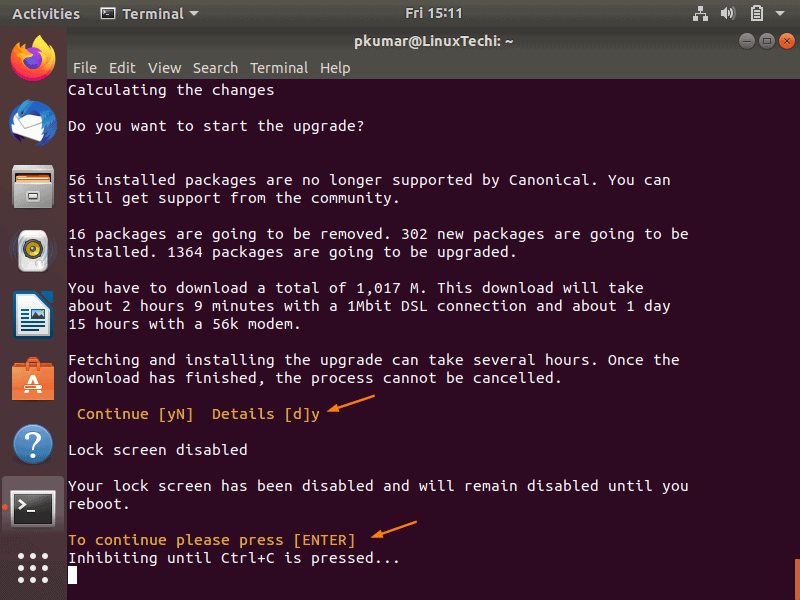
During upgrade procedure, it will prompt you couple of times to type “y” to update package repositories and sometime “enter” to confirm to proceed with upgrade,
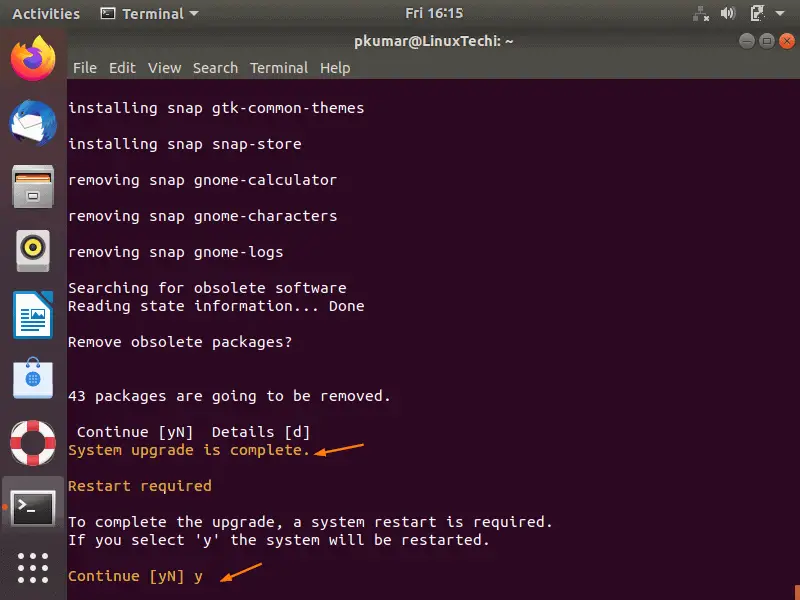
Once the upgrade procedure is completed successfully then we will get following message
Above output confirms that upgrade is completed, upgrade tool prompted us to press ‘y’ to restart the system.
Step 4) Verify Upgrade
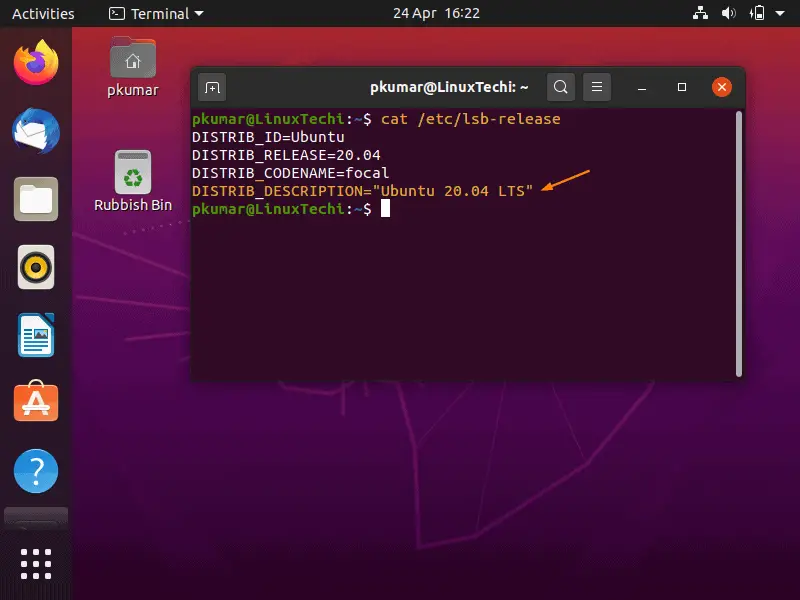
Once the system boots after the reboot, open the terminal type following to verify the Ubuntu version,
pkumar@LinuxTechi:~$ cat /etc/lsb-release
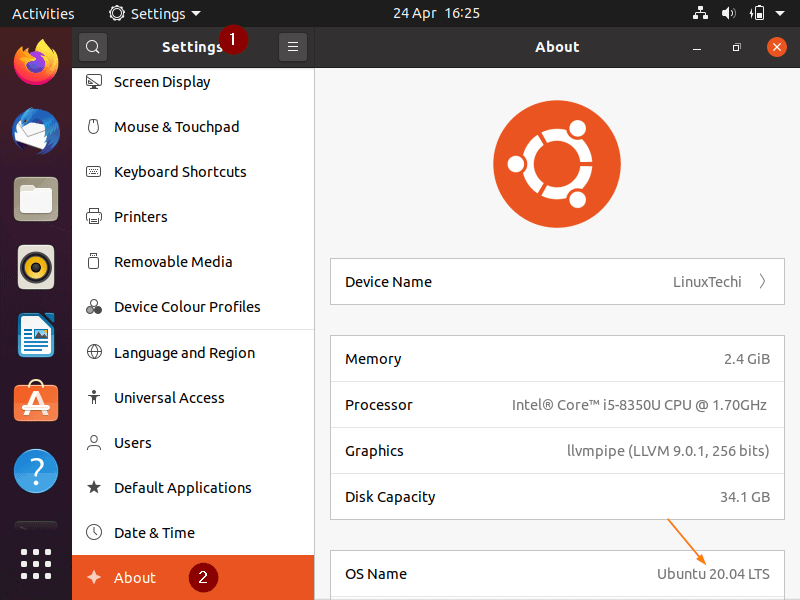
Another way to verify the Ubuntu version, Go to Settings and then choose About
This confirms that we have successfully upgraded our Ubuntu 18.04 LTS to latest Ubuntu 20.04 LTS.
Upgrade Ubuntu 18.04 LTS to 20.04 LTS via GUI
Note: First and foremost, task is to take the backup of your Ubuntu 18.04 LTS desktop.
Step 1) Apply Updates of installed packages and reboot
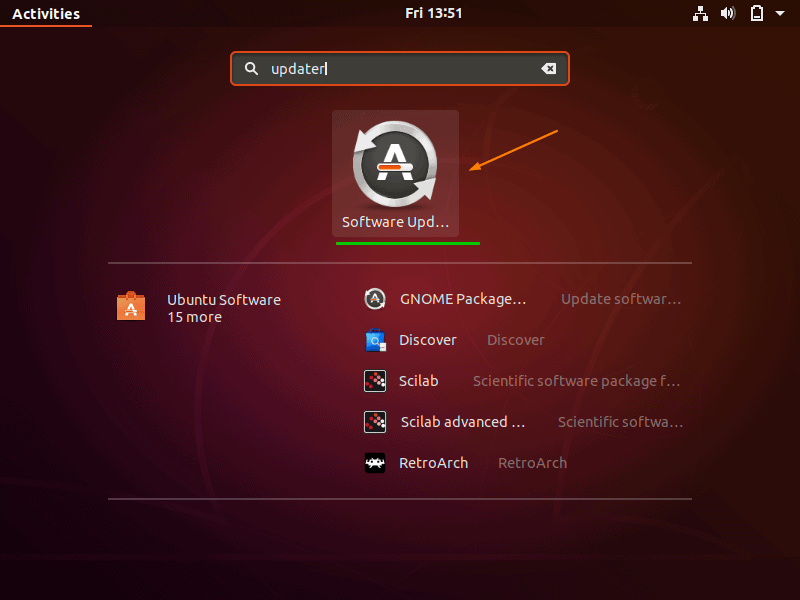
Search “Updater” from search dash and access it by clicking on its icon,
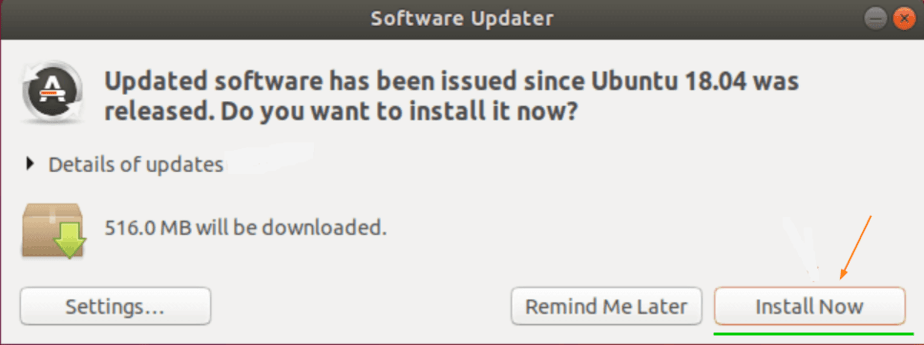
If the updates are available, then we will get the following screen , click on ” Install Now”
Once all the updates are installed, reboot your system once.
Step 2) Start Upgrade Process
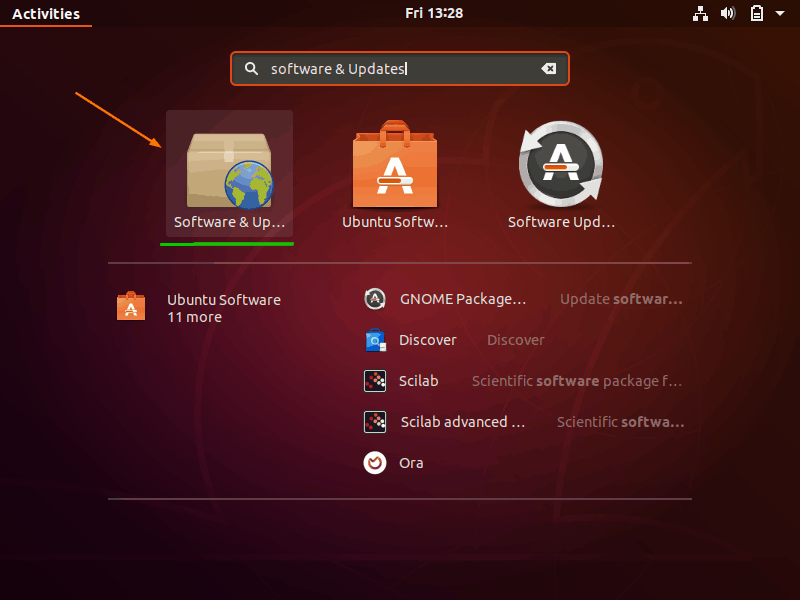
Once the system is available after reboot, from the search dash look for “Software & Updates” and then click on its Icon,
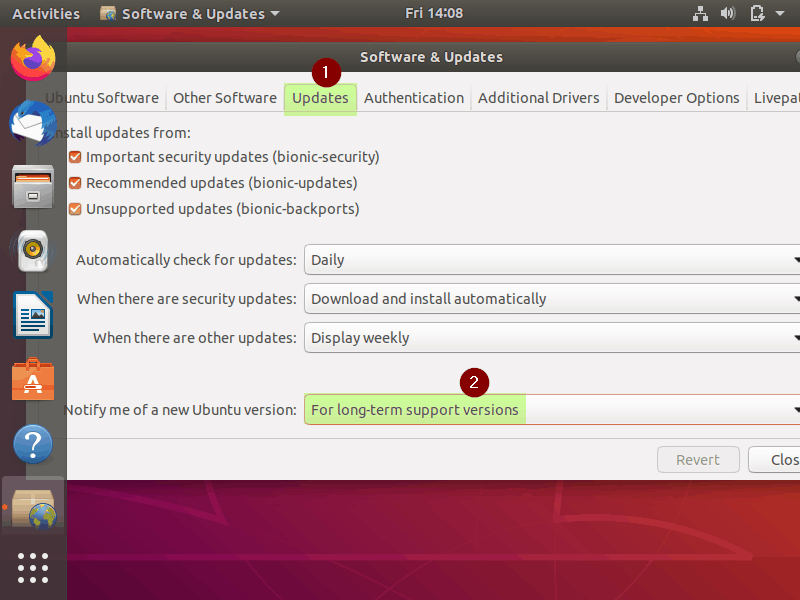
From the Updates Tab, set “For long-term support versions” via “Notify me of a new Ubuntu version” drop down menu.
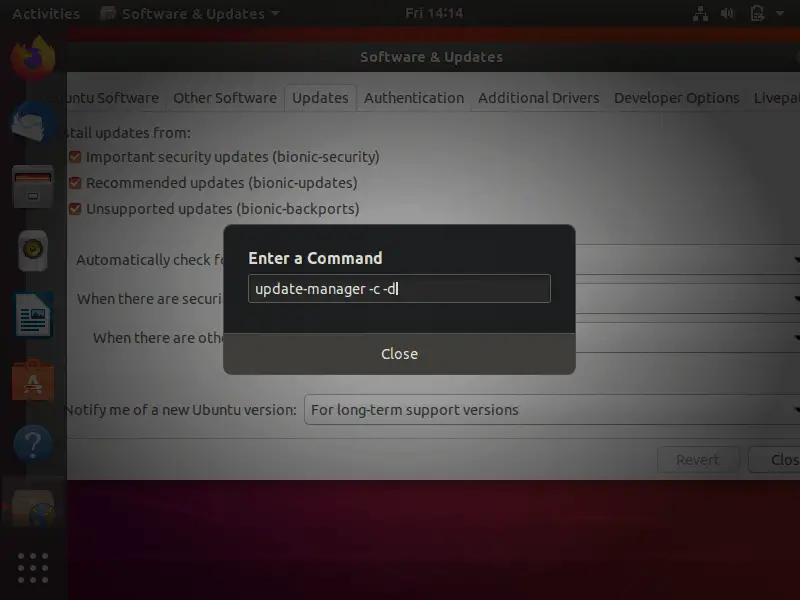
If no upgrades appears, then type “ALT+F2“, enter the command as “update-manager -c -d” and hit enter
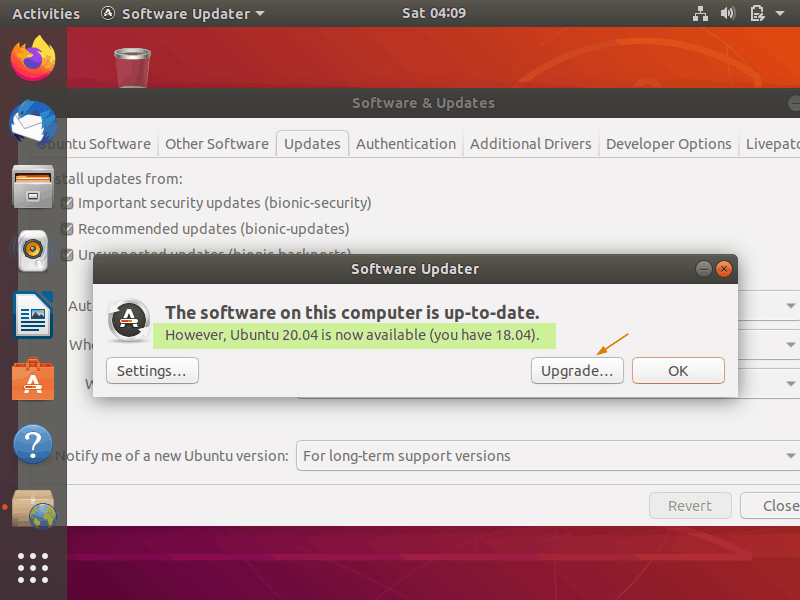
In next screen, we will get the something like below,
Click on “upgrade” to initiate the upgrade procedure, it will prompt you to enter your user credentials.
In the next window, choose “Upgrade“,
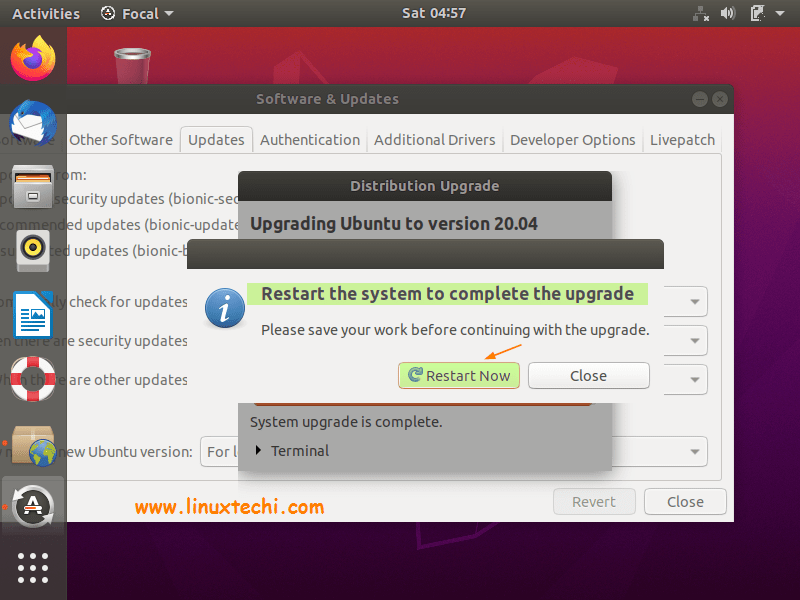
Now follow the Screen instructions to complete the upgrade procedure, once it is upgraded successfully, it will prompt you to restart the system.
Click on “Restart Now”
Step 3) Verify Ubuntu version after upgrade
Once your Ubuntu system boots up after reboot, Login and verify Ubuntu version:
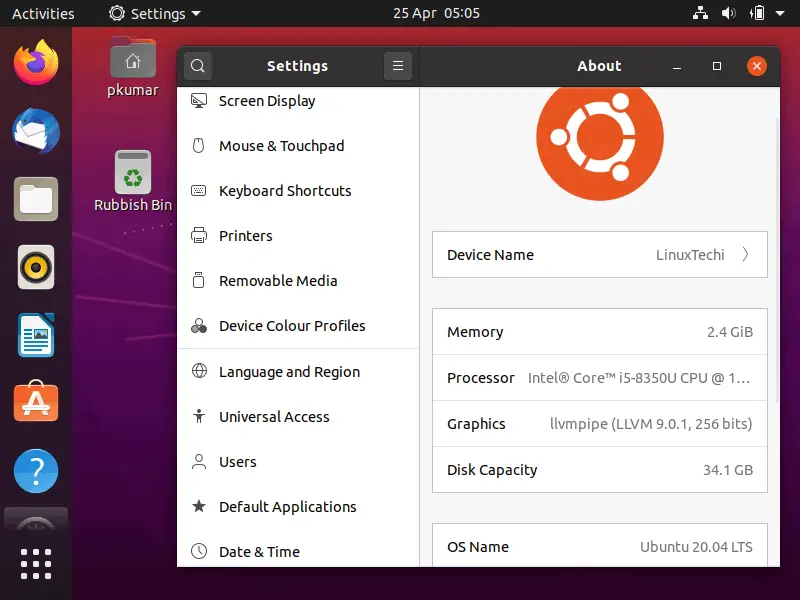
From the search tab look for “Settings” and then choose “About”
Above confirms that we have successfully upgrade our Ubuntu 18.04 LTS to 20.04 LTS. That’s all from this article. Your feedback and comments are most welcome.
from Linuxtechi https://ift.tt/2S7fUuh





0 Comments