Does Ubuntu Need AntiVirus?
If you have been using Windows Operating system, you will be familiar with antiviruses. Antiviruses are the software programs which run in the background and check for the viruses which cause problems.
It is most commonly known as viruses do not exist in Linux but it is not true. Malwares and viruses do exist in Linux but they are not quite common. If you want to make your Linux machine more secure then you need to install antivirus.
Installing ClamAV
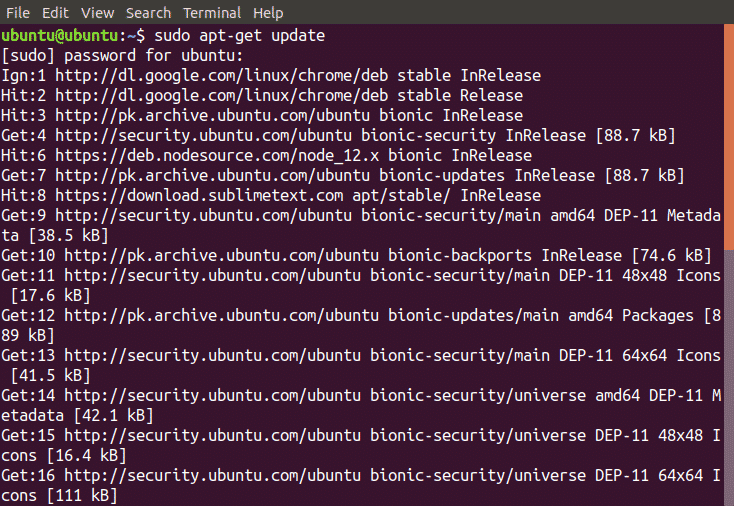
In order to install ClamAV on your machine, first of all run the following command to update your system
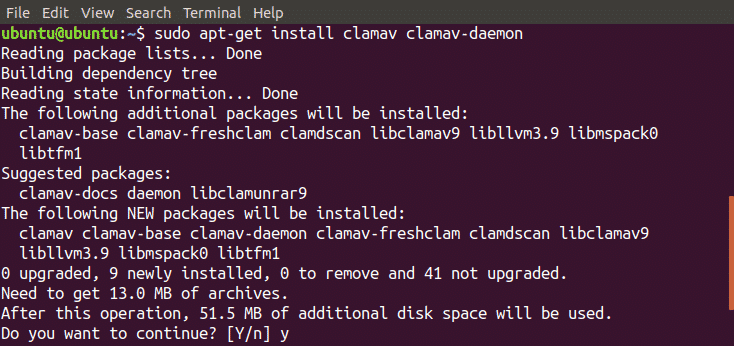
After updating your machine, now run the following command to install ClamAV
Now ClamAV has been installed on your machine. Run the following command to check whether it has been installed or not
If the above command gives the version of ClamAV then it has been installed successfully.
Updating the ClamAV Signature Database
So far you have installed ClamAV on your machine, now you need to update the ClamAV signature database. To install ClamAV signature database, follow the given steps
- Stop freshclam service
- Update the signature database (Two methods)
- Update by running the command in the terminal
- Update by downloading daily.cvd file
- Start freshclam service
First step is to stop the clamav-freshclam service by running the following command in the terminal window
In the Second Step, now we have to update the signature database manually. There are two ways to do so. First Method involves to run the following command in the terminal
This command will install the signature database in your machine. If this command does not work, then goto the following link to download signature database file
https://database.clamav.net/daily.cvd
Now create a directory named “clamav”, if does not exist, in a specific location by running the following command
And move the downloaded file in this location by running the following command
Now the third step is to start the clamav-freshclam service by running the following command.
In the above command, we have used some options. These options have following meanings
- –infected: prints only infected files
- –remove: removes infected files
- –recursive: all the subdirectories in the directory will be scanned
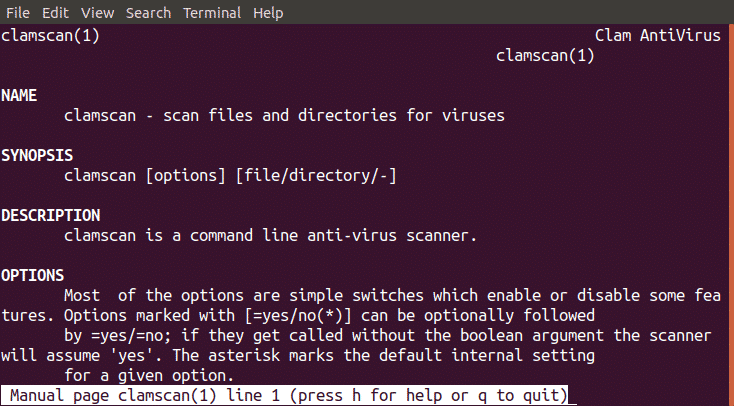
You can use further options with this command. Run the following command in the terminal window to see all the available options
You can scan your whole ubuntu system by running the following command in the terminal window
NOTE: This can take some time depending upon the amount of data and processing speed of your system
Installing ClamTK
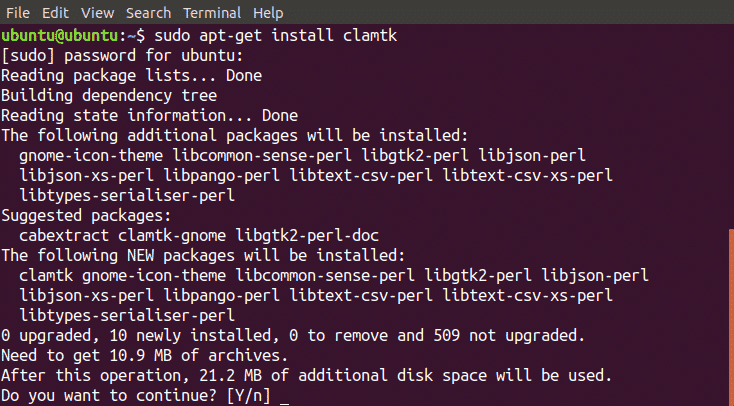
ClamTK is a Graphical User Interface for ClamAV software program. If you have issues while using the ClamAV command line interface, you can install ClamTK that is a graphical user interface for ClamAV. In order to install ClamTK, run the following command in the terminal window
Getting Started with ClamTK
Here we will discuss how to scan a directory using ClamTK. First of all run the following command to start ClamTK package
A window, as shown in the following figure, will appear
Now click on the “Scan a directory” from the analysis group and select the desired directory. ClamTK will scan that directory and display the result as shown in the following figure
Performance Comparison between ClamAV and ClamTK
While using ClamAV and ClamTK, I did not notice any difference between the performance of the two packages. So you can use any of them but the best choice is to use ClamTK as it provides a graphical user interface which makes it easier to use, specially for beginners.
Uninstalling ClamAV and ClamTK
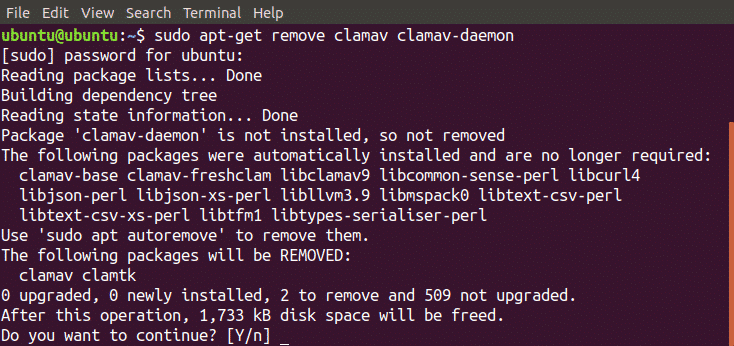
So far we have discussed how to install and use ClamAV and ClamTK, so what if you want to remove these packages from your system? You can remove these packages by running the following commands
Scanning a Directory
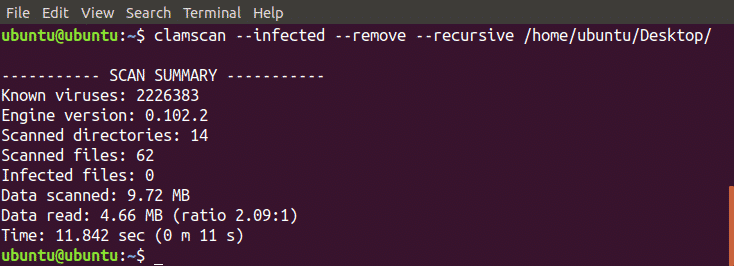
Now ClamAV is ready to use and can be used in Ubuntu by using clamscan command. Run the following command to scan the desktop directory.
/home/ubuntu/Desktop
The above command will scan the Desktop directory and gives us its statistics related to scanning as shown in the figure below
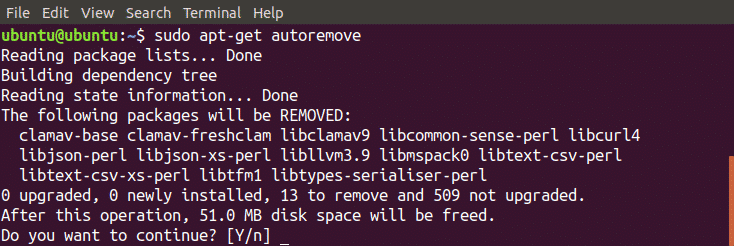
When you run the above command, it will automatically remove ClamTK as well. Now run the following command to remove unwanted files from your system
Now ClamAV and ClamTK have been removed completely from your system.
Conclusion
ClamAV is an antivirus program which can be used to detect and remove trojans, malicious softwares including viruses from your system. In this blog, we have discussed how to install ClamAV in ubuntu. After this we discussed how to update the ClamAV signature database and how to use ClamAV using the command line interface to scan a directory. After this we discussed how to install ClamTK which gives a graphical user interface and makes it easier to use. Then we compared the performance of these packages. At the end we learnet how to remove these two packages completely from your system.
After reading this blog, you will be able to use ClamAV and ClamTK easily. I have explained everything in detail and hope you will find this blog useful.
from Linux Hint https://ift.tt/2QJtmEb






0 Comments