Installing dependencies before using NmapAutomator:
Before starting with NmapAutomator let’s solve some dependencies, the first one is Go, you can download it from https://golang.org/dl/.
Once downloaded install it by extracting the content in the directory /usr/local by running:
Export the path by running:
Now lets install GoBuster, a security scanner by running:
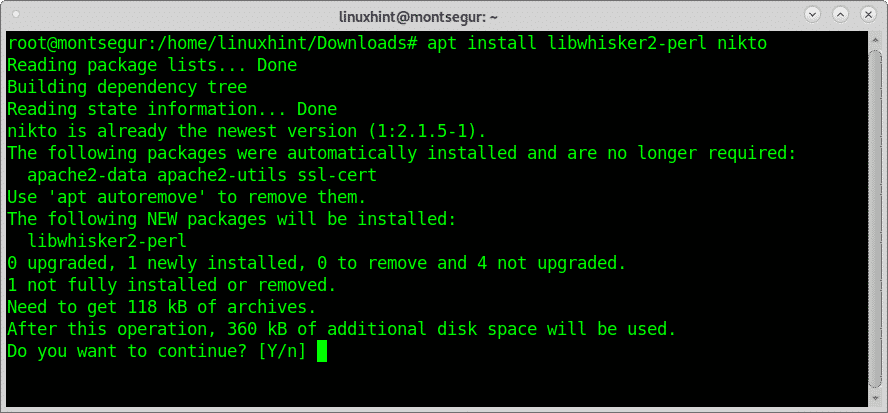
Finally lets install Nikto by running:
Now we can proceed to download NmapAutomator using git:
Get inside the NmapAutomator directory and give the script execution permissions by running:
Optionally, to make it executable even if you aren’t inside the directory run:
To be able to scan in mode Vulns you need to install the nmap-vulners script.
To do it first move into the Nmap scripts directory by running:
Copy the .nse files into the directory /usr/share/nmap/scripts
Finally update nmap scripts database by running:
How to use NmapAutomator:
Lets scan linuxhint.com, as I said previously NmapAutomator doesn’t work with domain names but only with targets identified by their IP address, to learn LinuxHint.com IP address I use the command host:
Before proceeding with the scan lets clarify NmapAutomator supports 6 types of scans:
Quick scan: checks for open ports only.
Basic scan: first checks for open ports to specifically scan them later.
UDP scan: it is a basic scan but directed against UDP services.
Full scan: this mode scans the whole ports range through a SYN Stealth scan and then carries out an additional scan on opened ports.
Vulns scan: this type of scan checks the target for vulnerabilities.
Recon: this option executes a Basic scan.
All: this type runs all scans previously mentioned, of course without duplication of tasks.
To begin with examples, let’s try the Quick scan against LinuxHint.
As you can see the scan process was pretty fast and reported on opened ports.
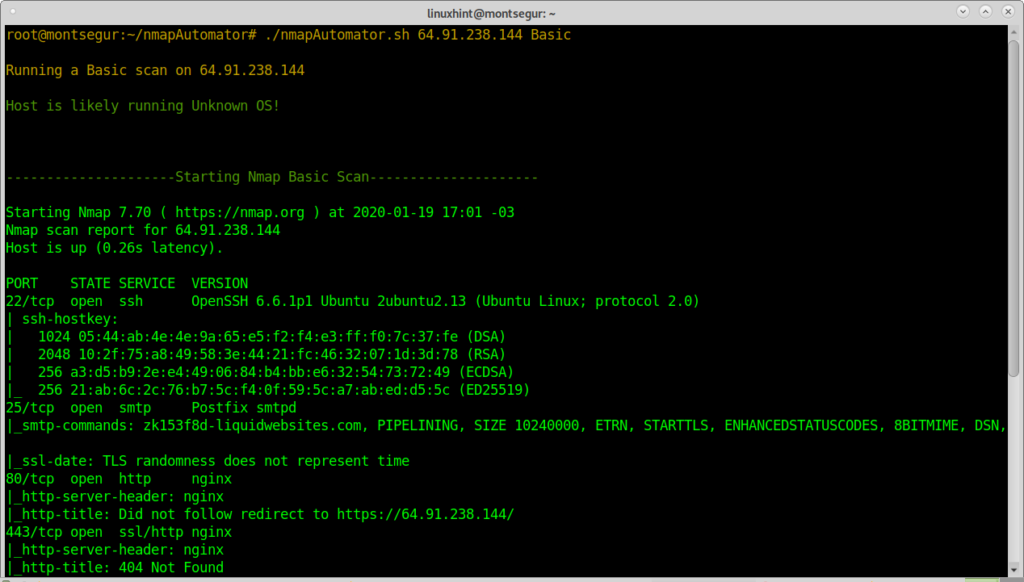
The following example shows the basic mode in which after finding opened ports Nmap scans them gathering additional information.
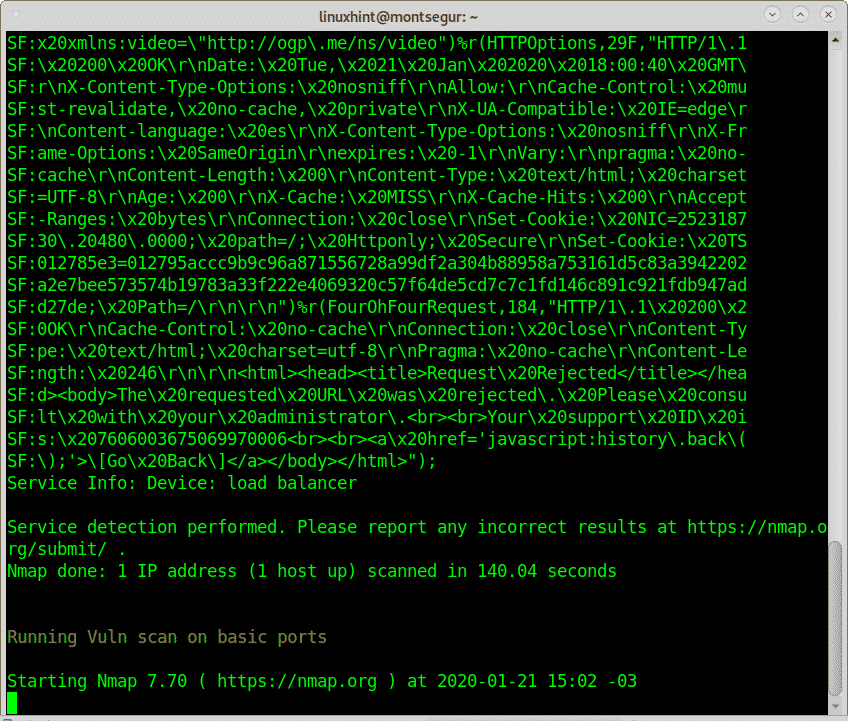
Zoom of result extract:
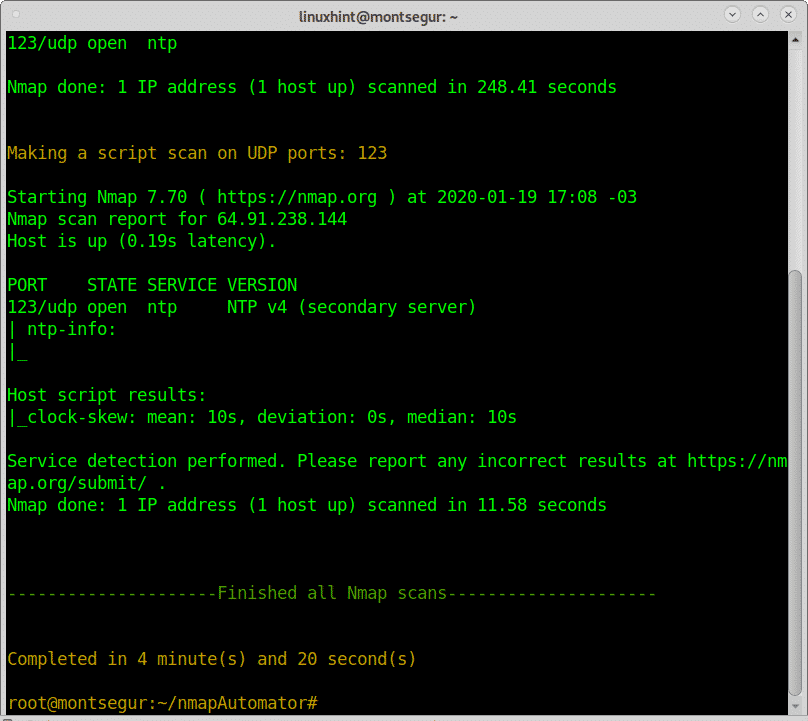
The following example shows a Basic scan focused on UDP ports:
The following example shows the Vulns scan for which we installed nmap-vulners.
First Nmap will check for available services in the target to check them for security holes or vulnerabilities later similarly to when we use the script the NSE (Nmap Scripting Engine) as shown at https://linuxhint.com/nmap-port-scanning-security/ or https://linuxhint.com/nmap_banner_grab/.
As you see the Vulns type of scan revealed many possible vulnerabilities or security holes.
The following scan is also interesting like the previous, for this mode you need to install other scanners such as nikto. This scan starts with a basic scan and then continues with a vulnerability scanner.
CLARIFICATION: in order to show real vulnerabilities reports the first screenshot of the Recon scan shows LinuxHint but the vulnerability results belong to a different target.
Select any additional scanner you want, I selected Nikto. In case you want to learn more about Nikto you can read the article at https://linuxhint.com/nikto_vulnerability_scanner/.
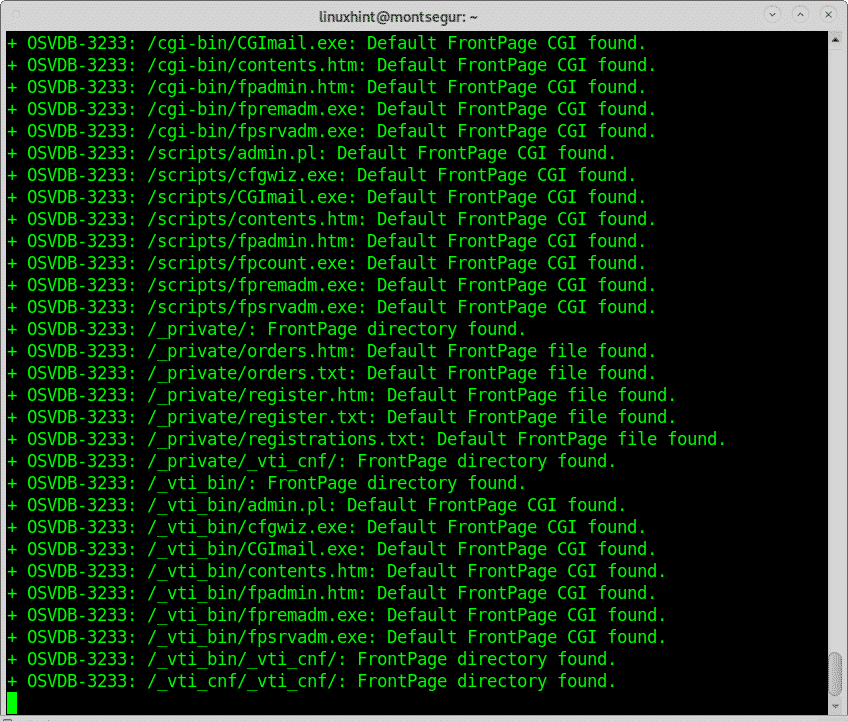
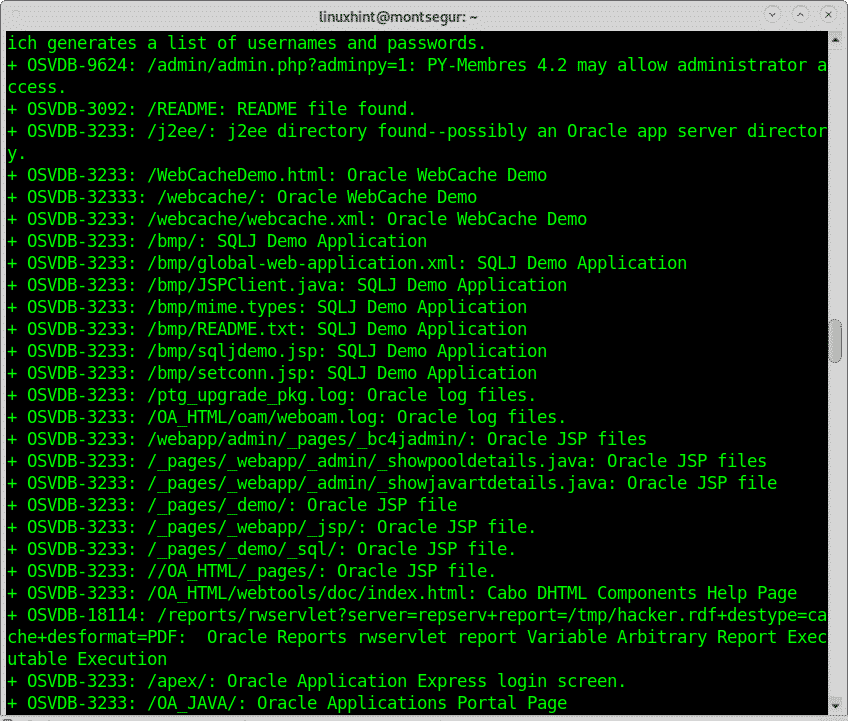
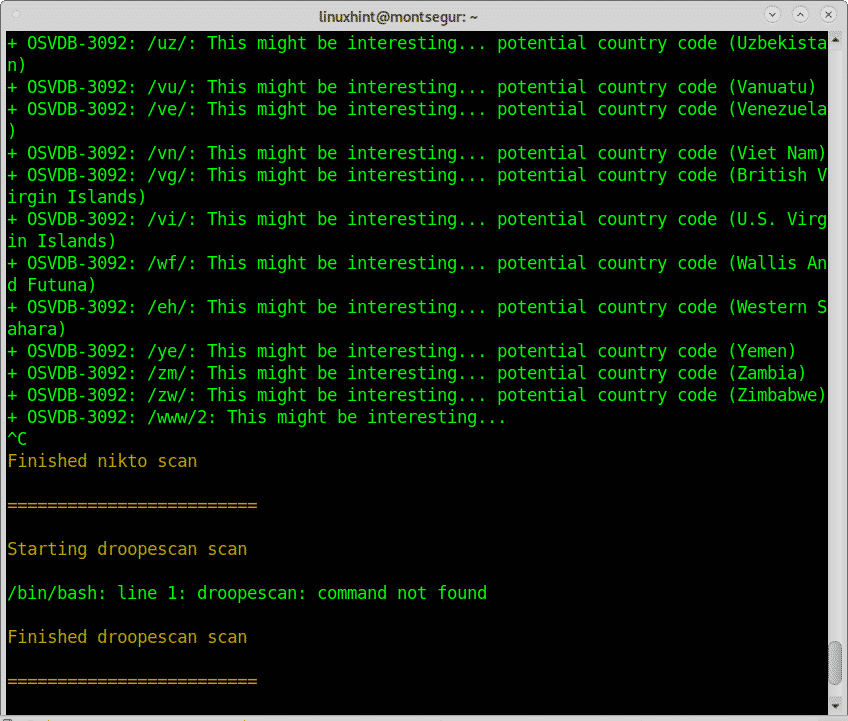
Below you can see Nikto’s reports on found vulnerabilities:
As you could see many vulnerabilities were found, probably many false positive reports, something usual when scanning for vulnerabilities.
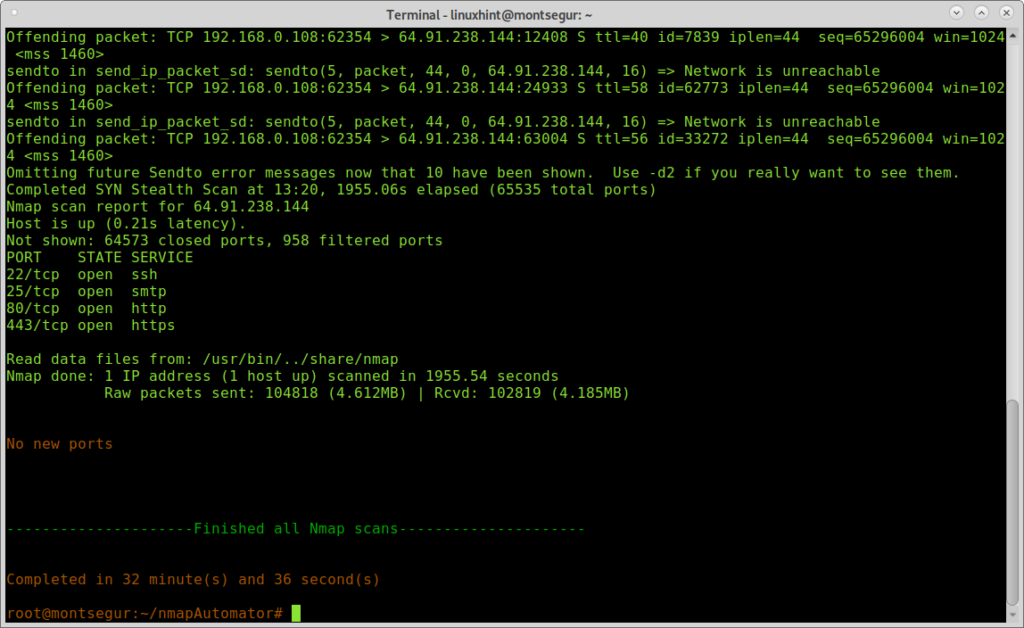
Below you can see an example of a Full mode scan:
Conclusion on NmapAutomator:
NmapAutomator resulted in a very nice tool despite its limitation to use domain names. As you could see the script managed to direct Nmap properly finding a lot of vulnerabilities. The integration with additional scanners like Nikto is very useful and represents, to my taste, the biggest advantage of this script.
If you don’t have time to read on Nmap or deal with GUI scanners such as OpenVas or Nessus this script is a great solution to shoot complex scans fast and in a simple way.
I hope you liked this tutorial on how to use NmapAutomator.
from Linux Hint https://ift.tt/3aTf0cQ














0 Comments