What Is Google Cloud?
Launched in 2008, Google Cloud is a comprehensive cloud computing suite running on the same powerful global infrastructure Google uses for its central products, including Google Search and YouTube.
Google Cloud provides secure storage, powerful compute, and integrated data analytics products that can satisfy the needs of everyone from individual home users to larger enterprises.
Some of the most noteworthy use cases of Google Cloud include web hosting, deployment of globally available apps, fully managed cloud data warehouse, machine learning, shared gaming experiences, and automation of repetitive tasks, just to give a few examples.
With Google Cloud, anyone can easily spin up a virtual machine in seconds and use it as a worry-free alternative to a physical server. Because all resources are virtualized, it’s possible to effortlessly add more processing power or storage on demand, so you always pay only for what you use.
Best of all, all new Google Cloud users receive a $300 credit that can be used with any Google Cloud service. To be eligible for the bonus credit, you have to be a new Google Cloud customer and set up a billing account by providing your credit card information, which is required to verify that you’re not a bot.
Setting Up a Google Cloud Server from Scratch
Google has made it very easy to set a new Google Cloud server from scratch, and the whole process shouldn’t take you more than 15 minutes from start to finish.
Step 1: Sign In to Google Cloud
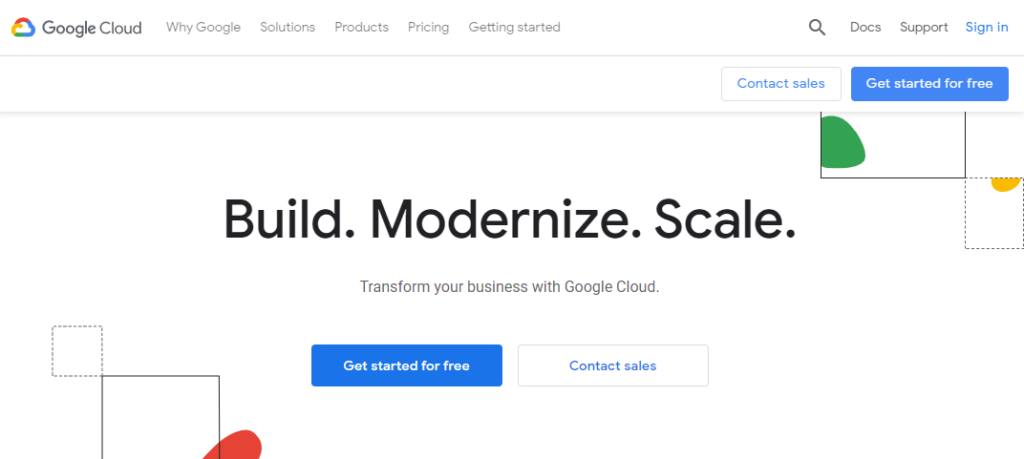
First, you need to sign in to Google Cloud with your Gmail account. Head over to Google Cloud’s website and click the blue “Get started for free” button located in the upper-right corner of the page.
If you haven’t provided your credit card details to Google before, you will be asked to do so now. Don’t worry: Google won’t start charging you until you spend the $300 bonus, which you can do within a year. Furthermore, you have to manually upgrade to a paid account for Google to start charging you.
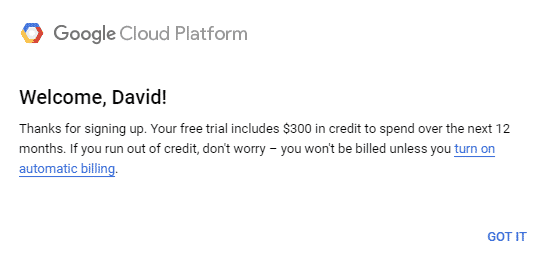
You will know that you’ve received $300 in credit if you see the following pop-up window after sign-up:
Simply click “GOT IT” and proceed to the next step of our tutorial.
Step 2: Create a New Google Cloud Server
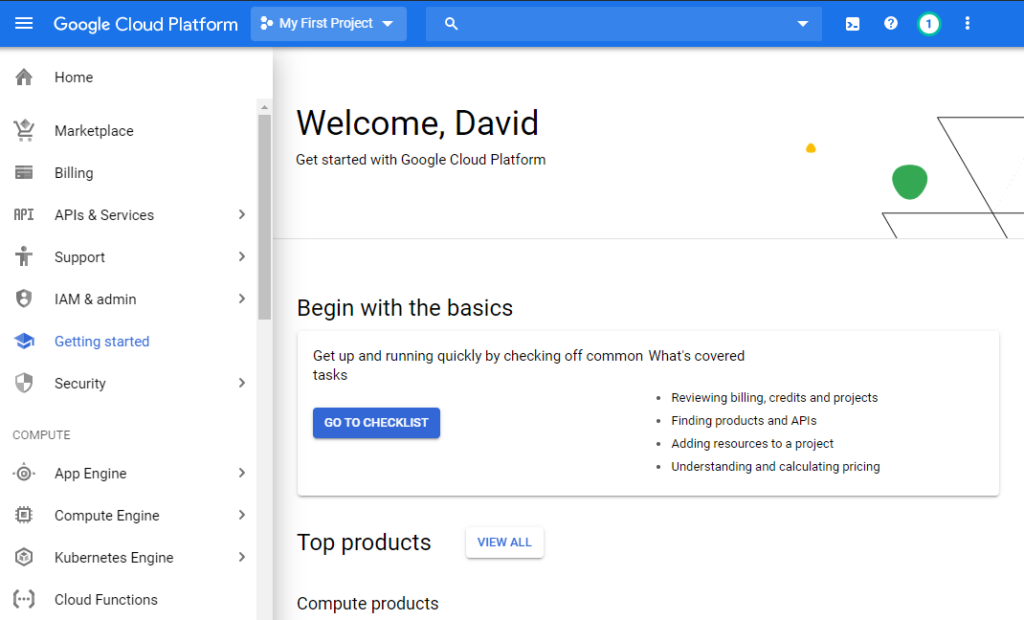
To create a new Google Cloud Server, select “Compute Engine” from the navigation menu on the left and click on “VM instances.” The purpose of Compute Engine it to allow users to create and use virtual machines on Google’s infrastructure. Wait a minute or two until Compete Engine finishes getting ready. You will be able to tell that it’s ready because the blue “Create” button will become clickable.
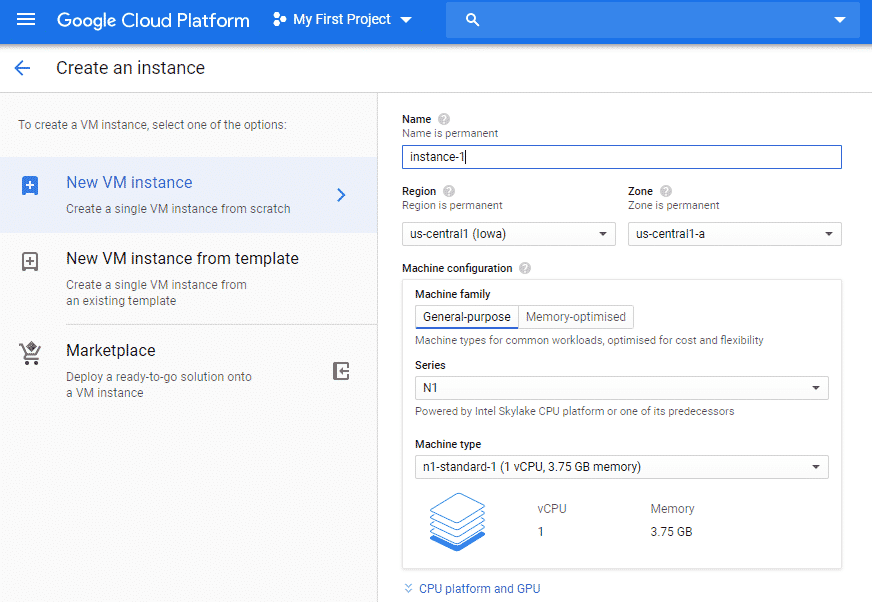
When that happens, click on it and configure your server’s settings.
You have several decisions to make:
- Name: Give your server a memorable name that starts with a lowercase letter and is followed by up to 62 lowercase letters, numbers, or hyphens. Keep in mind that the name is permanent, so you can’t change it later.
- Region: A region is a specific geographical location where you can run your resources. If you’re creating a Google Cloud server for learning purposes, choose the region closest to you. If you’re creating a Google Cloud server to, for example, host a website, choose the region closest to your customers.
- Zone: A zone is an isolated location within a region that determines where your data are stored. You don’t need to worry about it.
- Machine configuration: Google Cloud offers virtual machines for common workloads as well as large-memory machine types for memory-intensive workloads. You can choose how many cores and GB of memory you want and change this setting later.
- Boot disk: This is where you choose the operating system for your Google Cloud server. Debian 9 Stretch is selected by default, but you can change it to Debian 10 Buster, CentOS, Ubuntu, Red Hat Enterprise Linux, SUSE Linux Enterprise, and more. Google even lets you upload your own custom image.
- Firewall: If you want to connect to the web from your Google Cloud server, make sure to allow both HTTP and HTTPS traffic.
Once you have everything configured to your liking, click the blue “Create” button on the bottom of the page.
Step 3: Use Your Google Cloud Server
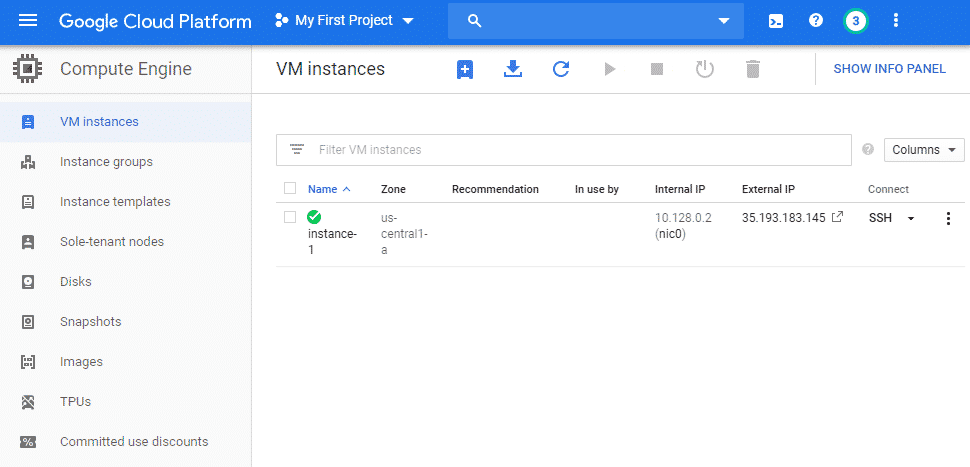
With your server created, you can now easily connect to it from the Google Cloud management console by selecting the “SSH” option under connect. A new browser window will open with a fully functional terminal inside of it.
If you would like to connect to the server from your Linux distribution, follow this guide from Google, which explains how to provide a public SSH key to the instance and establish a secure connection using a third-party tool.
When you’re done using your Google Cloud server, make sure to select it and click on the Stop icon located in the toolbar at the top of the VM instances page. Next to the stop button is a handy reset button, which allows you to restart the server should anything go wrong with it.
Conclusion
The cloud is the future, and Google allows everyone to join it in less than 15 minutes with its Google Cloud suite of storage, compute, and data analytics services. To get started, all you need is a Google email address and the ability to follow our step by step guide. Because Google gives all new users a $300 sign up bonus, you can spend a lot of time testing what it has to offer without having to reach for your credit card.
from Linux Hint https://ift.tt/36grecP



0 Comments