Install A Intrusion Detection System (IDS) to know if the system has been hacked
First thing to do after suspicion of a hacker attack is to setup an IDS (Intrusion Detection System) to detect anomalies in the network traffic. After an attack has taken place the compromised device may become an automated zombie at the hacker service. If the hacker defined automatic tasks within the victim’s device, these tasks are likely to produce anomalous traffic which can be detected by Intrusion Detection Systems such as OSSEC or Snort which deserve a dedicated tutorial each, we have the following for you to get started with the most popular:
- Configure Snort IDS and Create Rules
- Getting started with OSSEC (Intrusion Detection System)
- Snort Alerts
- Installing and Using Snort Intrusion Detection System to Protect Servers and Networks
Additionally, to the IDS setup and proper configuration you’ll need to execute additional tasks listed below.
Monitor Users’ activity to know if the system has been hacked
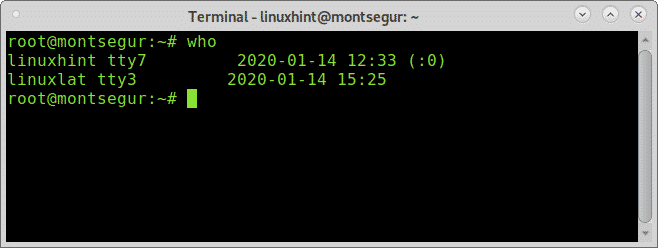
If you suspect you were hacked the first step is to make sure the intruder isn’t logged into your system, you can achieve it using commands “w” or “who”, the first one contains additional information:
Note: commands “w” and “who” may not show users logged from pseudo terminals like Xfce terminal or MATE terminal.
The first column shows the username, in this case linuxhint and linuxlat are logged, the second column TTY shows the terminal, the column FROM shows the user address, in this case there are not remote users but if they were you could see IP addresses there. The LOGIN@ column shows the login time, the column JCPU summarizes the minutes of process executed in the terminal or TTY. the PCPU shows the CPU consumed by the process listed in the last column WHAT. CPU information is estimative and not exact.
While w equals to executing uptime, who and ps -a together another alternative but less informative is the command “who”:
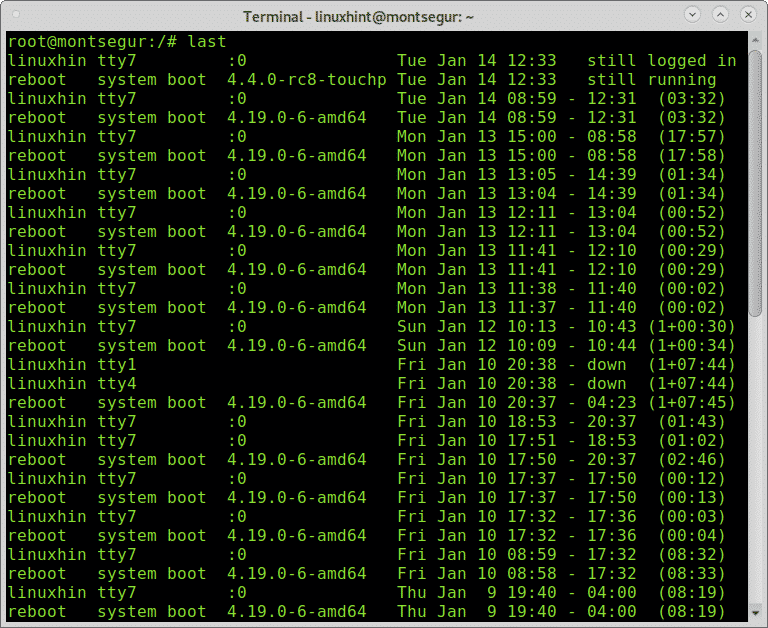
Other way to supervise users’ activity is through the command “last” which allows to read the file wtmp which contains information on login access, login source, login time, with features to improve specific login events, to try it run:
The output shows the username, terminal, source address, login time and session total time duration.
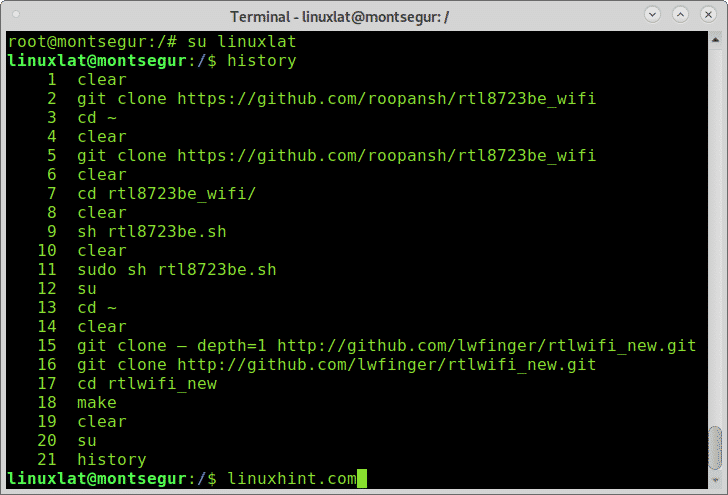
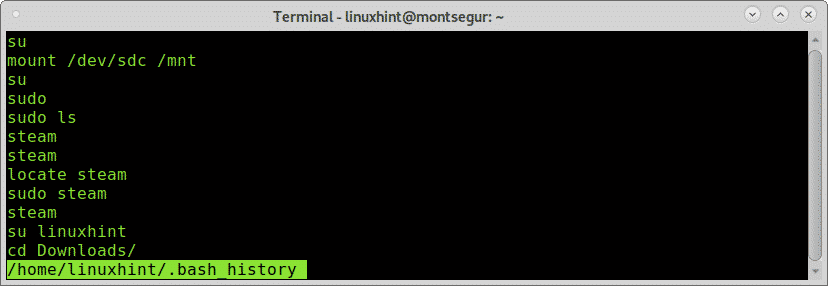
If you suspect about malicious activity by a specific user you can check the bash history, log in as the user you want to investigate and run the command history as in the following example:
# history
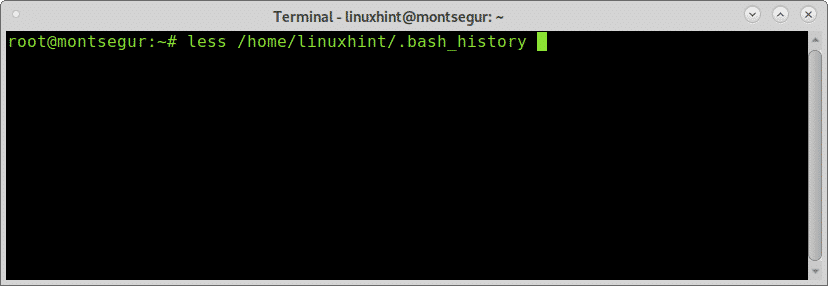
Above you can see the commands history, this commands works by reading the file ~/.bash_history located in the users home:
You will see inside this file the same output than when using the command “history”.
Of course this file can be easily removed or its content forged, the information provided by it must not be taken as a fact, but if the attacker ran a “bad” command and forgot to remove the history it will be there.
Checking network traffic to know if the system has been hacked
If a hacker violated your security there are big probabilities he left a backdoor, a way to get back, a script delivering specified information like spam or mining bitcoins, at some stage if he kept something in your system communicating or sending any information you must be able to notice it by monitoring your traffic looking for unusual activity.
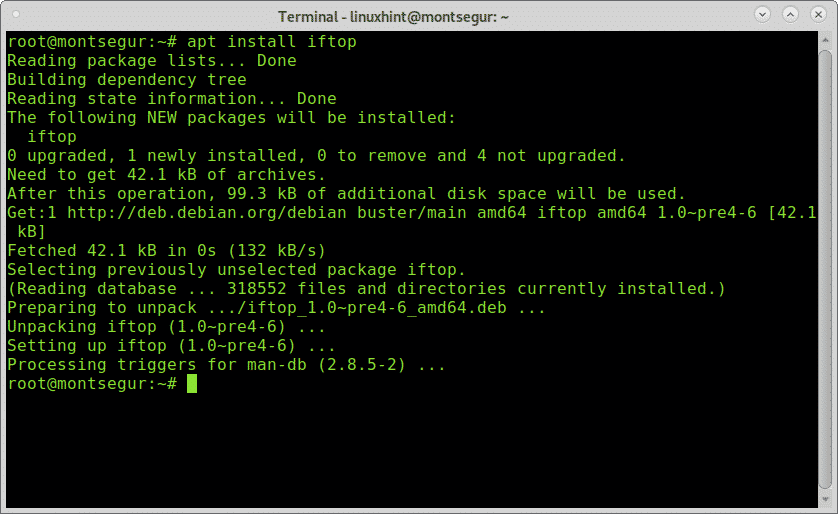
To begin lets run the command iftop which does not come on Debian standard installation by default. On its official website Iftop is described as “the top command for bandwidth usage”.
To install it on Debian and based Linux distributions run:
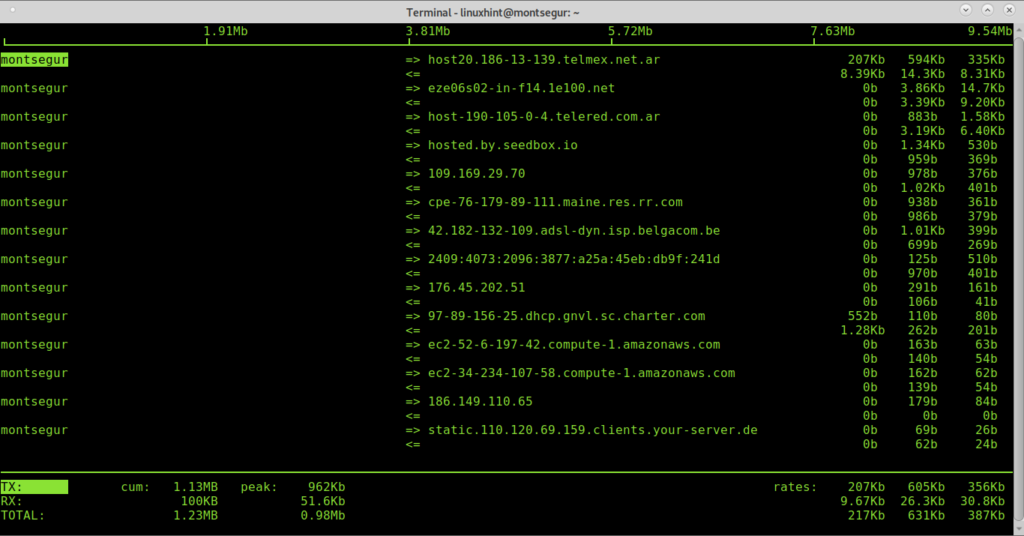
Once installed run it with sudo:
The first column shows the localhost, in this case montsegur, => and <= indicates if traffic is incoming or outgoing, then the remote host, we can see some hosts addresses, then the bandwidth used by each connection.
When using iftop close all programs using traffic like web browsers, messengers, in order to discard as many approved connections as possible to analyze what remains, identifying weird traffic isn’t hard.
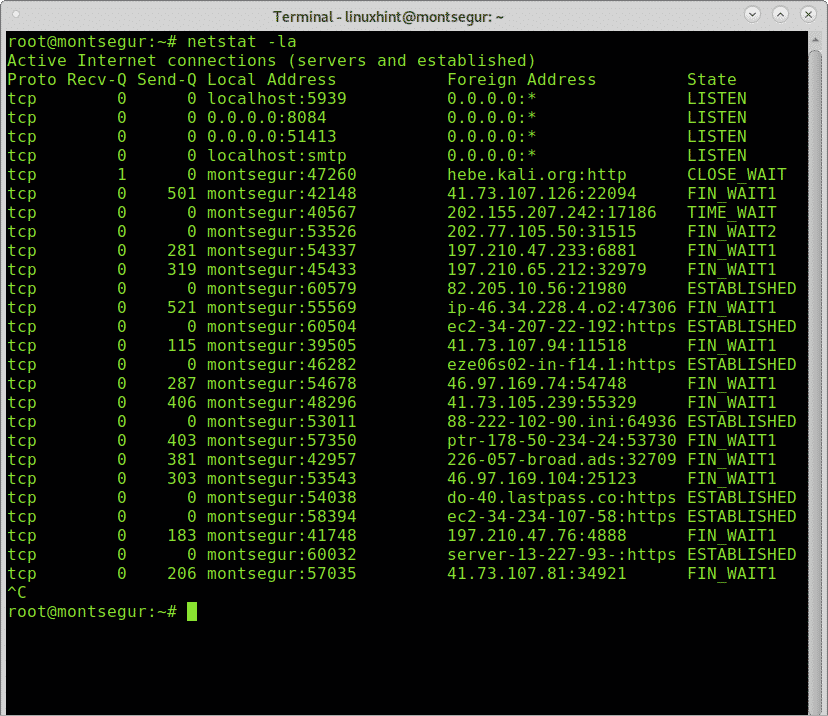
The command netstat is also one of the main options when monitoring network traffic. The following command will show listening (l) and active (a) ports.
You can find more information on netstat at How to check for open ports on Linux.
Checking processes to know if the system has been hacked
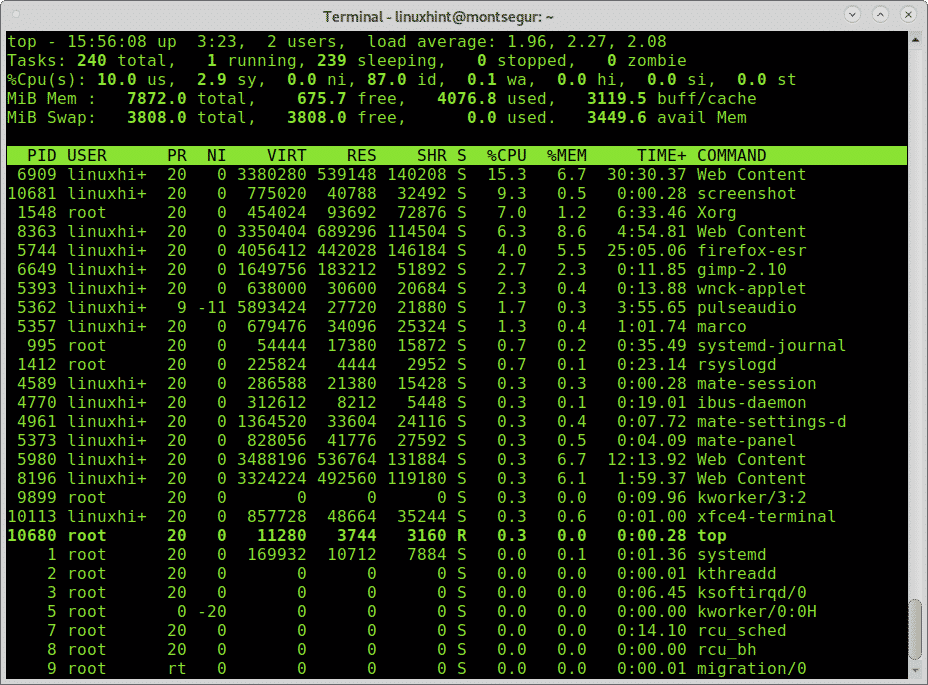
In every OS when something seems to go wrong one of the first things we look for are the processes to try to identify an unknown one or something suspicious.
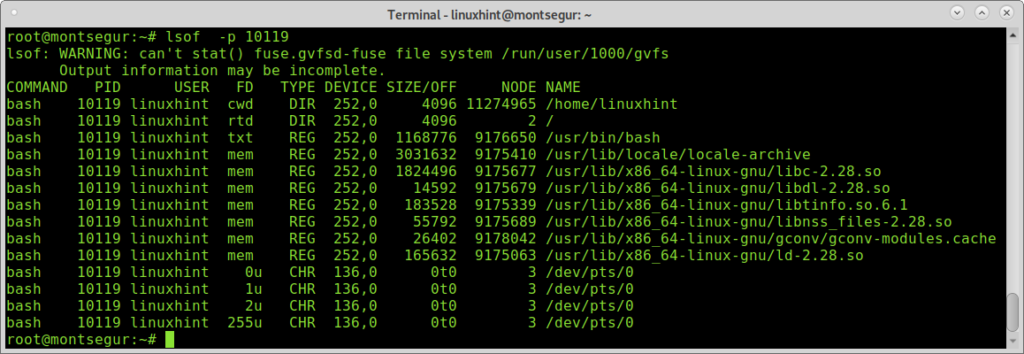
Contrary to classic viruses, a modern hack technique may not produce big packets if the hacker wants to avoid attention. Check the commands carefully and use the command lsof -p for suspicious processes. The command lsof allows to see what files are opened and their associated processes.
The process above 10119 belongs to a bash session.
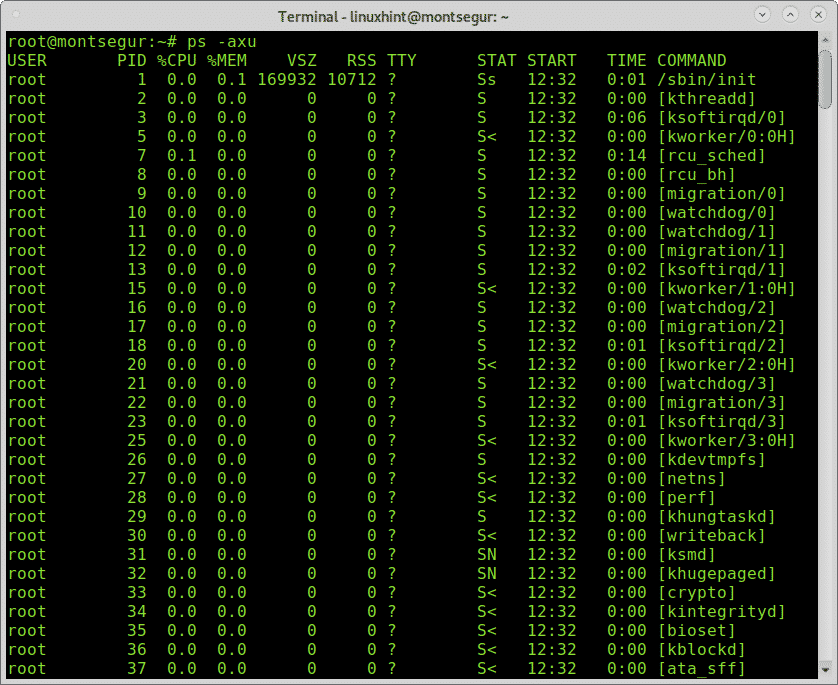
Of course to check processes there is the command ps too.
The ps -axu output above shows the user in the first colum (root), the Process ID (PID), which is unique, the CPU and memory usage by each process, virtual memory and resident set size, terminal, the process state, its start time and the command which started it.
If you identify something abnormal you can check with lsof with the PID number.
I hope you found this tutorial on How To Detect If Your Linux System Has Been Hacked” useful.
from Linux Hint https://ift.tt/2TIu5HO



0 Comments