Encrypting Hard Disks or Partitions with Cryptosetup and LUKS:
This section shows how to encrypt and decrypt attached hard disks.
LUKS (Linux Unified Key Setup) disk cipher originally developed for Linux. It increases compatibility and makes easy operatibility and authentication.
To begin you need to format the hard disk or partition enabling the encrypted mode by running the cryptsetup luksFormat followed by the device to encrypt as in the example below:
When asked type “YES” (in capital letter or uppercase and press ENTER).
Fill and verify the passphrase, it will be the password to access your device, do not forget this passphrase. Take in consideration the information on the disk will be removed after this process, do it on an empty device. Once you set the passphrases the process will finish.
The next step consists of creating a logical mapper to which mount the encrypted device or partition. In this case I named the device mapper decrypted.
Now you need to format the partition using mkfs, you can choose the type of partition you want, since LUKS has support for Linux I will use a Linux filesystem rather than Windows. This encryption method isn’t the best if you need to share the information with Windows users (unless they have software like LibreCrypt).
To proceed with the format as Linux filesystem run:
Create a directory which will be useful as mount point for the encrypted device using the mkdir command like in the example below:
Mount the encrypted device using the mapper as source and the created directory as mount point following the example below:
You will be able to see the content:
If you unplug the disk or change the user you will be requested to set the password to access the device, the following password request is for Xfce:
You can check Cryptosetup man page or online at https://linux.die.net/man/8/cryptsetup.
Encrypting a file using GnuPG:
To begin I created a dummy file called “linuxhintencrypted” which I will encrypt using the command gpg with the -c flag as in the example below:
Where:
gpg: calls the program.
-c: symmetric cipher
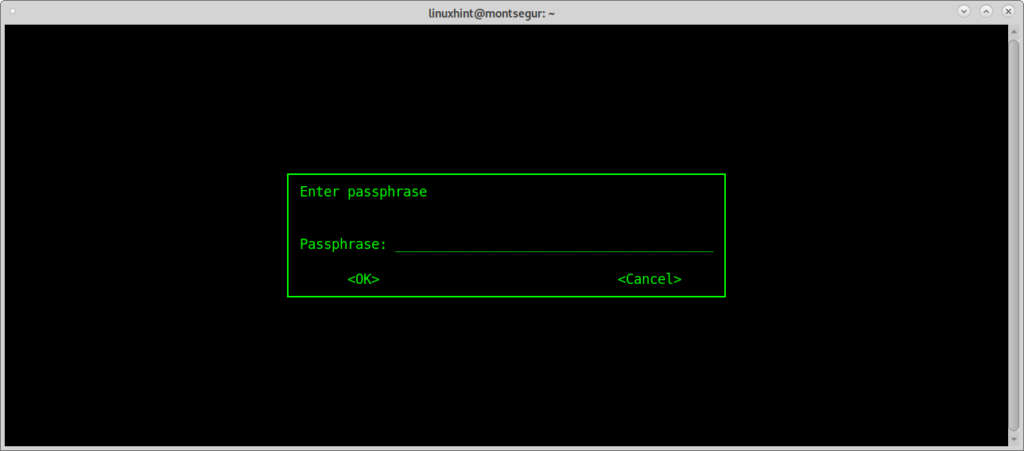
Depending on your X-window manager a graphical password request dialog box may prompt as described two steps below. Otherwise fill your passphrase when required on the terminal:
Depending on your X-window manager a graphical password request dialog box may prompt as described two steps below. Otherwise fill your passphrase when required on the terminal:
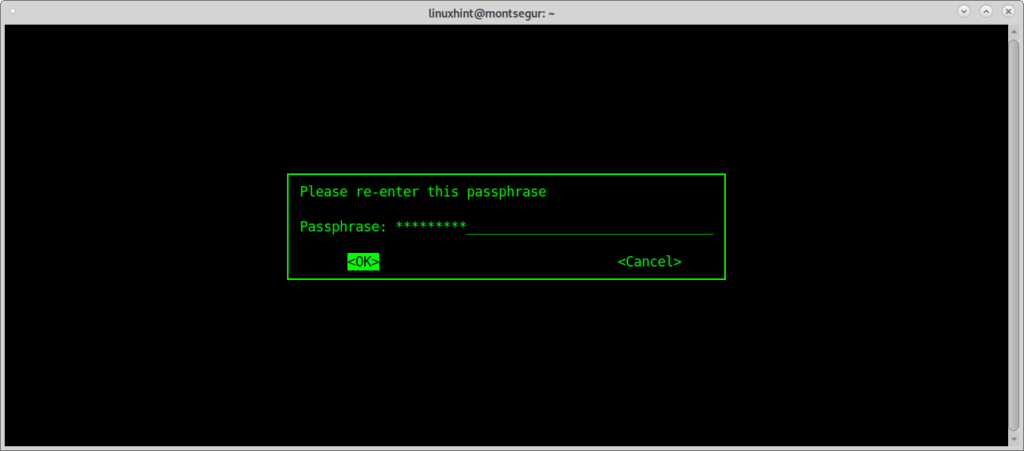
Probably immediately after encrypting the file a dialog box opens asking for a passphrase for the encrypted file, fill the password and again to confirm as shown in the images below:
Confirm the passphrase to end the process.
After finishing you can run ls to confirm a new file called <FileName>.gpg (in this case linuxhintencrypted.gpg) was created.
Decrypting a gpg file:
To decrypt a gpg file use the –decrypt flag followed by the file and an indication about the decrypted output:
You can check the gpg man page or online at https://www.gnupg.org/gph/de/manual/r1023.html.
Encrypting directories with ENCFS:
I added EncFS as a bonus, EncFS is just another method shown in this tutorial but it isn’t the best as it is warned by the tool itself during the installation process due security concerns, it has a different way to use.
To work with EncFS you need to create two directories: the source directory and the destination which is the mount point in which all decrypted files will be located, the source directory contains the encrypted files. If you put files inside the mount point directory they will be encrypted in the source location..
To begin with ENCFS install it by running:
During the installation a warning will inform you EncFS is vulnerable, for example, to an encryption complexity downgrade. Yet we will proceed with the installation by pressing OK.
After the warning the installation should end:
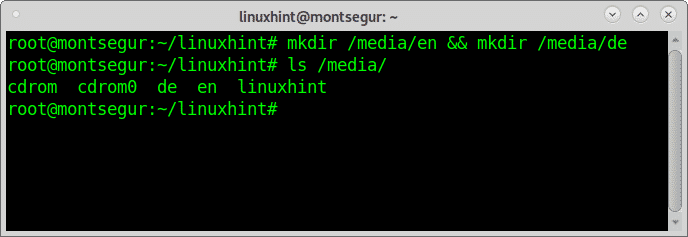
Now lets create two directories under /media, in my case I will create directories en and de:
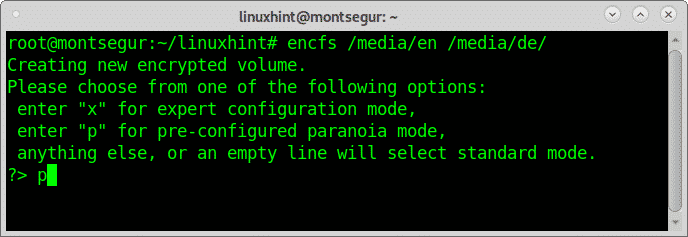
As you can see the directories are created inside, now lets configure, letting EncFS to automatically configure the source and mount point:
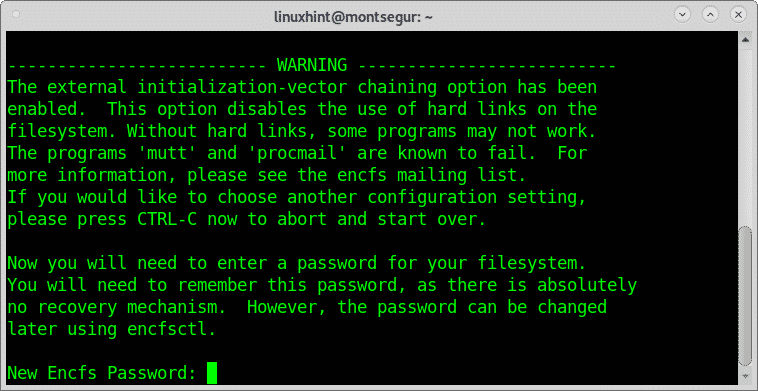
When required fill and confirm your password, remember the password you set, don’t forget it:
When required fill and confirm your password, remember the password you set, don’t forget it:
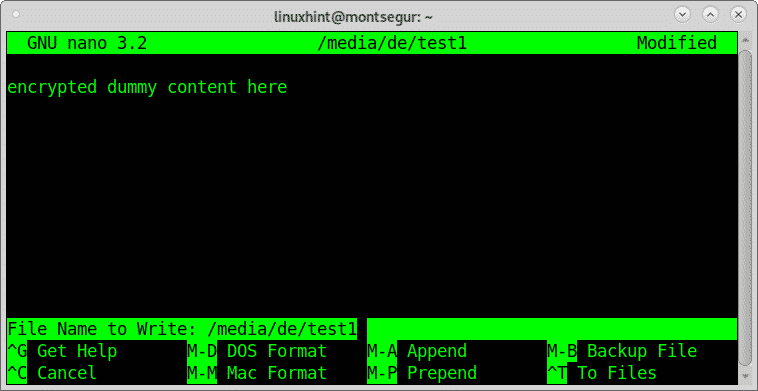
Once the installation process ended test it, create a file within /media/de
Put any content you want:
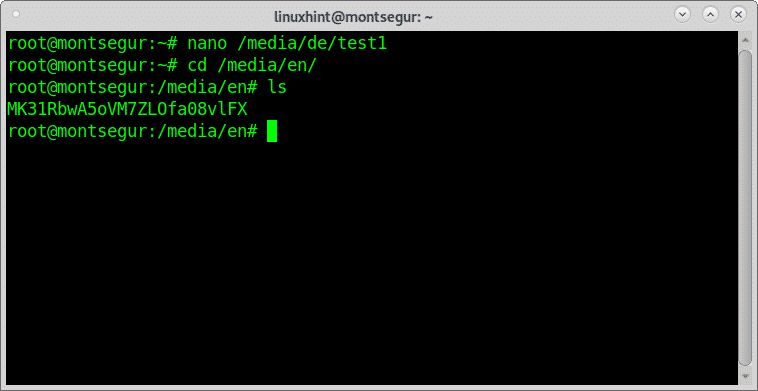
Now as you can see within the directory /media/en you will see a new file, the encrypted version for the test1 file created previously.
The original unencrypted file is on /media/de, you can confirm it by running ls.
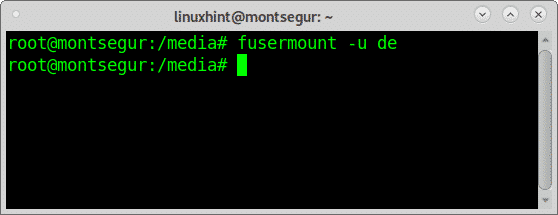
If you want to unmount the decrypted files directory use the command fusermount followed by the -u flag and the target:
Now files are not accessible.
To mount encrypted files again run:
You can check the encfs man page or online at https://linux.die.net/man/1/encfs.
Conclusion
Encrypting disks, files and directories is pretty easy and it’s worth it, in minutes you saw 3 different methods to carry out it. People managing sensitive information or worried about their privacy can protect their information without advanced knowledge in IT security by following a few steps. Crypto currency users, public figures, people managing sensitive information, travelers and other similar public can be specially benefited from it.
Probably from all methods shown above GPG is the best with higher compatibility, remaining EncFS as the worse option due to the installation warning meaning. All tools mentioned in this tutorial have additional options and flags which weren’t explored to show a variety of tools instead.
For more information on file encryption you can check available tutorials at https://linuxhint.com/category/encryption/.
I hope you found this tutorial on How to Encrypting the hard disk or partitions useful.
from Linux Hint https://ift.tt/36dDLNj









0 Comments