Because of its immense popularity, there are a number of Dropbox clients for all the platforms. In this article, we’ll install and Dropbox on openSUSE. The official Dropbox client will be more than enough to meet your needs.
Installing Dropbox
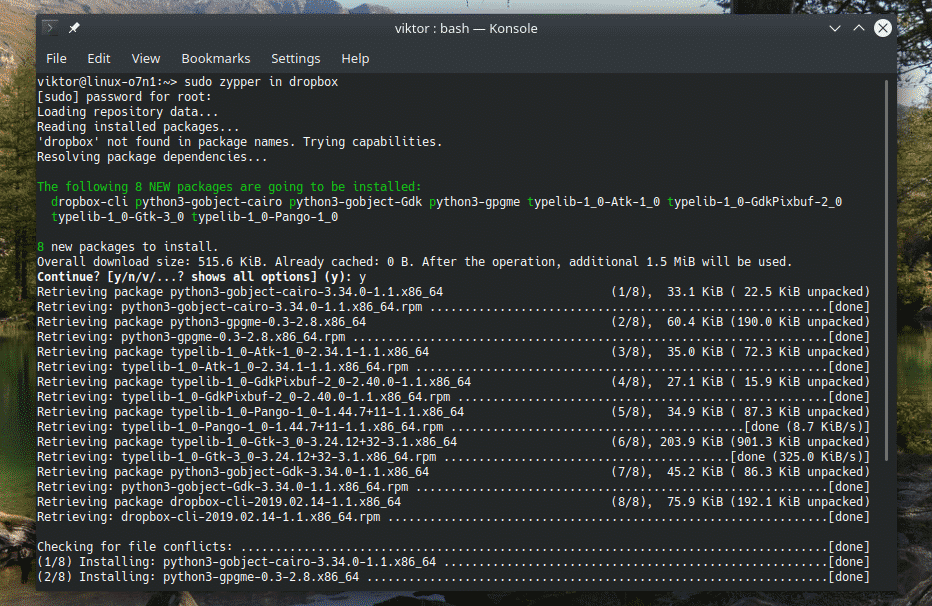
The Dropbox client is directly available from the official openSUSE repos, no need for any additional repo. Just tell zypper what to do. Let’s get started!
Run the following commands to install the official Dropbox client.
Using the official Dropbox client
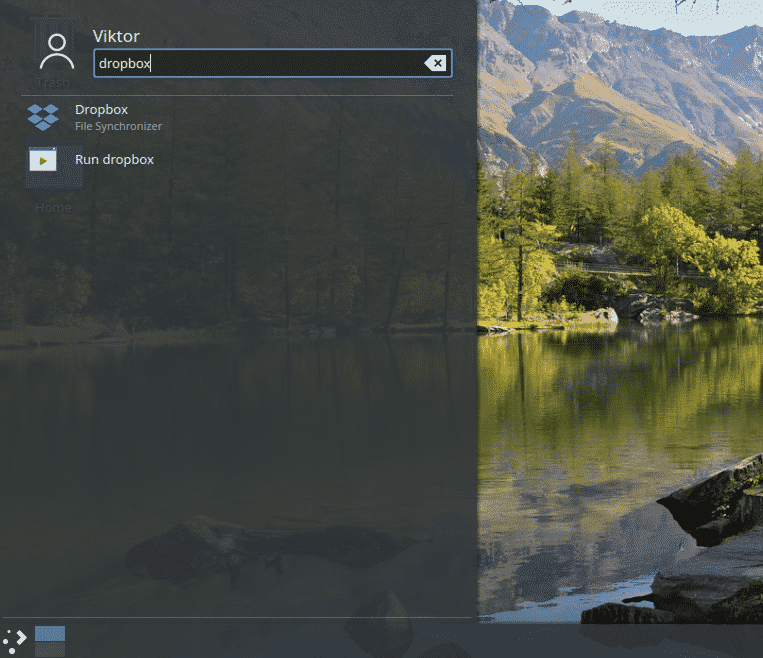
Start the app from the menu.
When you run the app for the first time, the following alert window will appear. According to the window, we need the proprietary Dropbox daemon from Dropbox to run the client properly. Click “OK”.
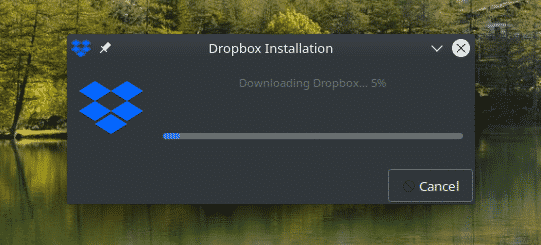
Wait until the download completes.
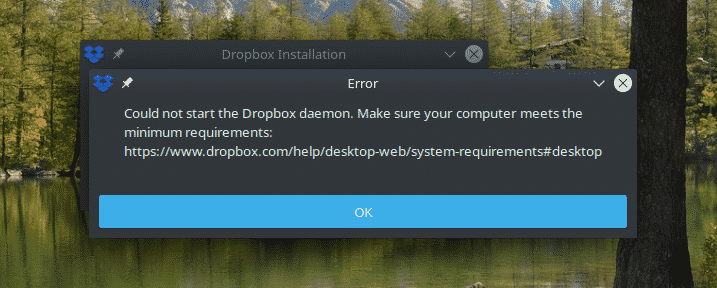
In my case, it ended up with the following error. If you face this problem, it’s because of a necessary package missing from the system. Run the following command to install it right away!
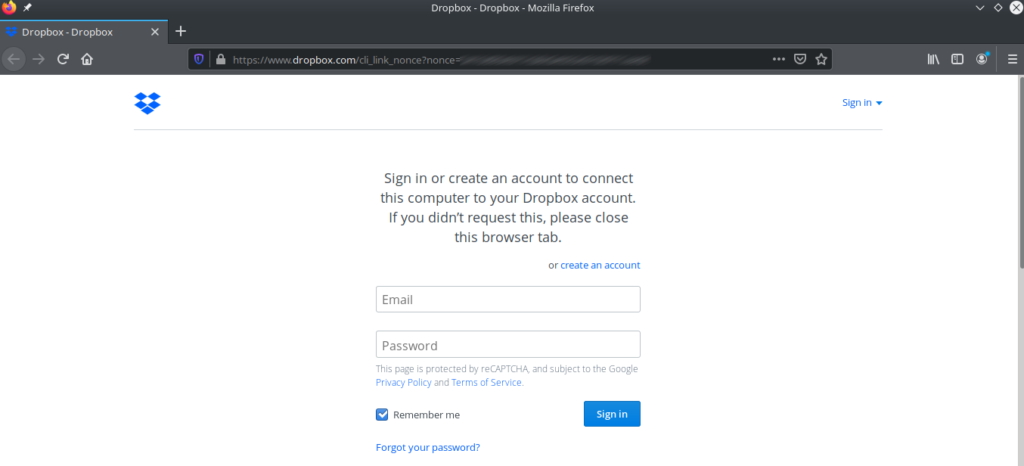
Now, the client should start normally. It’ll open up a webpage. You’ll be prompted to log in to your Dropbox account.
Upon successful login, it’ll show the success message.
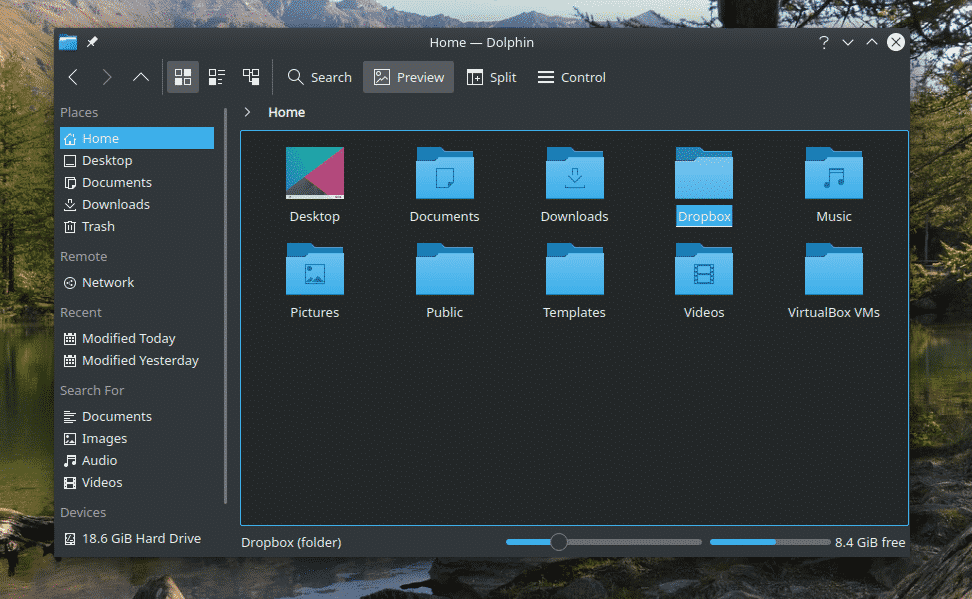
Now, your Dropbox client is ready to sync your files and folders. You’ll also notice that a new Dropbox folder is created at the directory “~/Dropbox”.
Anything you put or remove from that folder will be synced with Dropbox.
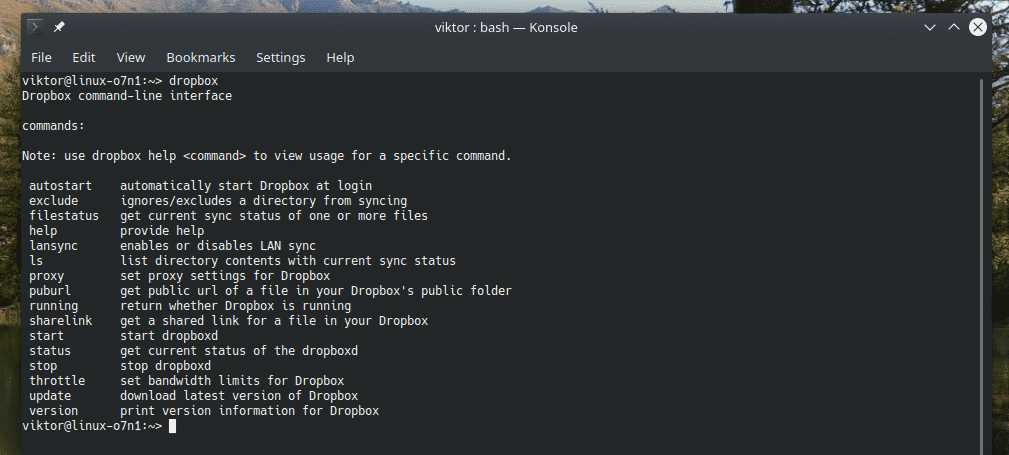
The Dropbox client also has a command-line version: dropbox-cli. Using the tool, it’s possible to perform all the Dropbox actions through your terminal of choice. Let’s run the following command in the terminal.
Alternative clients
The official Dropbox client isn’t the only way of using Dropbox on openSUSE. There’re other alternatives that I recommend checking out. They can also offer additional features that you might find interesting. Here are some of them.
Rclone Client
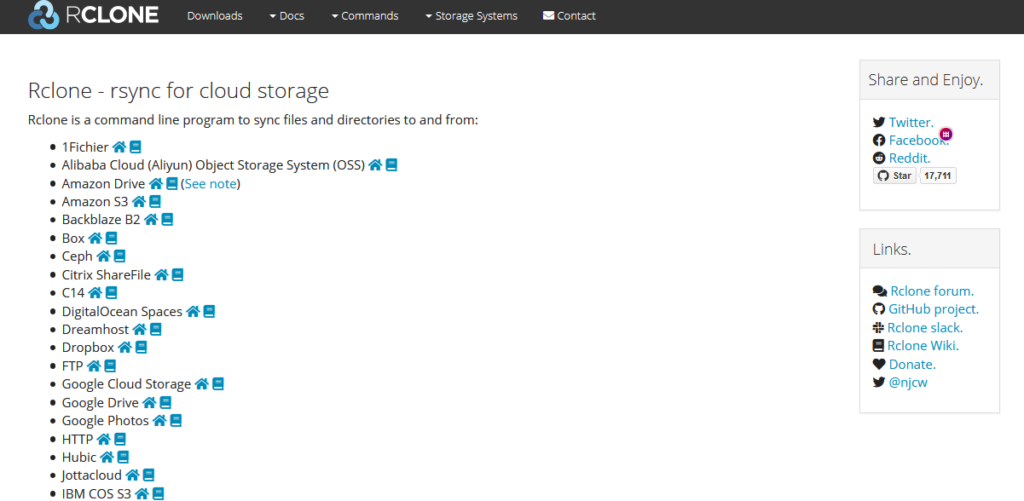
This is definitely one of my favorite ones. Rclone is an implementation of rsync that supports file and directory syncing with numerous cloud storage solutions. Check out rclone.
Rclone is a command-line tool. That means the only way to interact with this tool is via the command line. However, there’s also a web UI of rclone that you can use to perform your desired actions. Let’s get started.
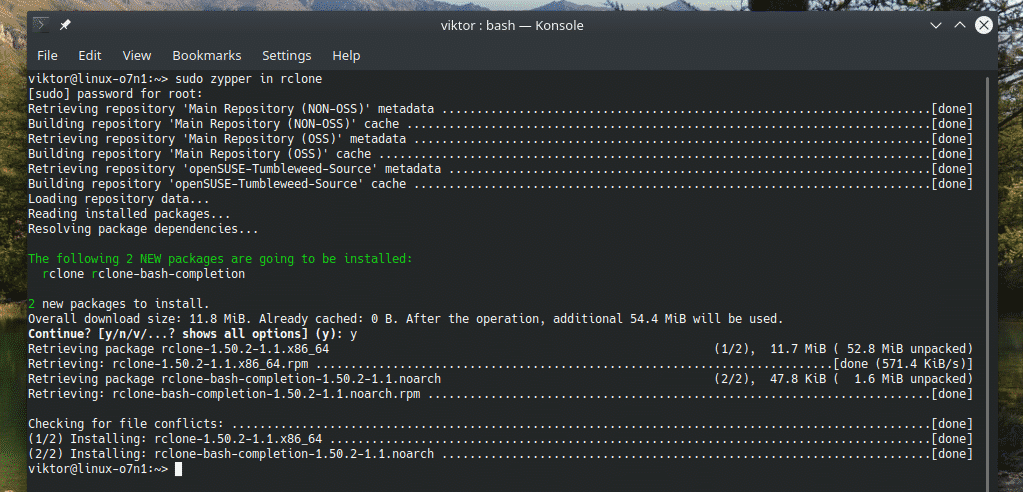
At first, install rclone.
Rclone is also available as a snap package.
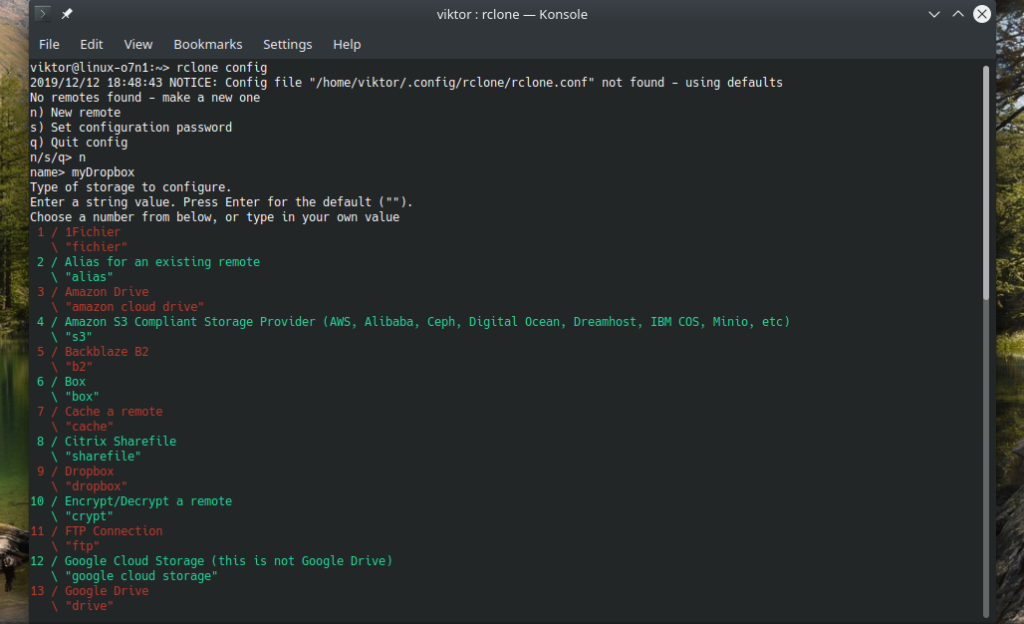
Once the installation is complete, it’s time to configure rclone. Start the configuration process by running this command.
When prompted, enter “n” to create a new remote connection.
Give the connection a name. In my case, it’ll be “myDropbox”.
You’ll be offered a big list of available services. For Dropbox, it’s #9.
Now, you’ll be prompted for “Dropbox App Key” and “Dropbox App Secret”. Hit “Enter” in both cases.
The advanced config isn’t necessary. Enter “n” to skip.
Enter “y” to use auto-config. In this case, rclone will take care of the configuration by itself.
The Dropbox login page will pop up on your default browser. Enter your credentials to log in to your Dropbox account.
Allow rclone access to your Dropbox storage.
Rclone will present a short summary of the token that it received from Dropbox. Enter “y” to confirm.
Voila! The remote connection is established! Now, we need to set a directory where rclone will mount the remote. Run the following command.
Now, the directory is ready to be synced with your Dropbox cloud storage. If you want to unmount the location, just press “Ctrl + C” from the console window.
Using Spotdox
Spotdox is an interesting one. In short, it works like a “remote file manager” including those that are hosted on Dropbox. Using Spotdox, you can not only have all your Dropbox files but also files that you stored on other locations, for example, your home PC or remote storages.
You can enjoy the service of Spotdox from anywhere! All you need is just an internet connection and a web browser. Using Spotdox, you can also upload files to those locations.
However, Spotdox isn’t a free solution. Currently, they offer 3 different types of licensing: monthly, yearly and permanent. Check out Spotdox.
Using Odrive
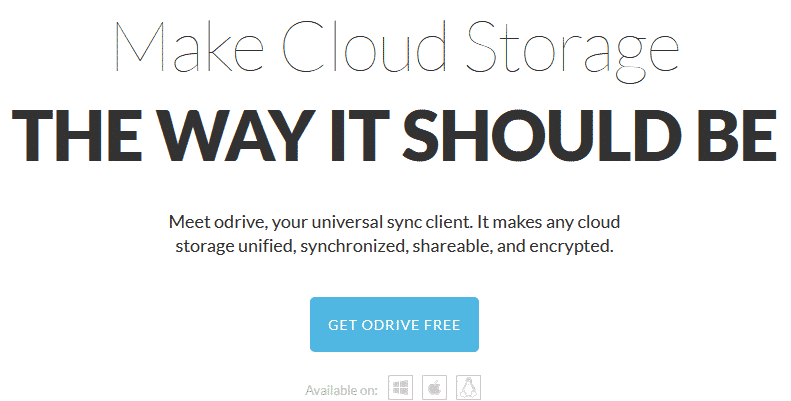
The goal of this app is to unify all your cloud storage solutions into one single place. This tool can take care of not only Dropbox but also Box, OneDrive, Google Drive, Amazon S3, etc. It also supports FTP, SFTP etc.
Odrive follows a freemium model. While the majority of its features available for free, the premium subscription offers features like unsync, custom sync, encryption etc. Check out the feature comparison of Odrive.
Final thoughts
Dropbox is quite a popular service for its awesome service and interesting features. If you’re just in need of the Dropbox service only, then the official Dropbox client will be more than enough for you. However, if you’re in need of Dropbox and other cloud storage solutions, then Odrive makes more sense.
Enjoy!
from Linux Hint https://ift.tt/2MqnNs1









0 Comments