Writing and editing subtitles in Linux can be a bit time-consuming. You can not only end up intermingling the text but also place them incorrectly. At that moment, a subtitle editing tool/software comes in very handy.
The article will list down some of the top subtitle editing tools on Linux, how to download them and later guide you how to edit subtitles on each tool.
Subtitle Editor
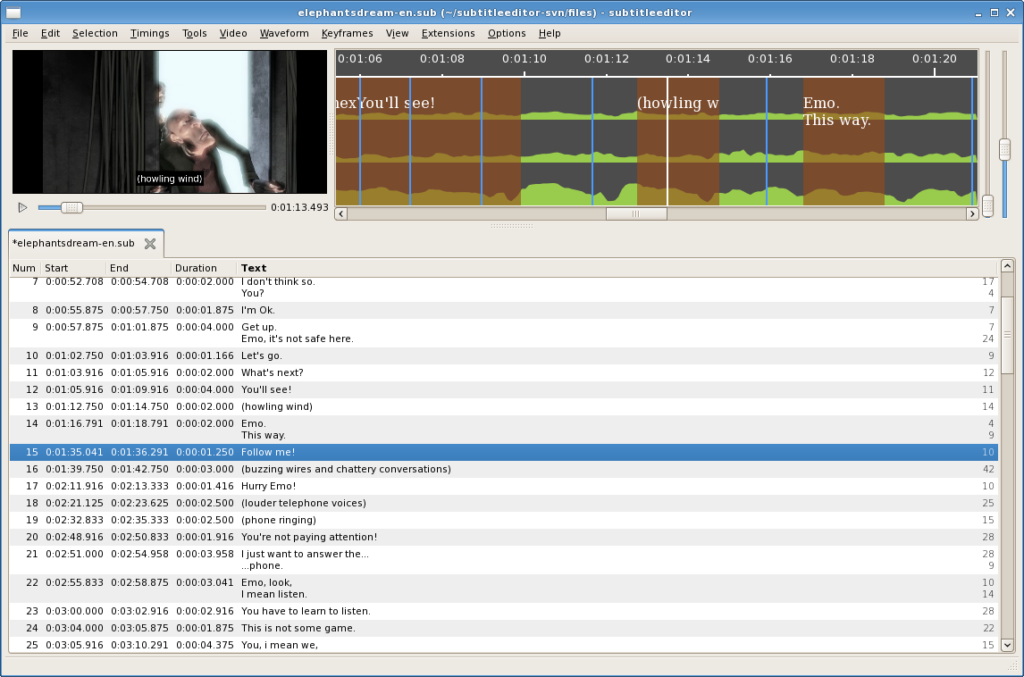
Subtitle Editor is among the most useful tools for editing subtitles in Linux/GNU/BSD. It is a free GTK+3 tool that lets you edit, transform, refine and correct existing subtitles. The best part of it is that it shows sound waves to help match the subtitles to human voices. Besides that, Subtitle Editor allows you to work with various formats that include MPL2, MPSub, Adobe Encore DVD, BITC, MicroDVD, SubViewer 2.0, SBV, Plain Text, SubRip, Spruce STL, Substation Alpha and Advanced Substation Alpha.
Installing Subtitle Editor
You can install the tool on any Linux distro such as Ubuntu, Linux Mint, Fedora, Elementary or Debian. Follow the steps below:
Run the command on your terminal to install the application.
If you don’t have the software already, download the tar files from here (https://github.com/SubtitleEdit/subtitleedit/releases) and extract them through the commands:
$ make
$ sudo make install
Editing Subtitles on Subtitle Editor
Once you’re done, play around with adding, editing and transforming subtitles. You can select from a number of options that involve generating waveforms, keyframes, spell checks, style editing, changing timings, text correction, translating, sorting, scaling, joining subtitles and fixing errors.
GNOME Subtitles
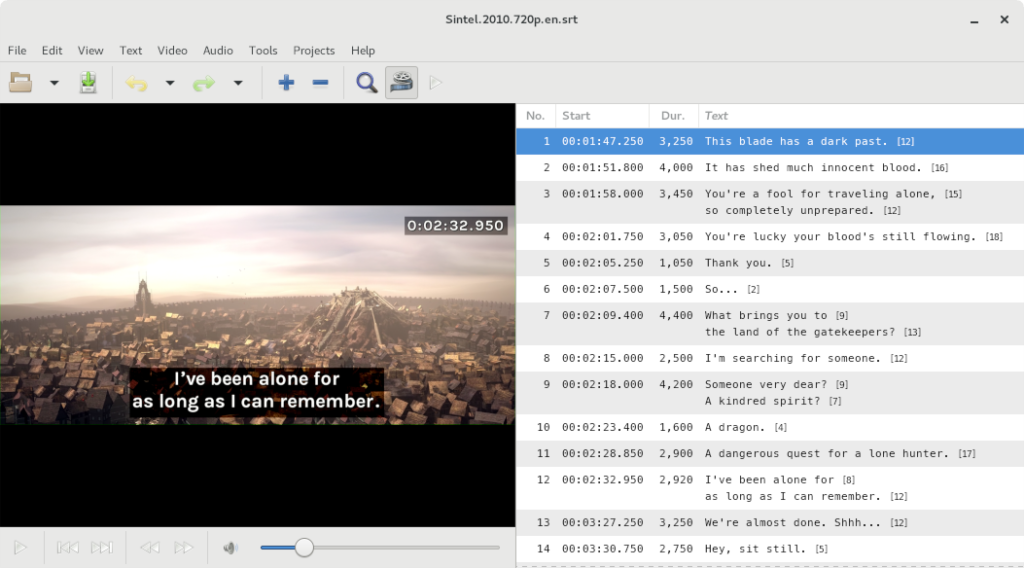
When it comes to interactive interfaces, GNOME Subtitles should be your top picks. It is packed with remarkable features that make sure the tool is easy to use, support heavyweight software and do professional edits. The tool supports almost all common text subtitle formats, video previewing, translations and synchronisation.
Installing GNOME Subtitles
GNOME Subtitles can be downloaded on Ubuntu, Debian, Mint and Elementary. To install it, run the commands in the terminal below:
$ sudo apt-get update
$ sudo apt-get install gnome-subtitles
You can also download the repository files from here (https://sourceforge.net/projects/gnome-subtitles/)
Editing Subtitles on GNOME Subtitles
After the installation, run the software to carry out a number of editing operations, which include:
- Translating Subtitles
- Synchronizing timings
- Apply reaction delays
- Shifting subtitles
- Auto-adjusting timings
- Drag and drop text files
- Playback videos after formatting
- Motion playbacks according to video speed
- Editing subtitle headers
- Finding and replacing
- Spell checks
- Subtitle parsing
- Support for over 20 Subtitle file formats
Gaupol Subtitle Editor
Another extremely handy subtitle-editing tool that you can download for your Linux distro is Gaupol. It has a simple interface based on GTK+ toolkit, easy navigations and straightforward usage to convert, transform and change subtitles. Gaupol is great for editing text-based files, bulk editing and creating new subtitles. It also includes a separate Python package named ‘aeidon’ to help read, write and edit text-based files.
Installing Gaupol Subtitle Editor
Gaupol can be used on Linux Mint, Ubuntu, Debian, Fedora and Elementary.
To install Gaupol, download the installer 1.3.1 files from here (https://otsaloma.io/gaupol/)
Now, extract it on your command terminal using the following command:
Note: you need to have the Python version 3.2 or greater, PyGObject 3.6.0 or higher and GTK+ 3.2 for the installer to start executing.
Editing Subtitles on Gaupol
Since Gaupol has a very basic interface, you can easily install and edit subtitles if you are a beginner. It allows to correct text and times so you can match it exactly with the video timeframe. It supports a spell checker, free translation mode for any language you want to translate it to and an auto-detection software. Everything is well organized so you can find whatever you are looking for without any trouble.
Aegisub Subtitle Editor
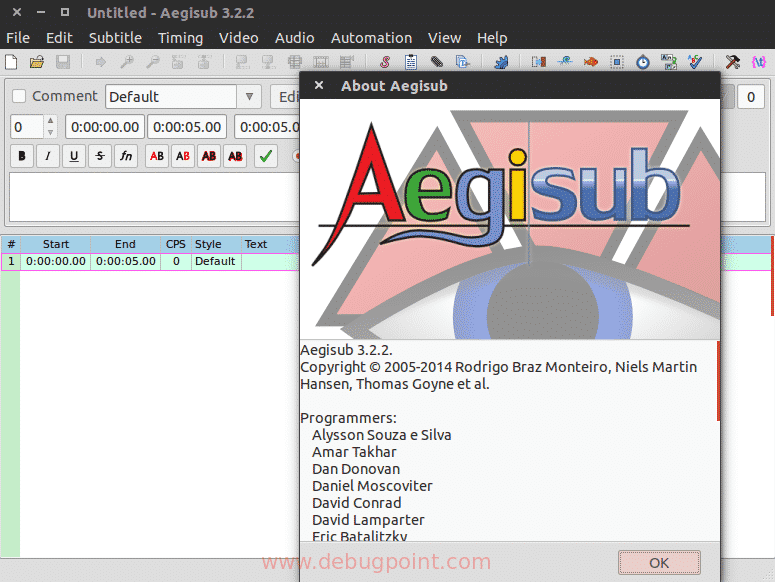
This tool is for advanced and professional editors who want to fix multiple subtitles at a time with advanced effects in the text files. Although the software looks very old because of the outdated and simple interface, the tool is straightforward, offers a professional comfortable editor above all.
Aegisub by default supports the Advanced SubStation Alpha format, which enables users to add advanced effects, other than the basics. You can not just edit subtitles, but also transform, translate and style them with unique effects along with a live preview.
Installing Aegisub
You can get the Linux installer from the here (http://www.aegisub.org/).
You can also download the PPA files for Ubuntu. Run the commands below to install it:
$ sudo apt-get update
$ sudo apt-get install aegisub
Now, extract the files through the commands below:
$ make
$ sudo make install
Editing Subtitles on Aegisub
Editing is pretty easy and straightforward once you’re done with the installation phase. Since the interface is simple, everything is on the top of the screen to select and edit. Aegisub also allows you to add subtitles for audio files, do a real-time video preview and experiment new formats as well.
Conclusion:
The above Subtitle Editors are our top picks for creating and amending subtitles in Linux. Since editing requires a lot of hard work and precision that is why have chosen some of the best and useful tools for your ease.
from Linux Hint https://ift.tt/34nemzF


0 Comments