Installing GNOME Tweaks:
GNOME Tweaks is a tool used to customize GNOME desktop environment. GNOME Tweaks is available in the official package repository of CentOS 8 and can be downloaded from GNOME Software app.
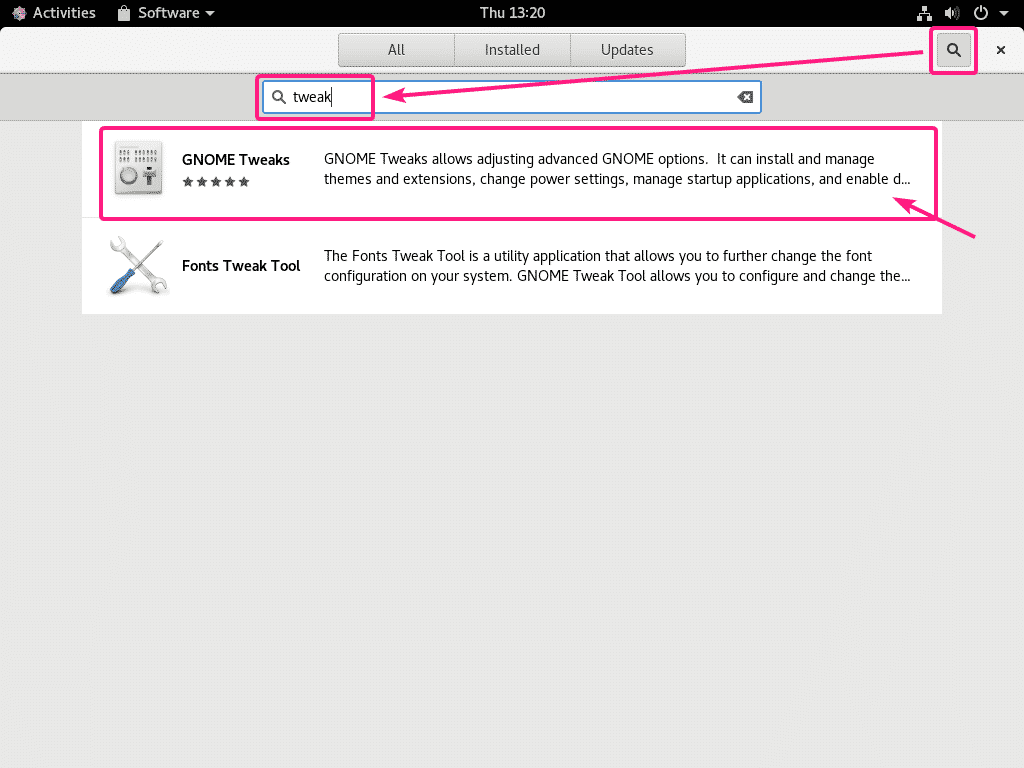
First, open GNOME Software app from the Application Menu.
Then, search for GNOME Tweaks. Click on GNOME Tweaks icon once the search result shows up.
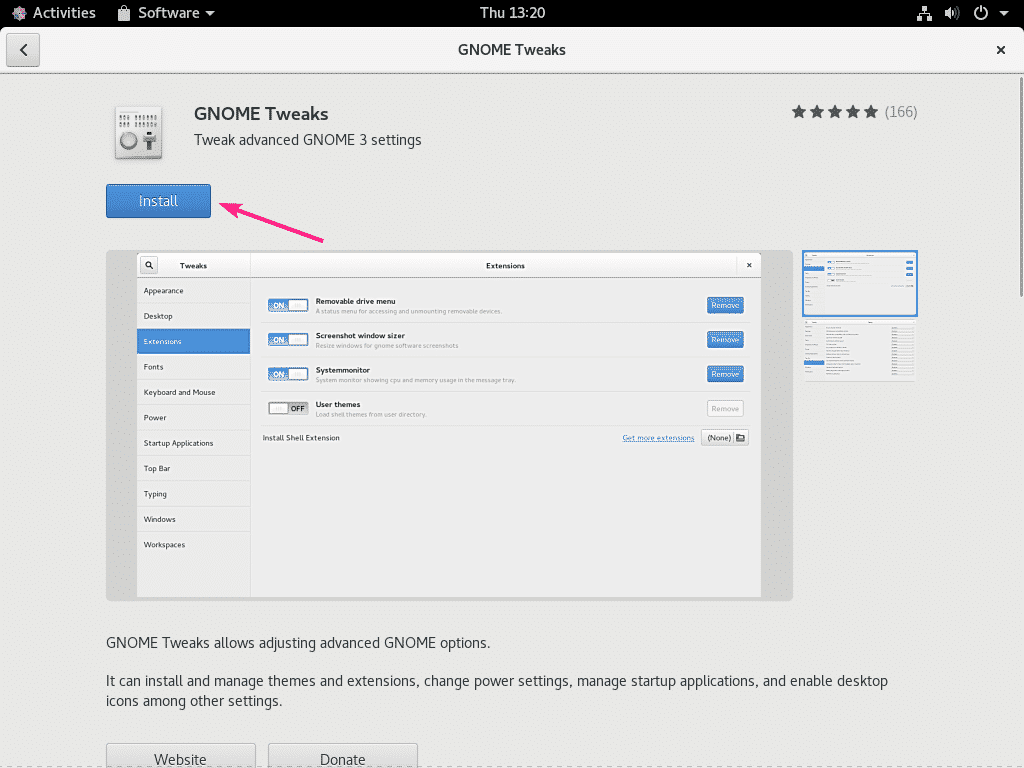
Now, click on Install.
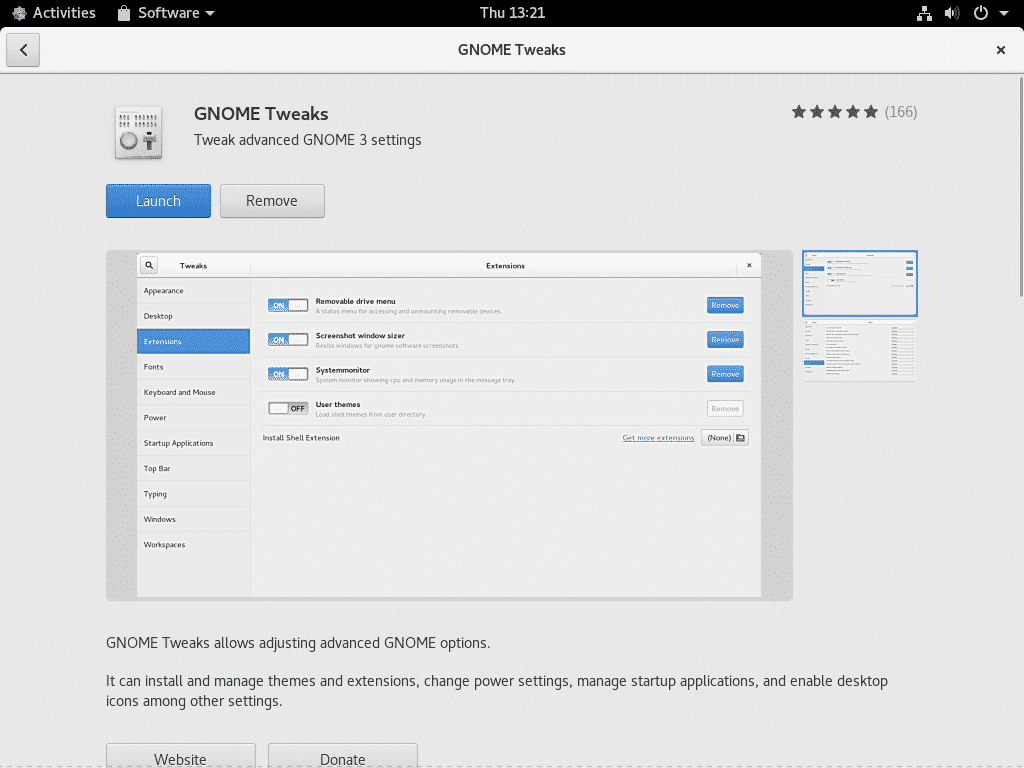
GNOME Tweaks should be installed.
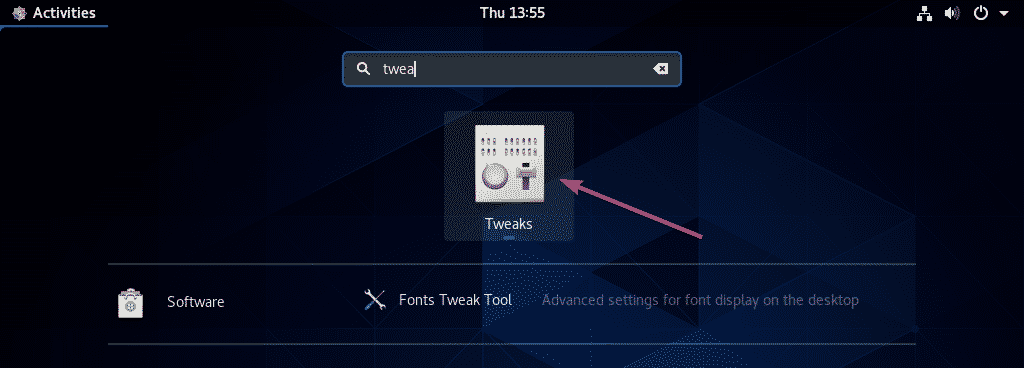
Now, you can start GNOME Tweaks from the Application Menu of CentOS 8.
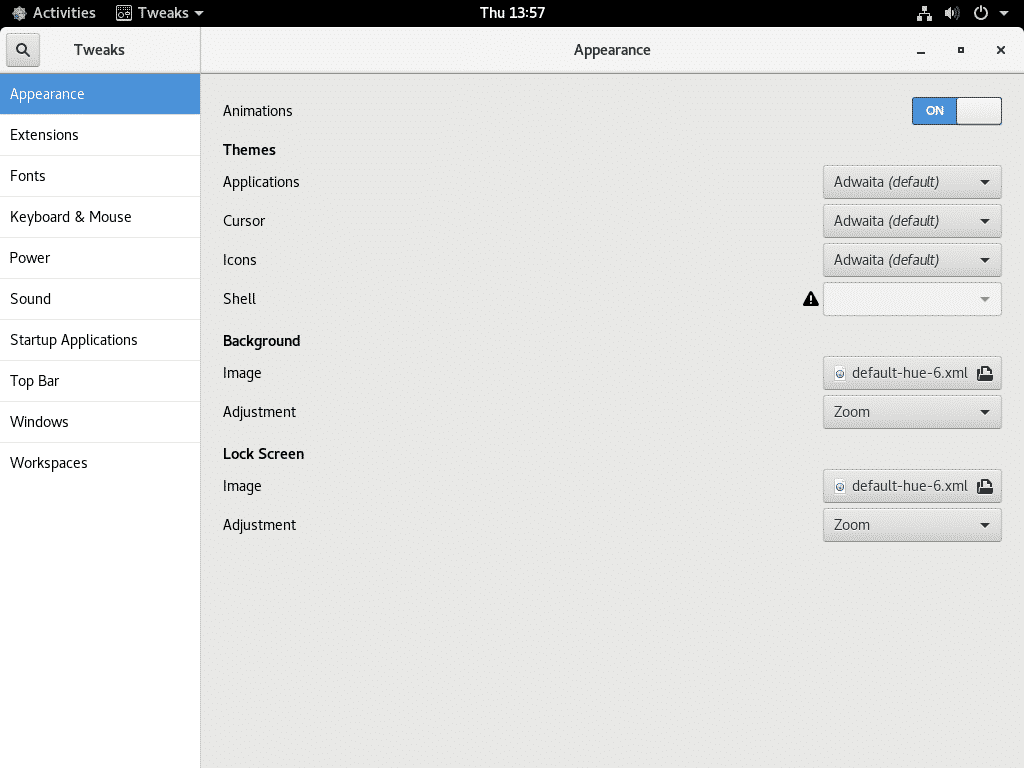
GNOME Tweaks running on CentOS 8 GNOME 3 Desktop Environment.
Enable Dark Theme:
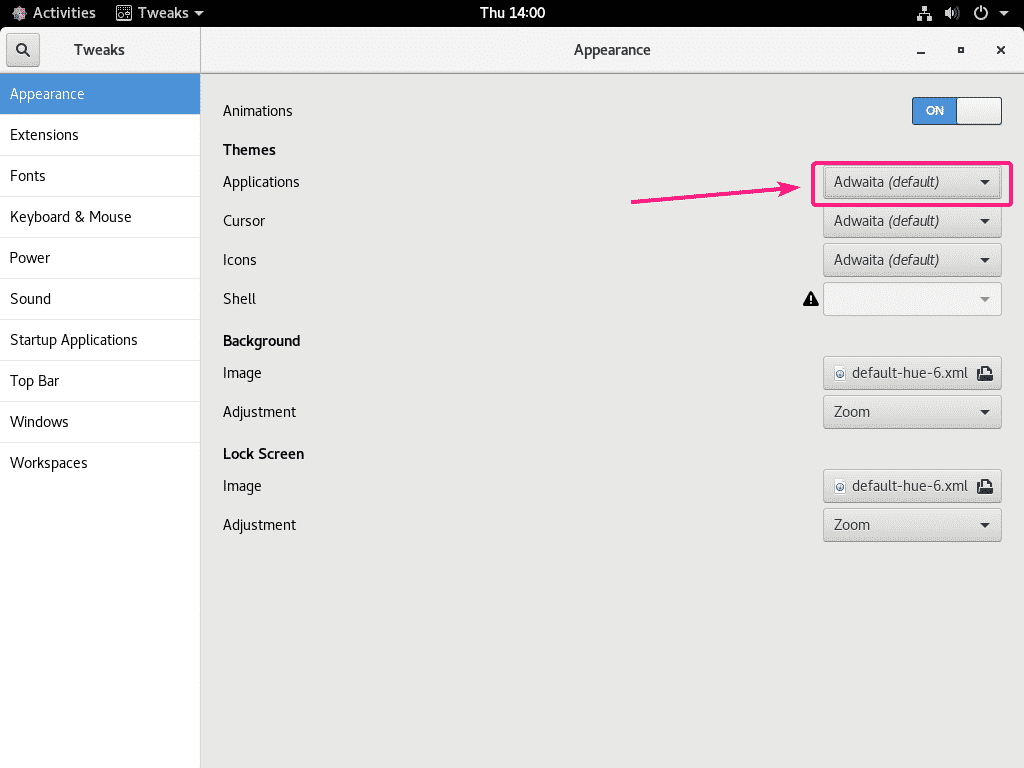
If you like dark theme, then you can change the default light theme to dark theme from GNOME Tweaks. Go to Appearance and then click on Applications dropdown menu as marked in the screenshot below.
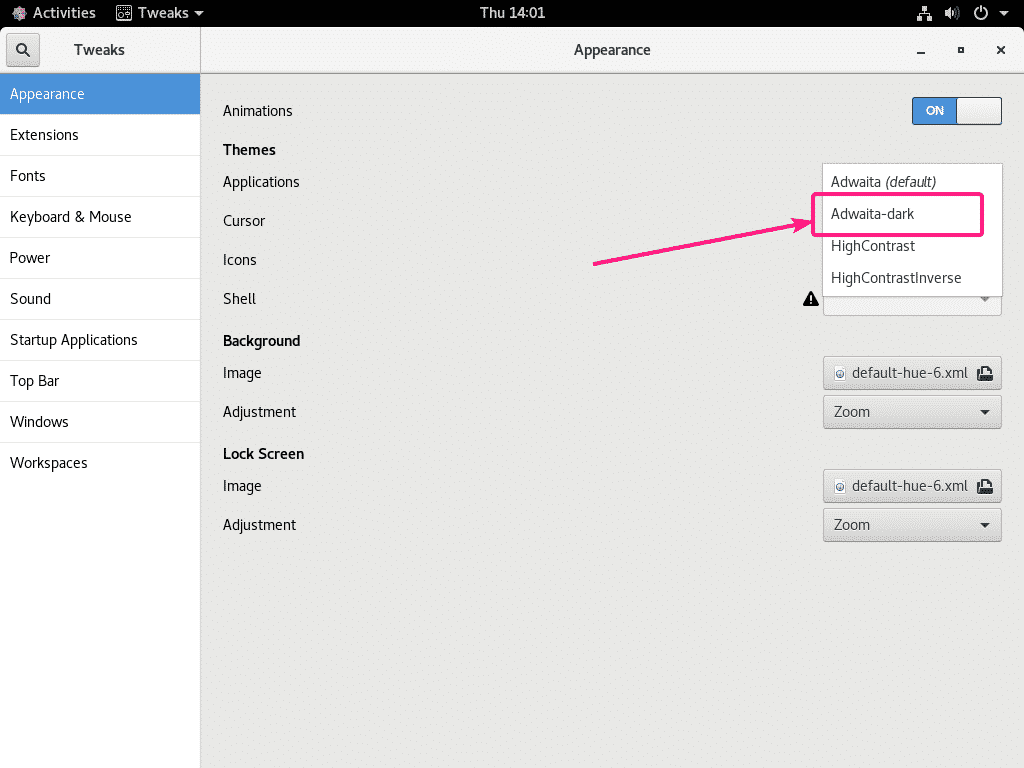
Then, select Adwaita-dark.
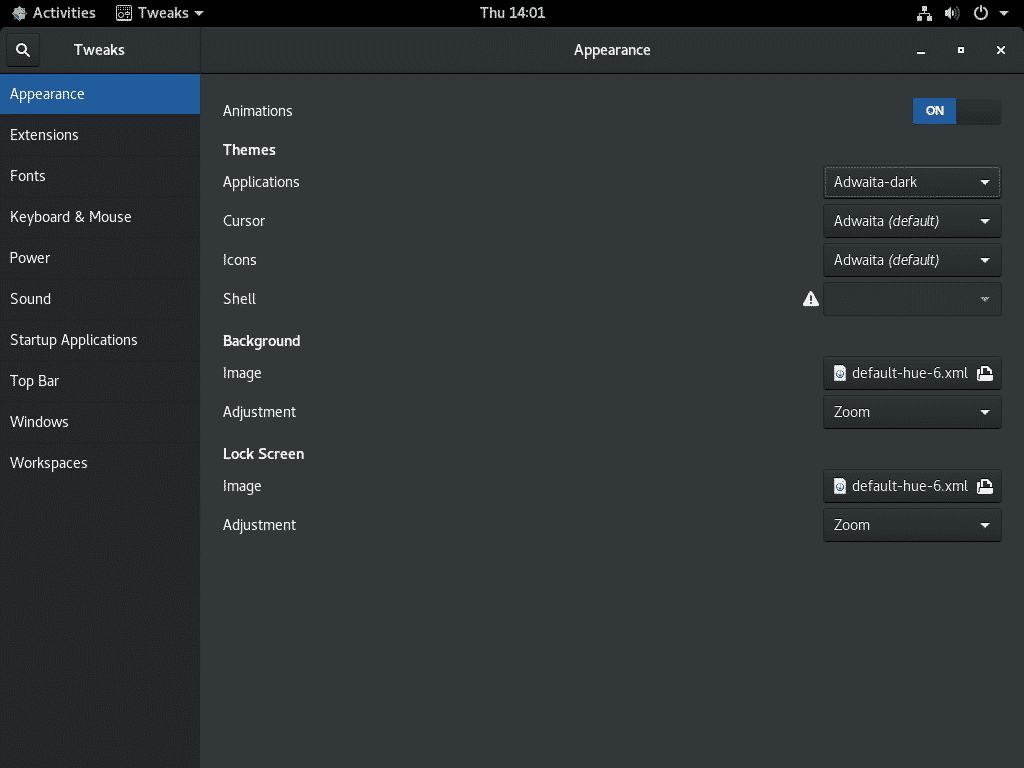
As you can see, the GNOME Desktop Environment theme is changed.
Customizing Titlebar Buttons and Button Placement:
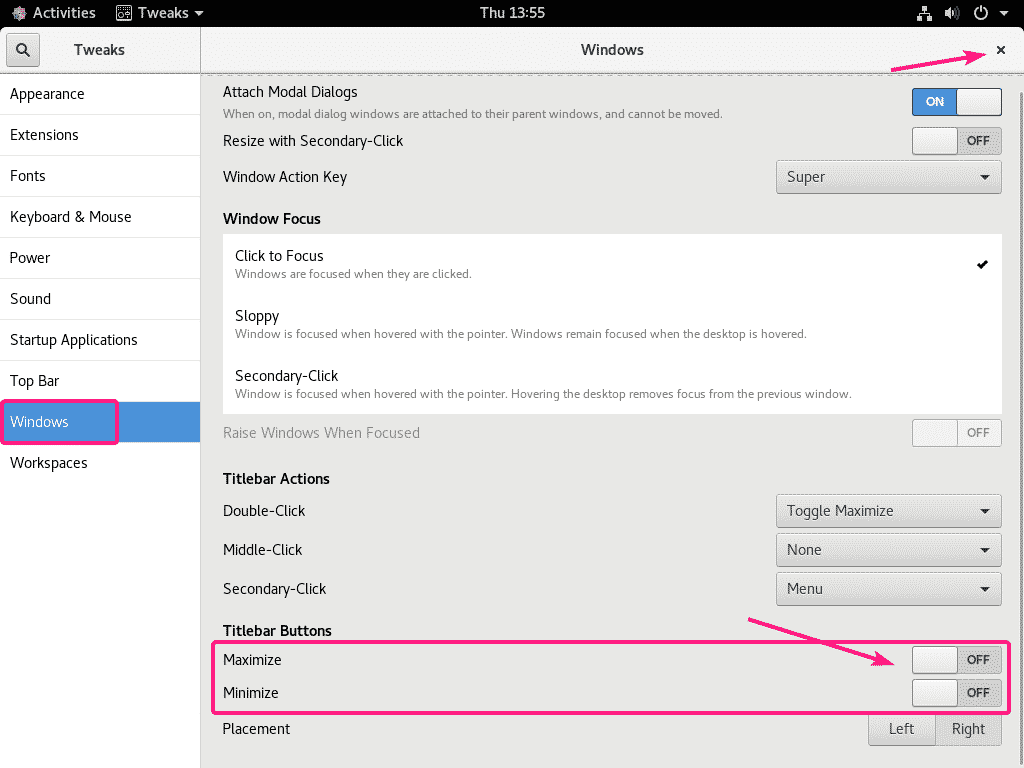
By default, GNOME Desktop Environment does not have minimize and maximize titlebar buttons. If you need them, you can enable titlebar buttons from GNOME Tweaks. Go to Windows and toggle ON ‘Maximize’ and ‘Minimize’ Titlebar Buttons as marked in the screenshot below.
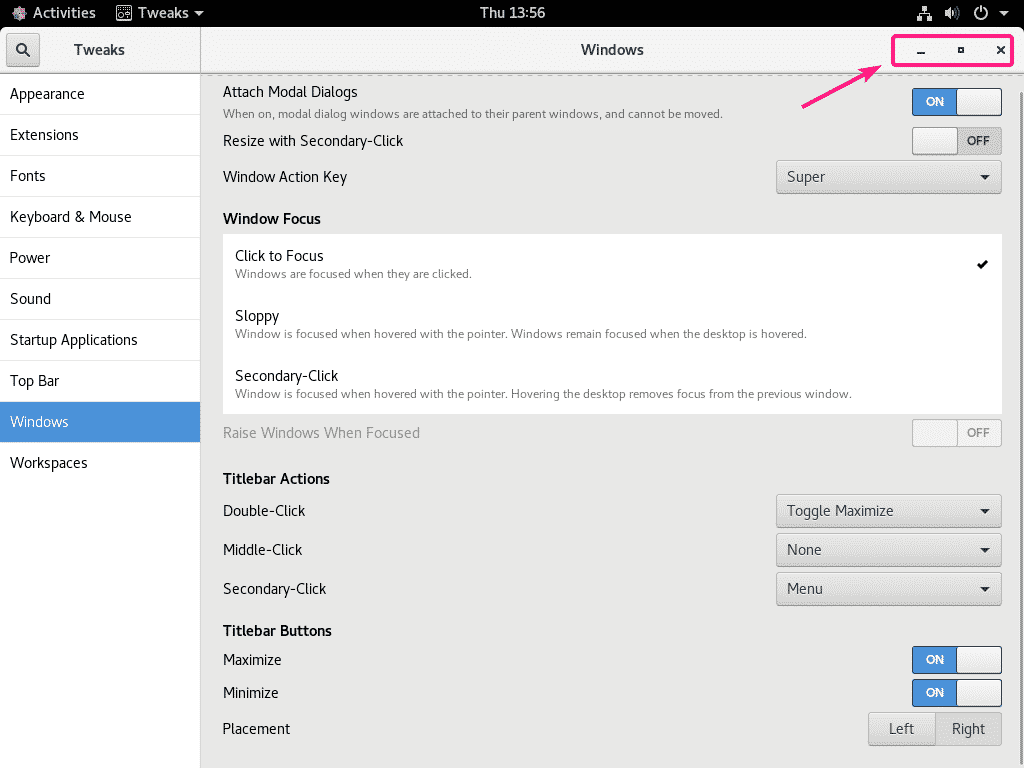
Minimize and Maximize titlebar buttons should be displayed.
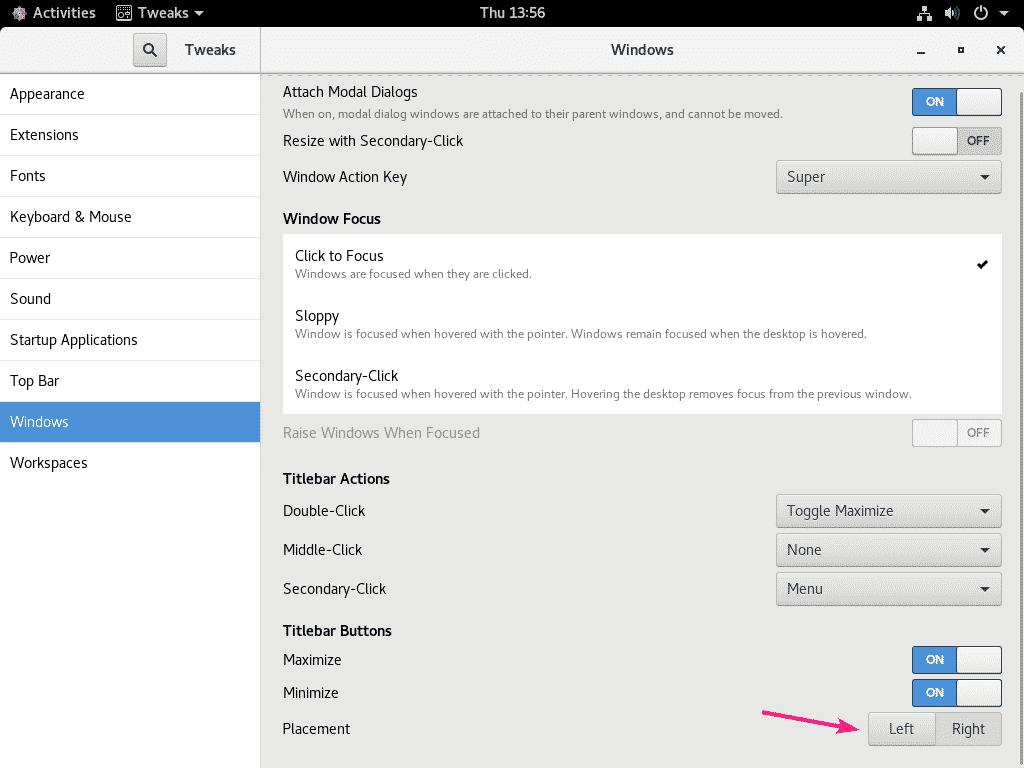
You can also change the placement of the titlebar buttons from right to left. Click on ‘Left’ or ‘Right’ Placement depending on what you want.
Changing Font and Font Scaling:
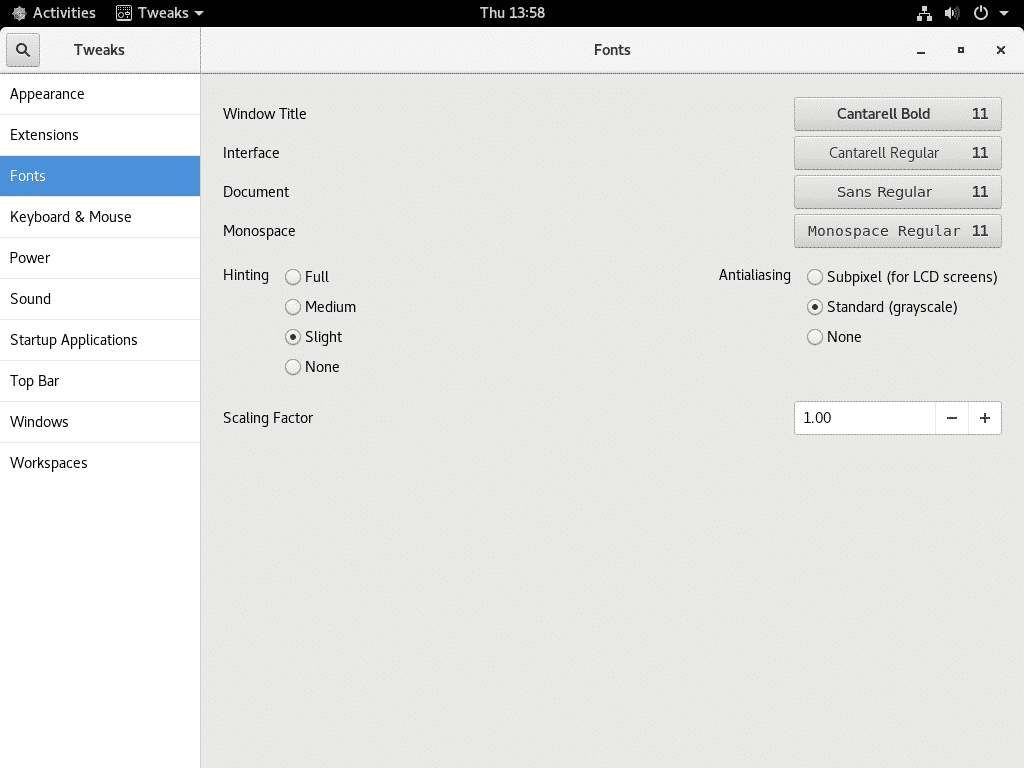
You can change default window title font, interface font, document font, set default monospace font, change antialiasing and hinting settings of the font, change font scaling from the Fonts section of GNOME Tweaks app.
Enable Desktop Icons:
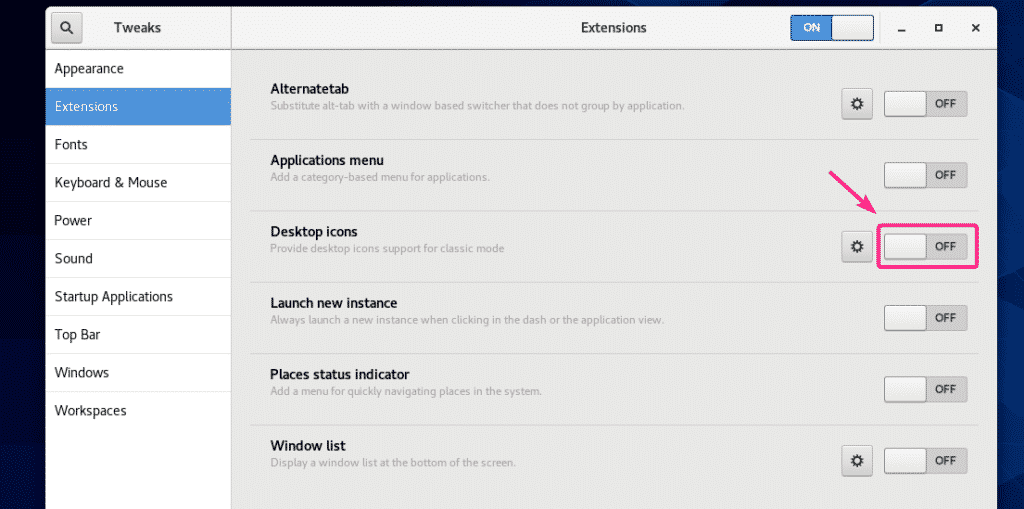
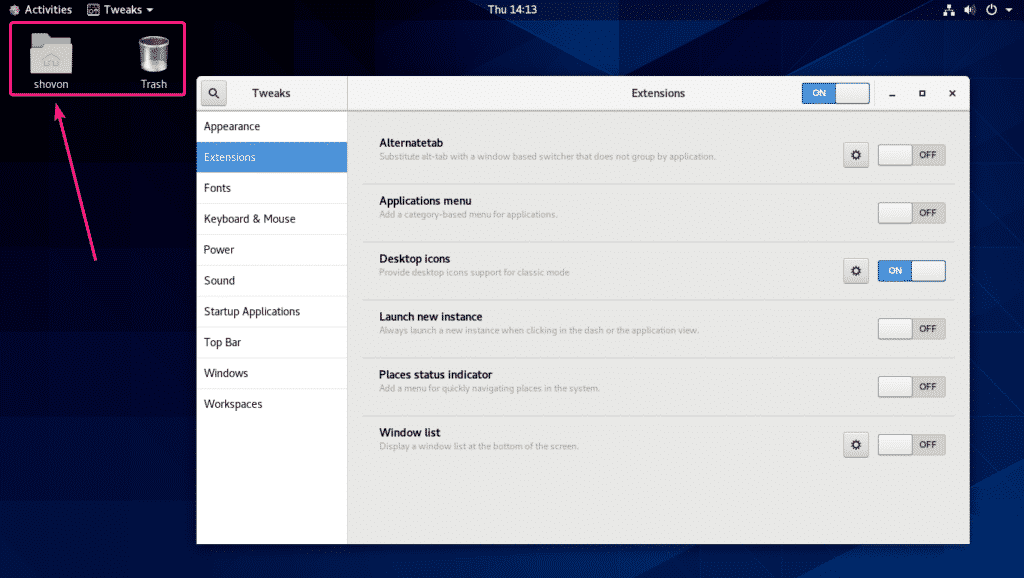
By default, desktop icons are disabled on CentOS 8 GNOME 3 Desktop Environment. But, if you need them, you can enable Desktop icons extension from the Extensions table of GNOME Tweaks.
As you can see, desktop icons are now displayed.
Enable GNOME Classic Like Applications and Places:
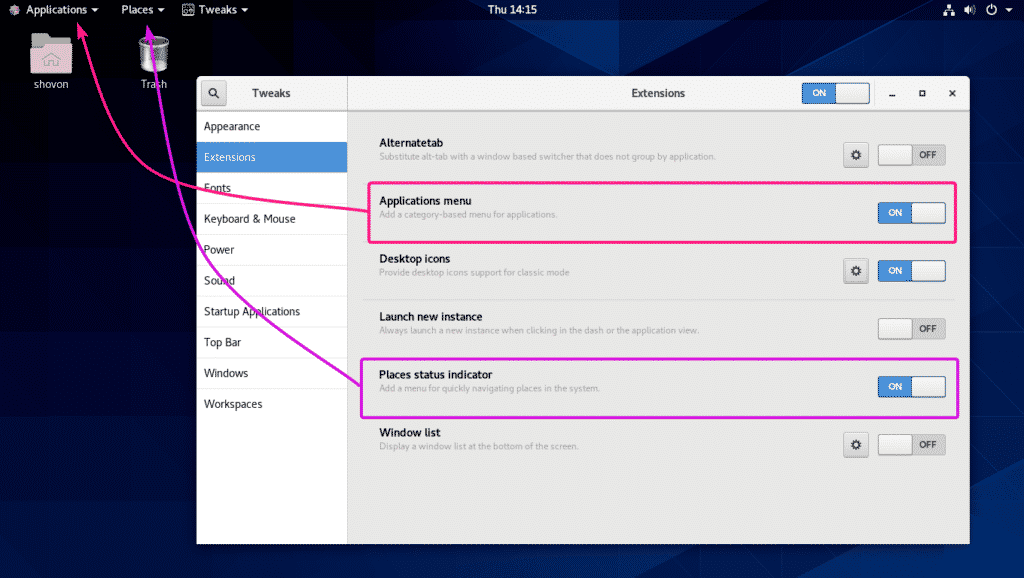
If you don’t like the GNOME 3 modern application menu, then you can enable GNOME Classic like Applications Menu from the GNOME Tweaks app.
Go to Extensions and enable Applications menu extension.
You can also enable Places menu. Just go to Extensions and enable Places status indicator extension.
Dash to Dock Extension:
Dash to Dock is a very popular GNOME 3 extension. This extension docks the dash panel of GNOME 3 desktop environment.
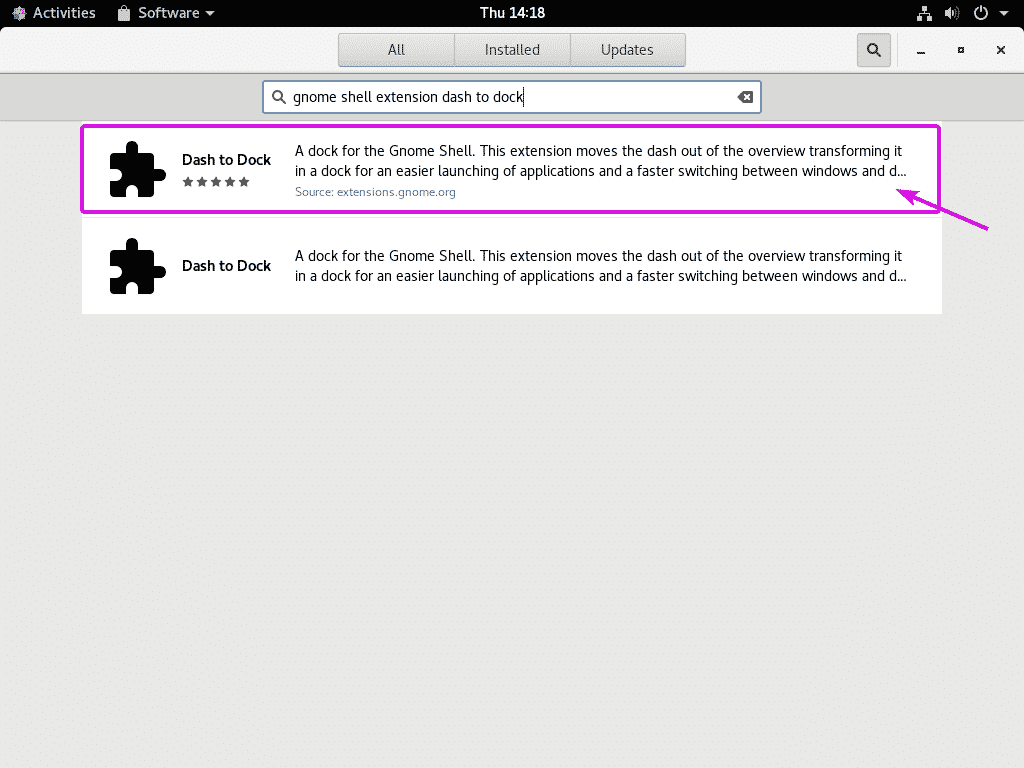
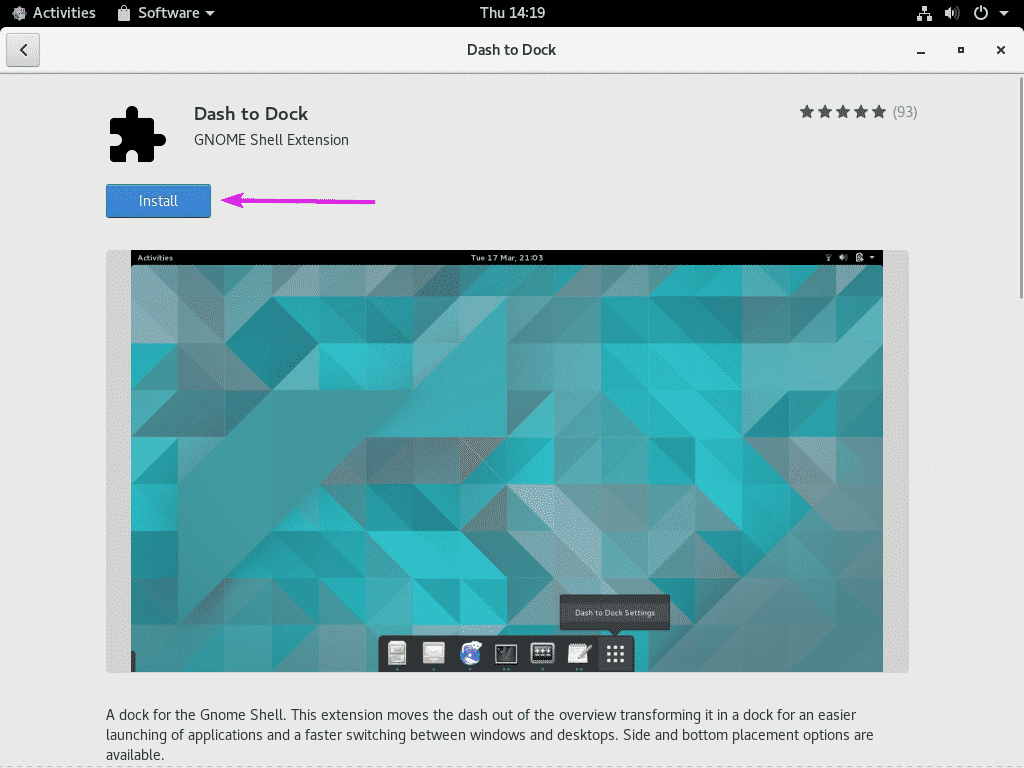
You can install Dash to Dock extension from GNOME Software app. Open GNOME Software and search for Dash to Dock.
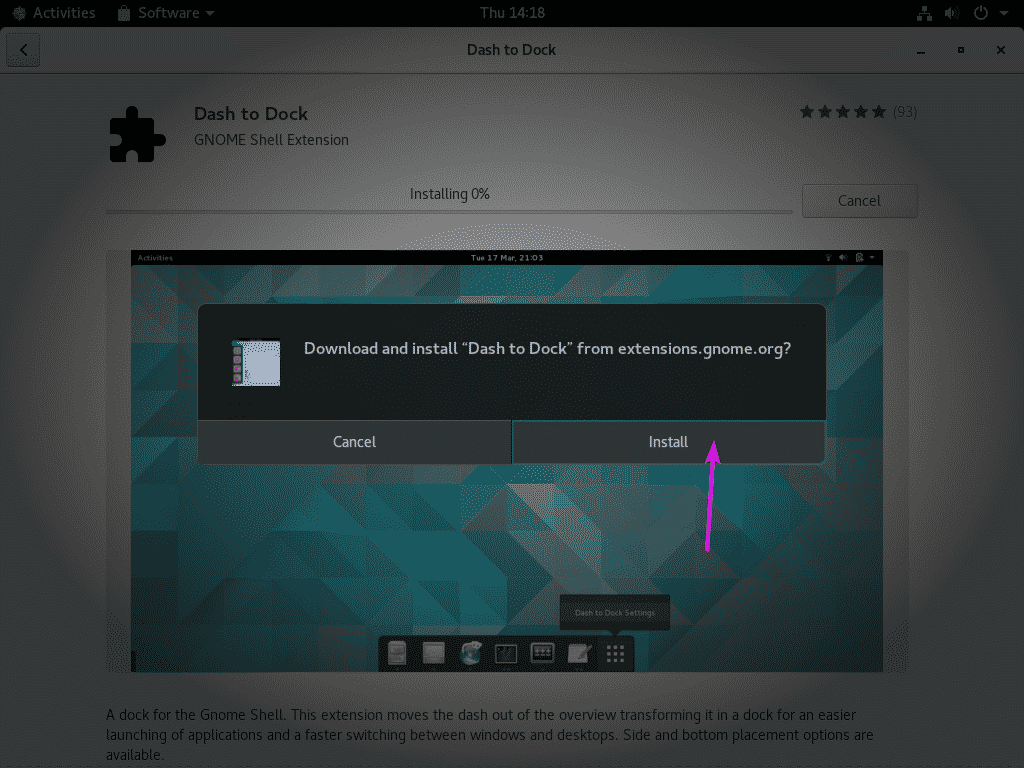
Then, click on Install.
Click on Install.
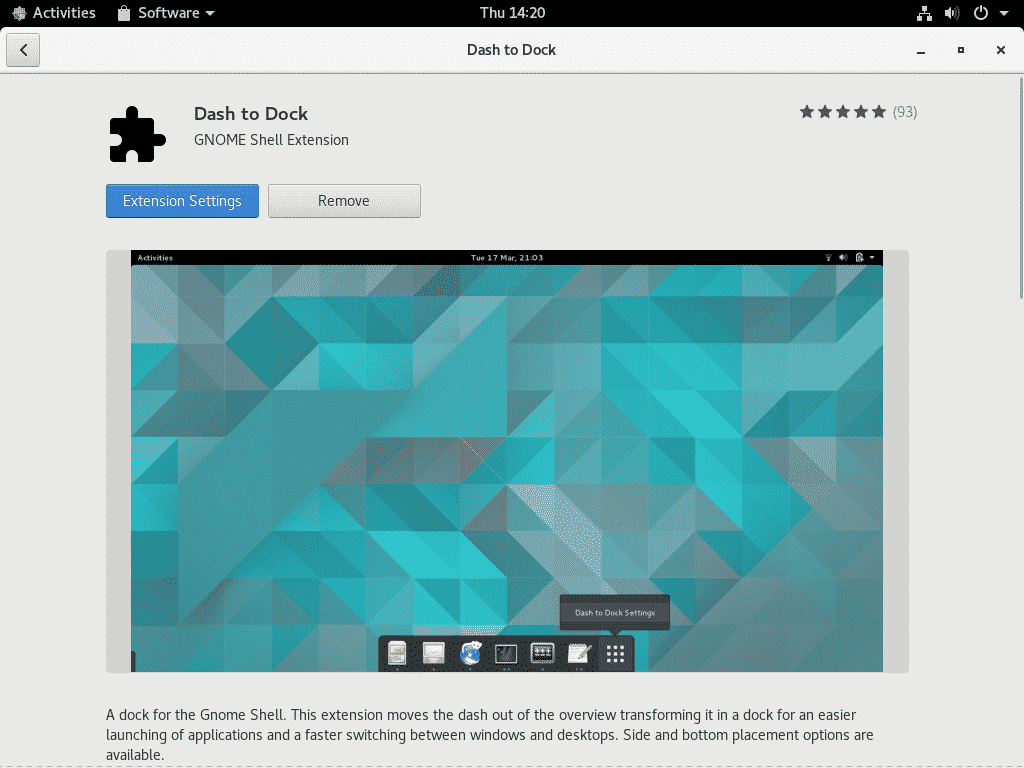
Dash to Dock should be installed.
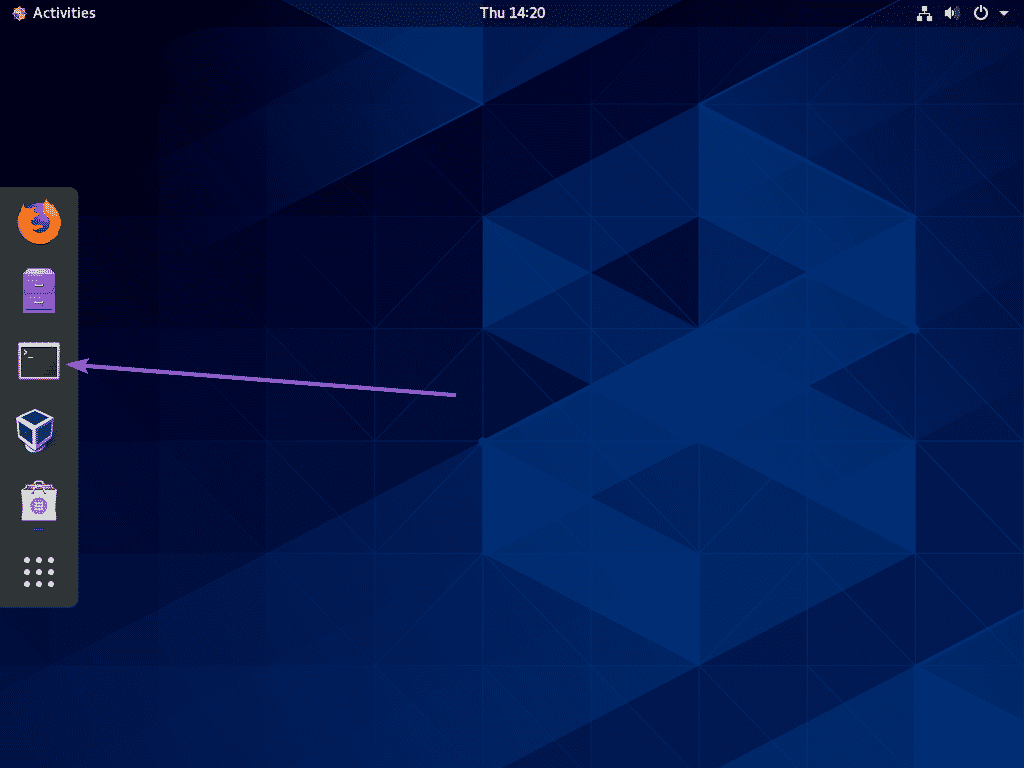
As you can see, the Dash of GNOME 3 is now visible outside of Application Menu.
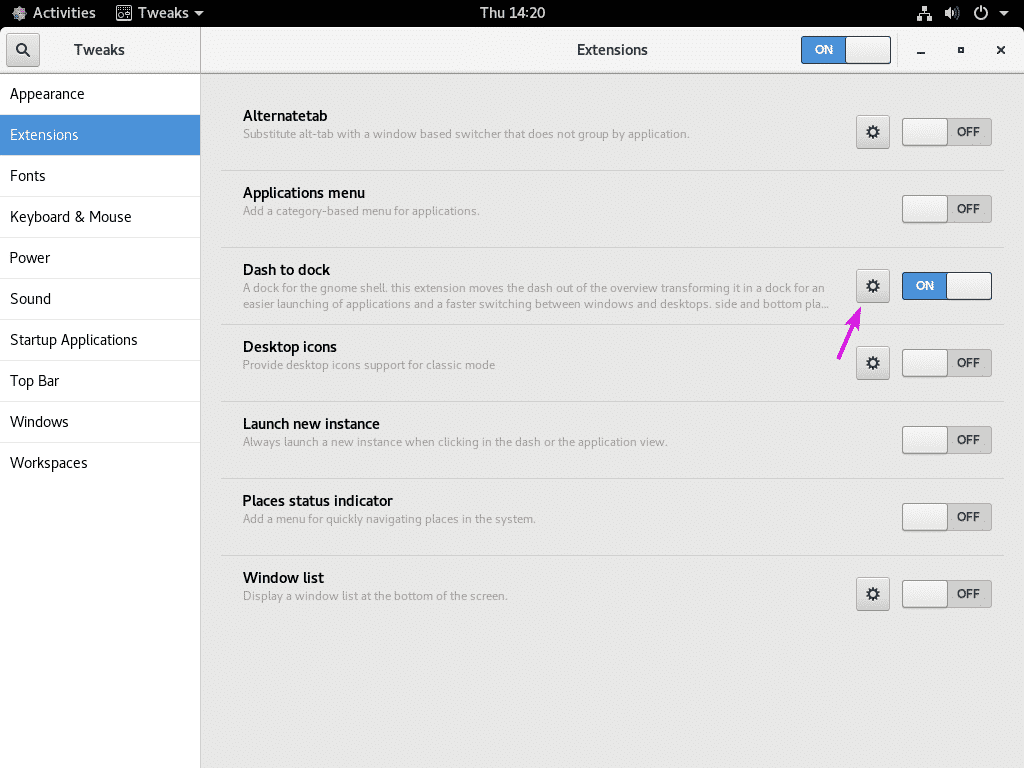
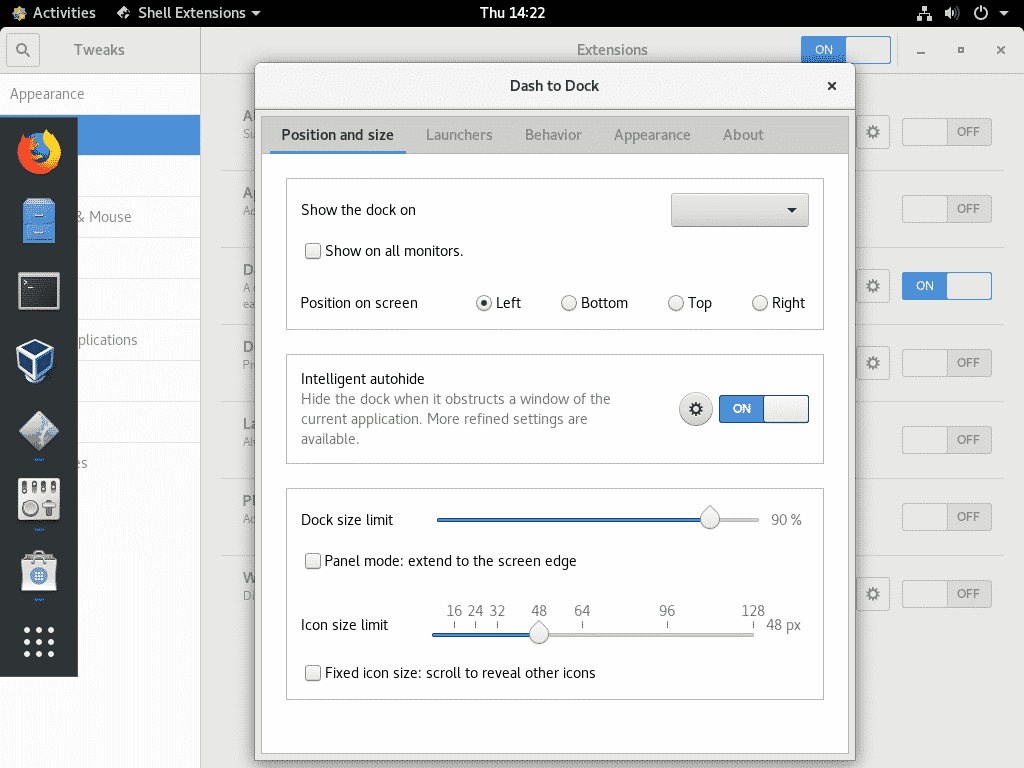
You can customize Dash to Dock from the Extensions tab of GNOME Tweaks app.
There are many ways you can customize Dash to Dock. i.e. change icon size, change highlight color, change transparency, change dock color, change dock position etc.
Dash to Panel Extension:
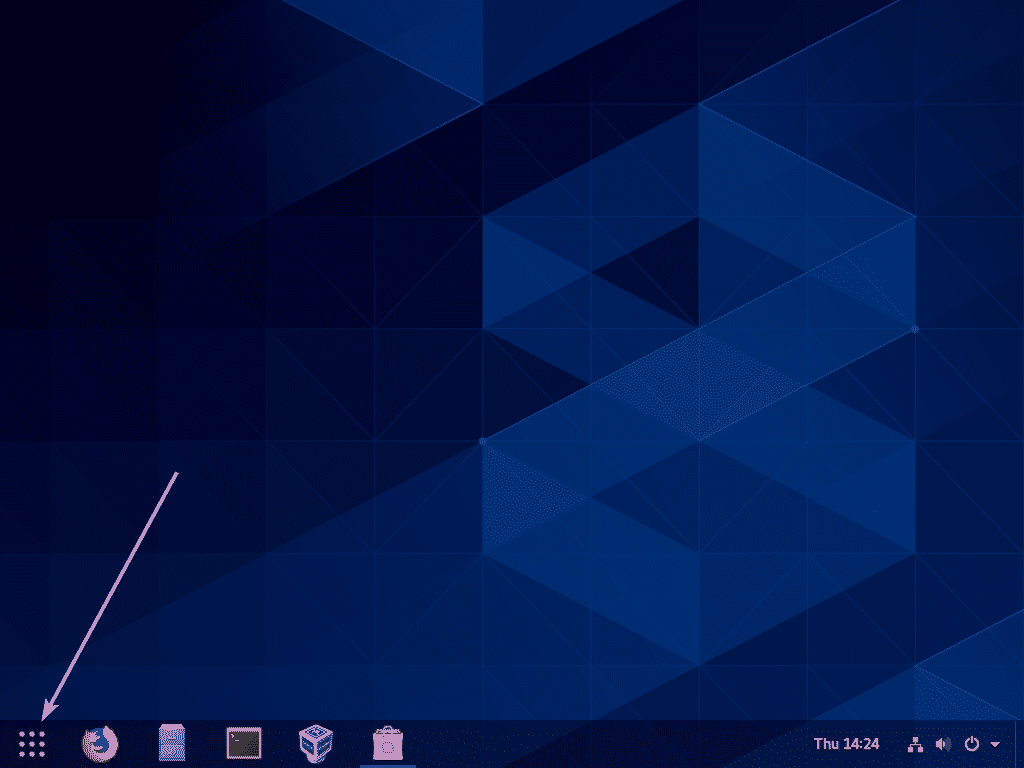
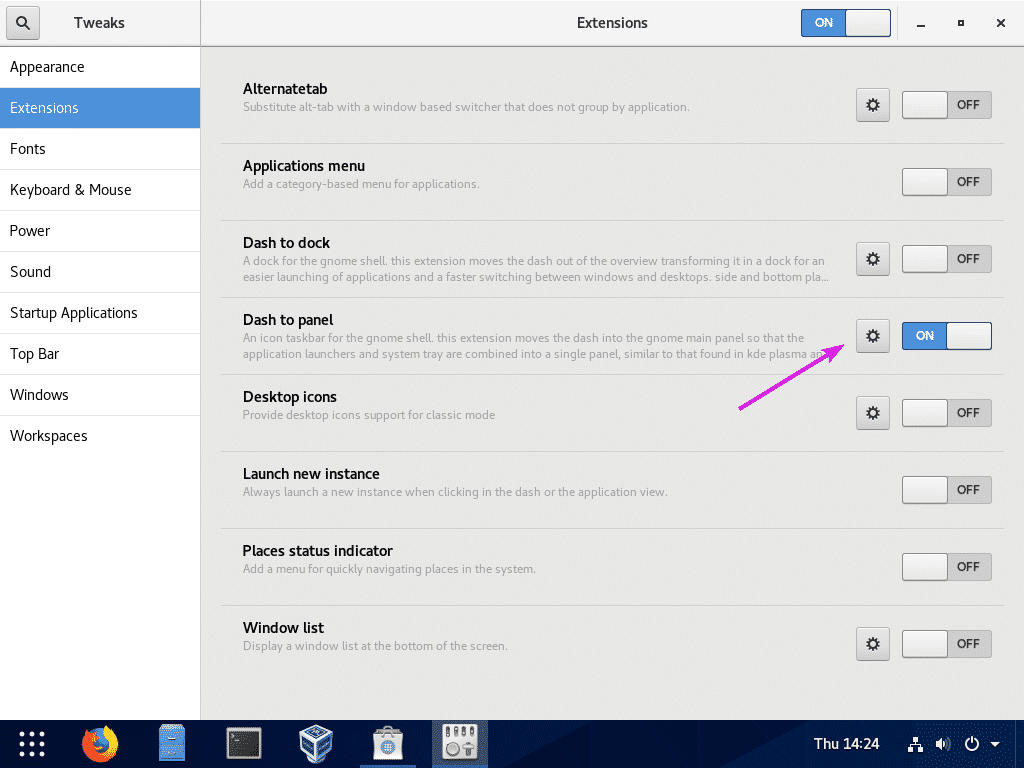
Dash to Panel is another extension like Dash to Dock. It turns the Dash of GNOME 3 Desktop Environment into a very easy to use panel.
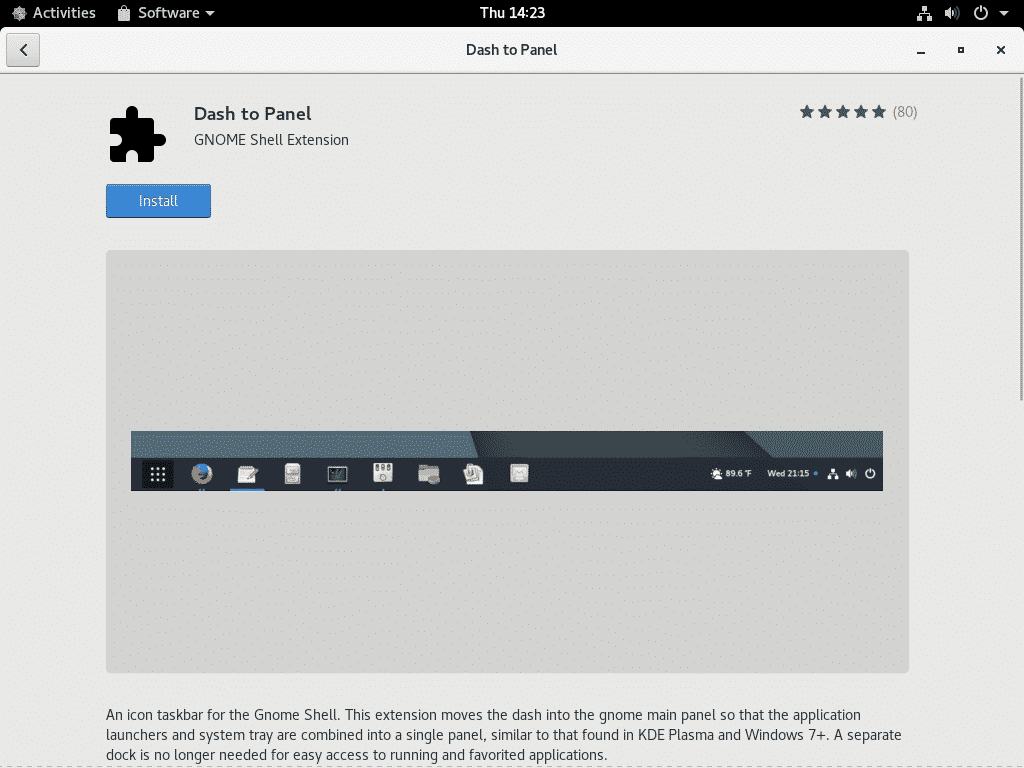
You can also install Dash to Panel from GNOME Software app.
Click on Install.
This is how Dash to Panel looks like. I like this extension a lot. This is usually the first extension I install on any of my GNOME 3 Workstations.
Dash to Panel can also be configured from GNOME Tweaks. It has almost the same options as Dash to Dock.
System-Monitor Extension:
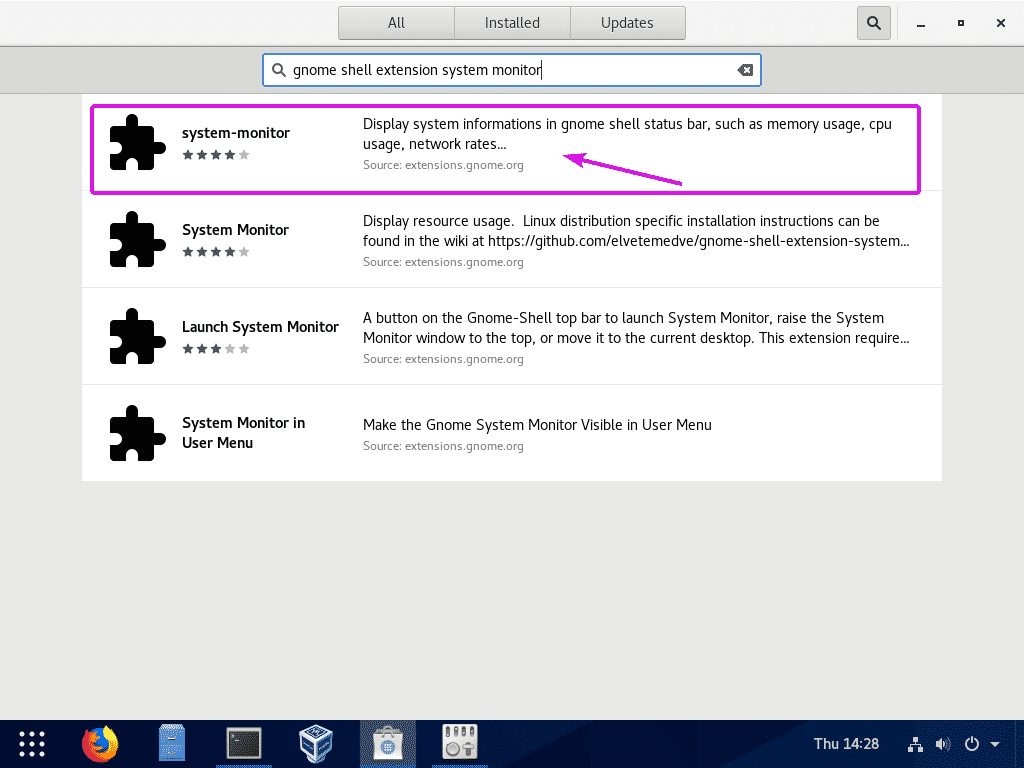
System-Monitor is another useful extension for GNOME 3 desktop environment. You can also install this extension from GNOME Software app.
Click on Install.
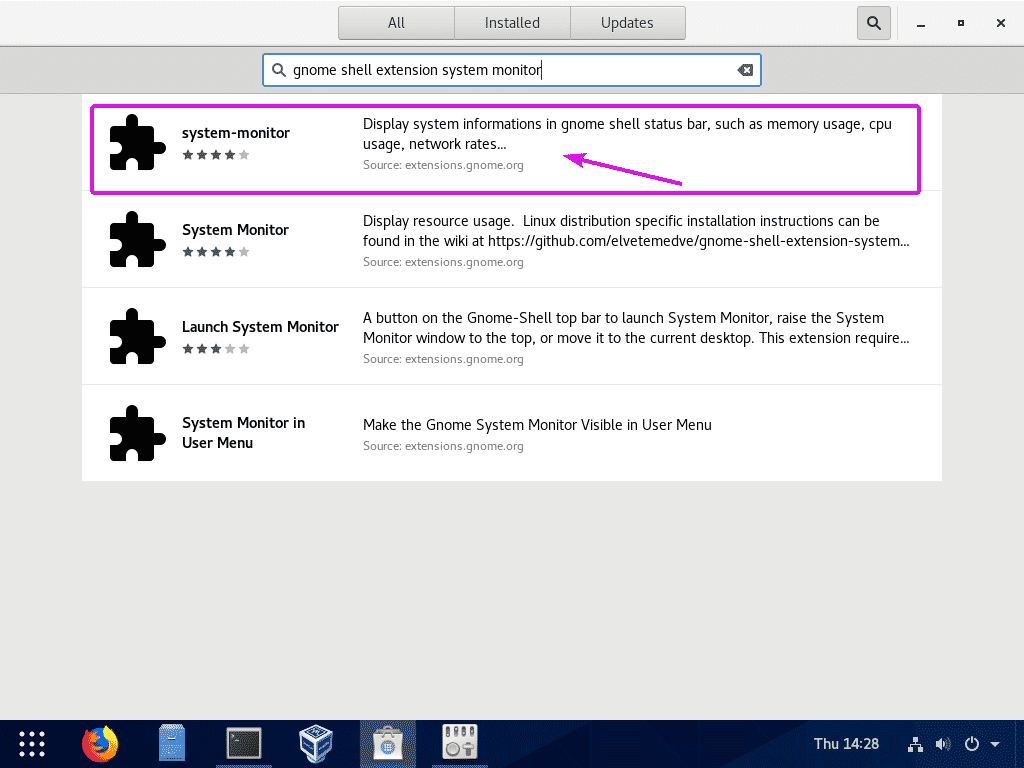
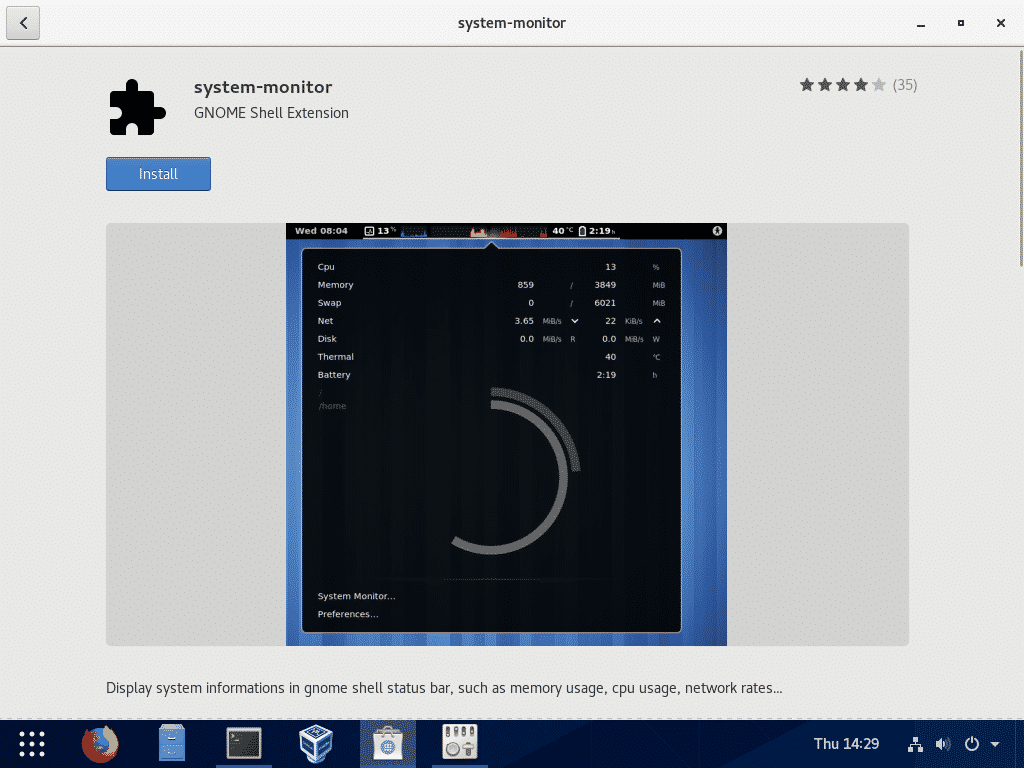
Click on Install.
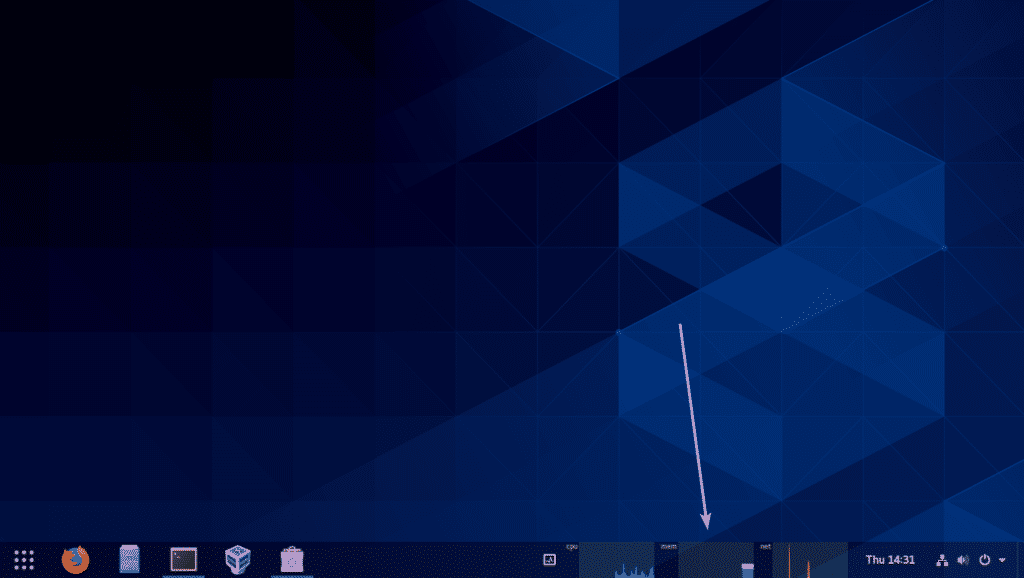
As you can see, CPU, Memory and Network resource usages are displayed as beautiful graphs.
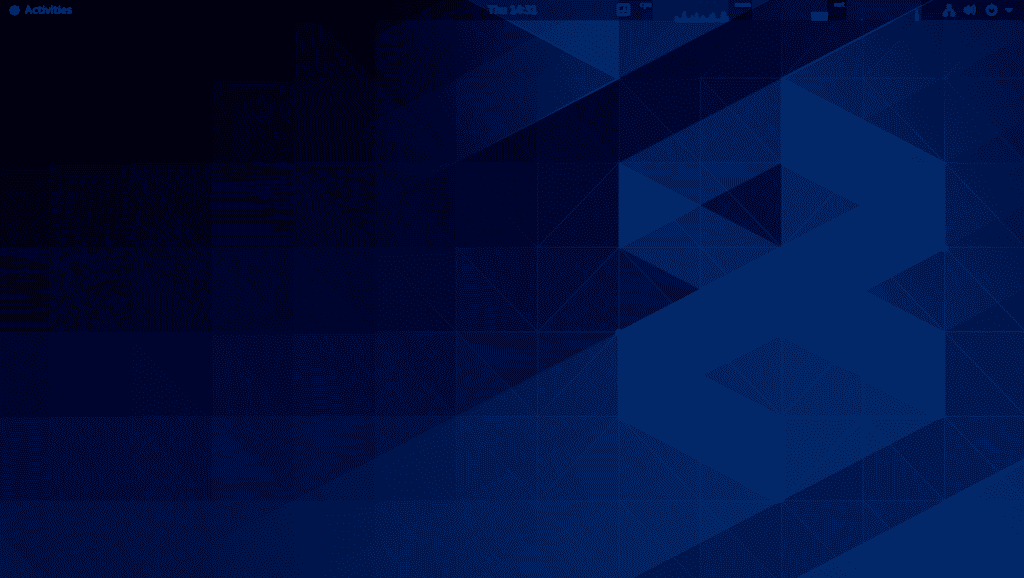
This is how System-Monitor extensions looks like when Dash to Panel extension is disabled.
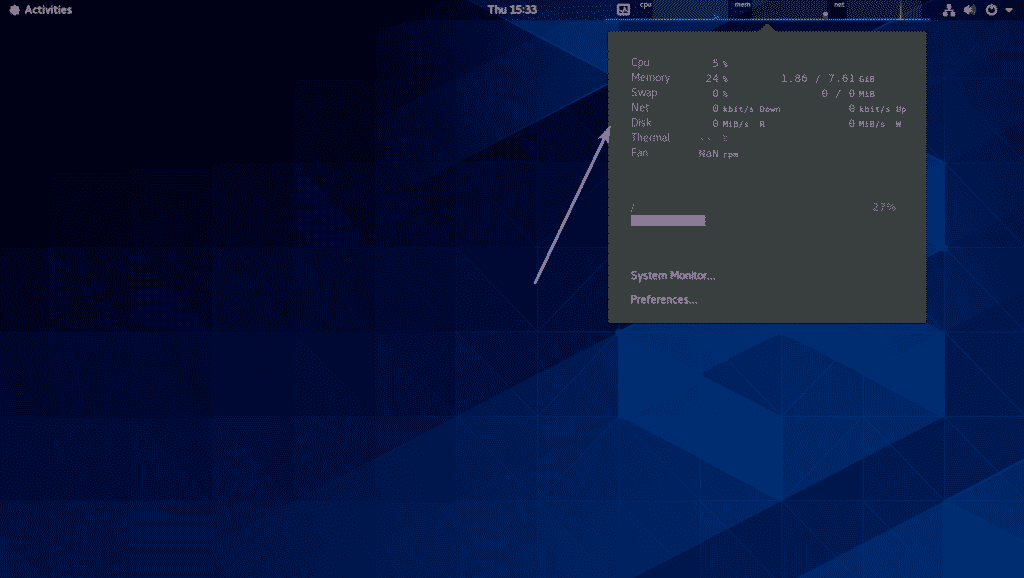
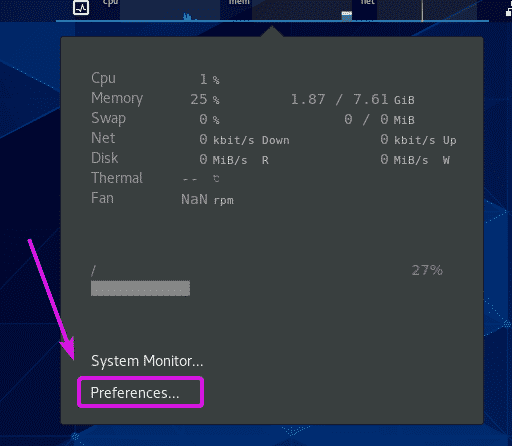
If you click on the graphs, more system information will be displayed.
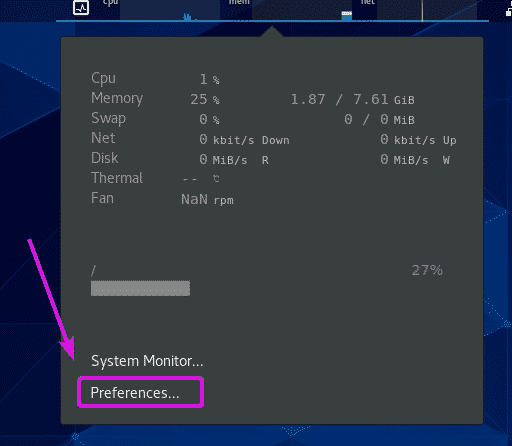
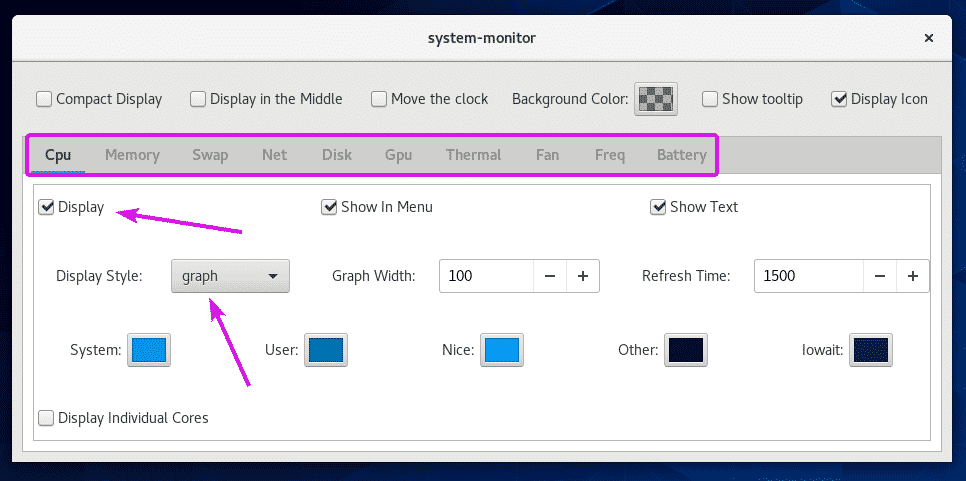
You can also configure System-Monitor extension. To do that, go to Preferences… of System-Monitor extension.
From here, you can set what to Display. There are Cpu, Memory, Disk, Net, Gpu, Battery and many more information that you can tweak. You can also change the colors, display style and many more.
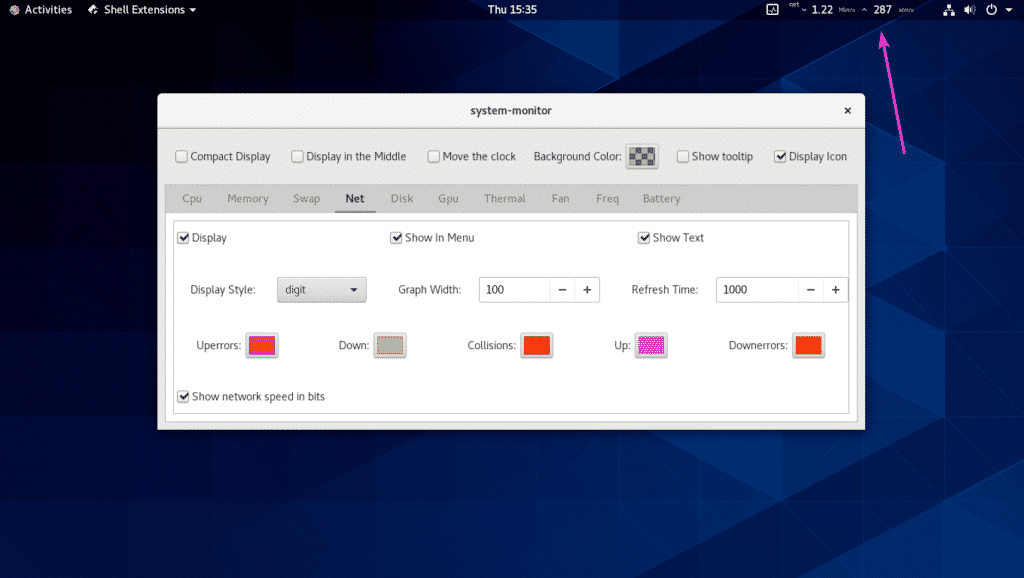
You can also use this extension as a network speed meter. Just disable everything and keep only network statistics. Change the Display style to digit. That’s it. It works very well.
Changing Desktop and Lock Screen Wallpaper:
Without covering how to change desktop wallpaper and lock screen wallpaper, I feel like this article will be incomplete. Even though, it’s very easy, it may help people new to Linux or new to GNOME Desktop Environment.
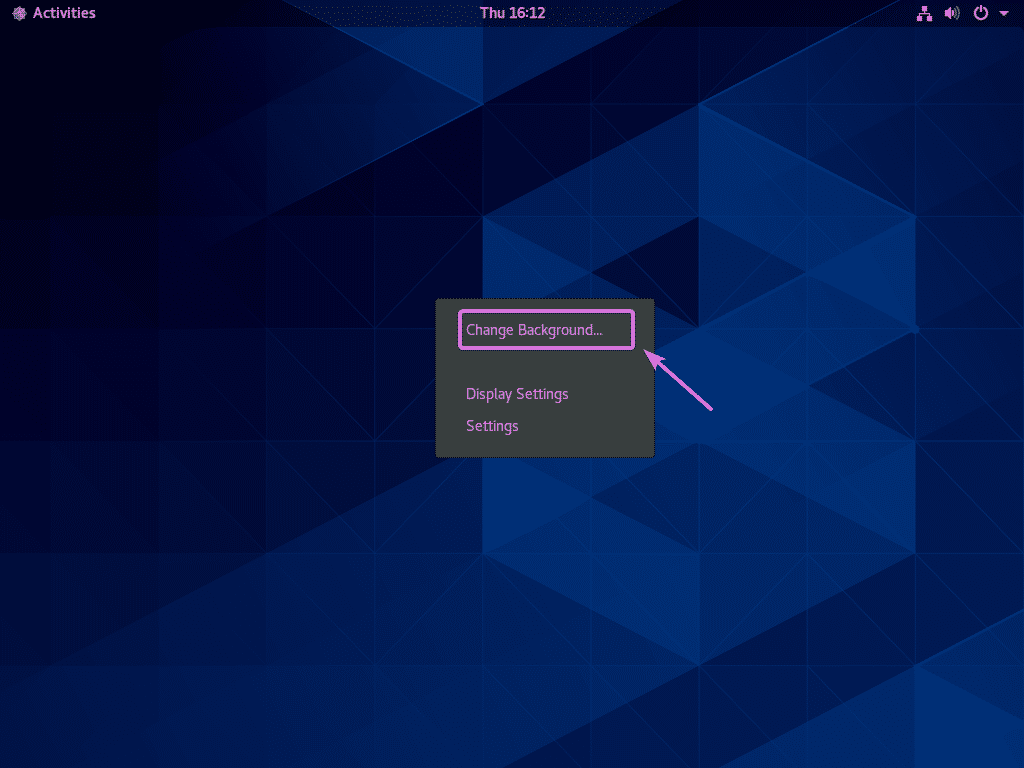
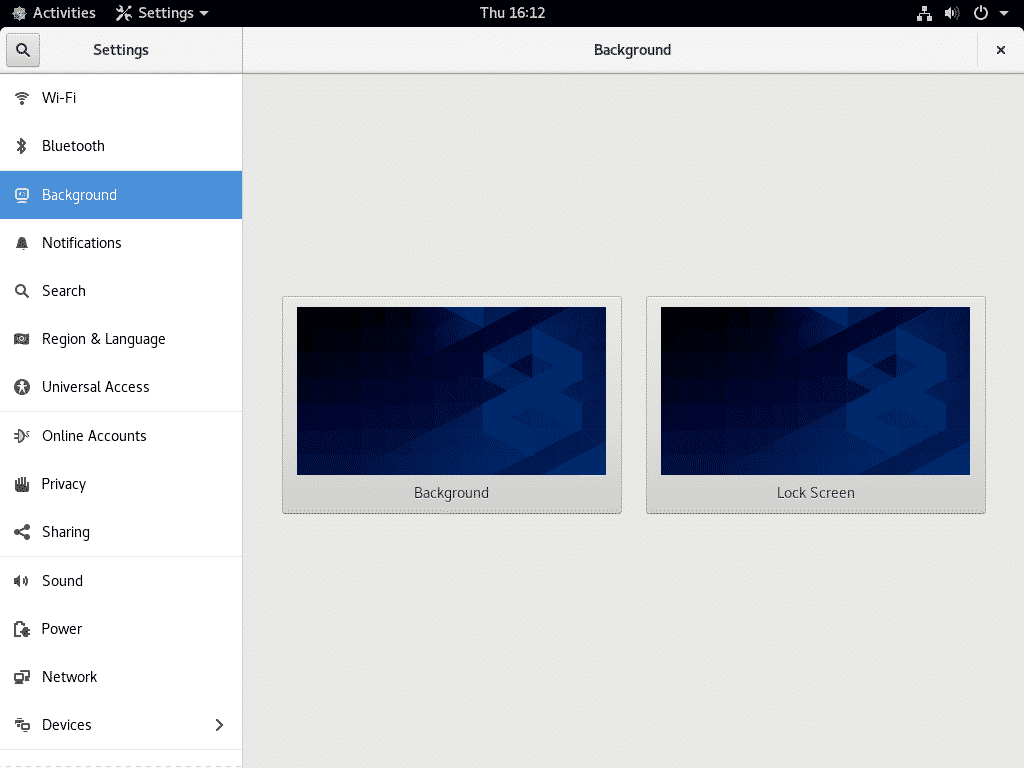
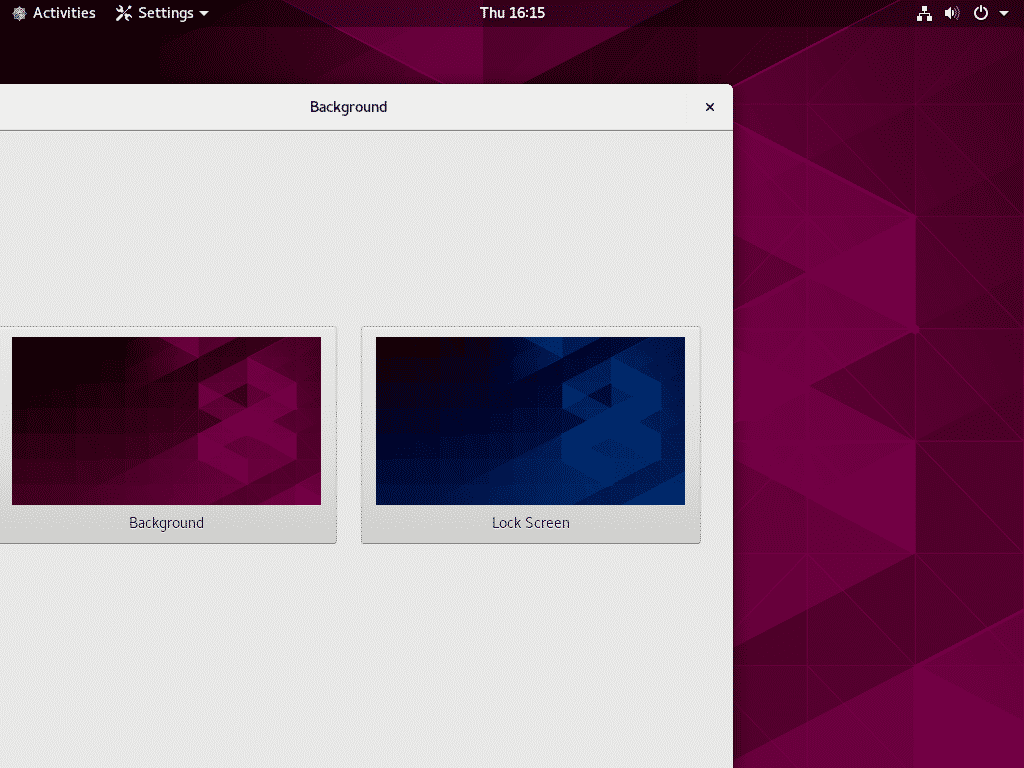
To change the desktop and/or lock screen wallpaper, right click (mouse) on desktop and click on Change Background…
Now, click on Background to change the desktop wallpaper or click on Lock Screen to change the lock screen wallpaper.
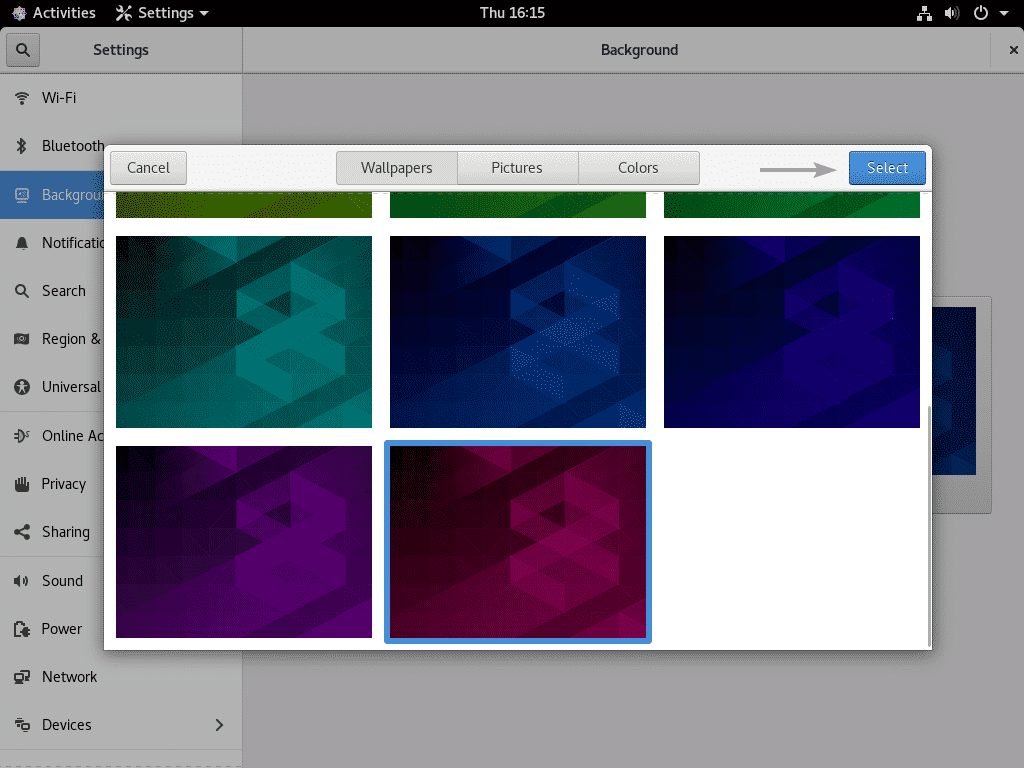
Now, select a Wallpaper from the list and click on Select.
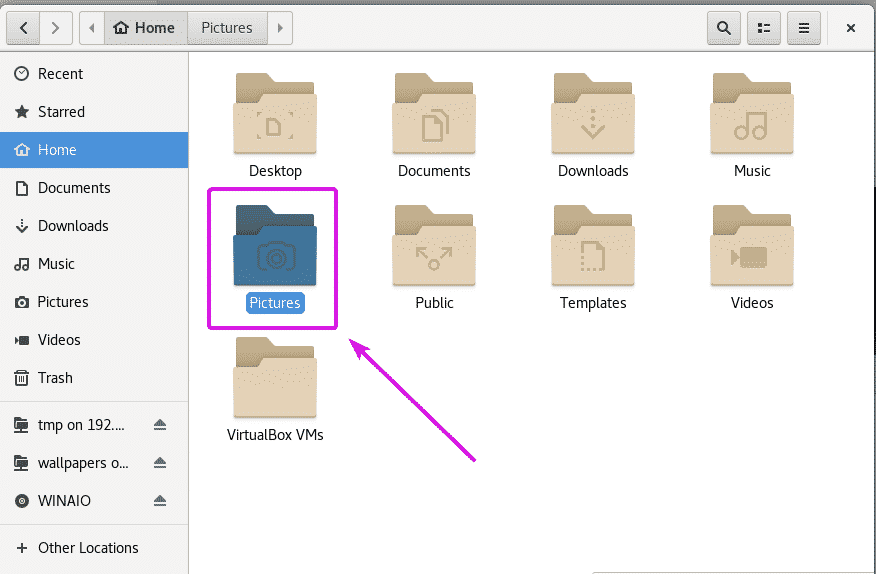
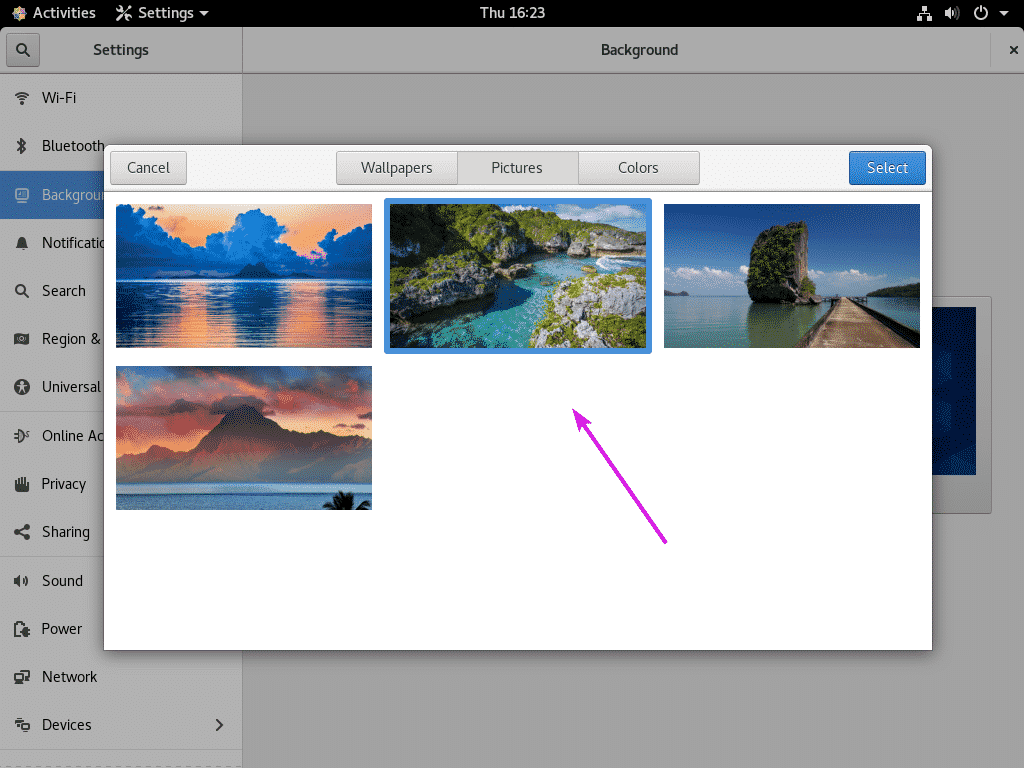
If you have your own set of wallpapers from which you want to pick one, then put the wallpapers in the ~/Pictures directory.
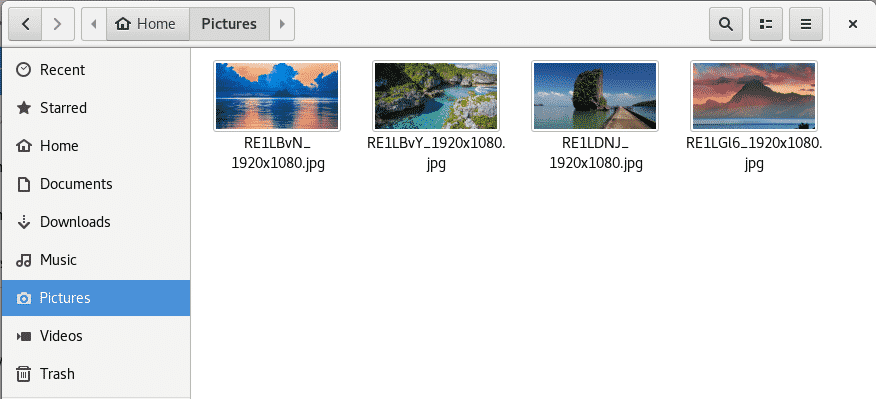
As you can see, I have copied over some wallpapers to the ~/Pictures directory.
Your wallpapers from the ~/Pictures directory will show up in the Pictures tab as you can see in the screenshot below. Now, you can select a wallpaper from here and click on Select to set it as your desktop or lock screen wallpaper.
Once you click on Select, your desired wallpaper should be set as you can see in the screenshot below.
So, that’s how you tweak GNOME Desktop Environment on CentOS 8. Thanks for reading this article.
from Linux Hint https://ift.tt/2VZ0I33




0 Comments