


Why Boot Repair
In the case of Linux, misconfiguration in the GRUB settings is mostly the cause of the issue. In some rare cases, the boot partition may become corrupted or badly configured. In any case, the Boot Repair utility can work like charm. This tool is free and available for Windows and Linux (Ubuntu and derivatives). If you have multiple OS installed, just boot into the one that works and let the tool do its job. Even if there’s no bootable OS available, don’t worry. Make a live USB flash drive and let it do its job!
Let’s check out how to use Boot Repair on Linux Mint!
Boot Repair on Linux Mint Installation
The installation process is quite simple. It doesn’t matter whether you’re running Linux Mint natively or from a USB flash drive; just follow the following steps.
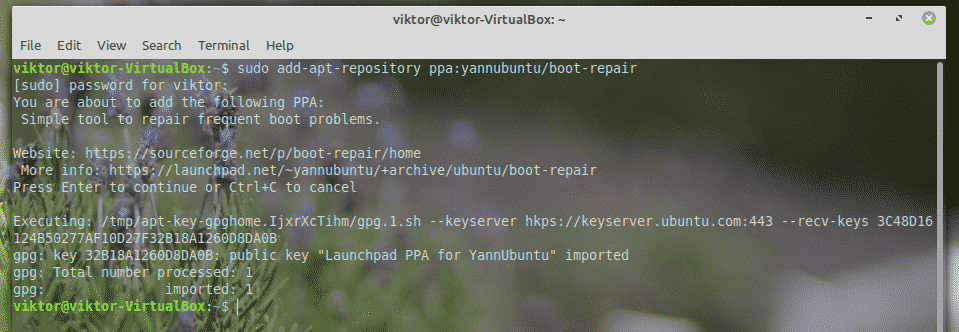
Fire up a terminal. At first, set the Boot Repair repo.
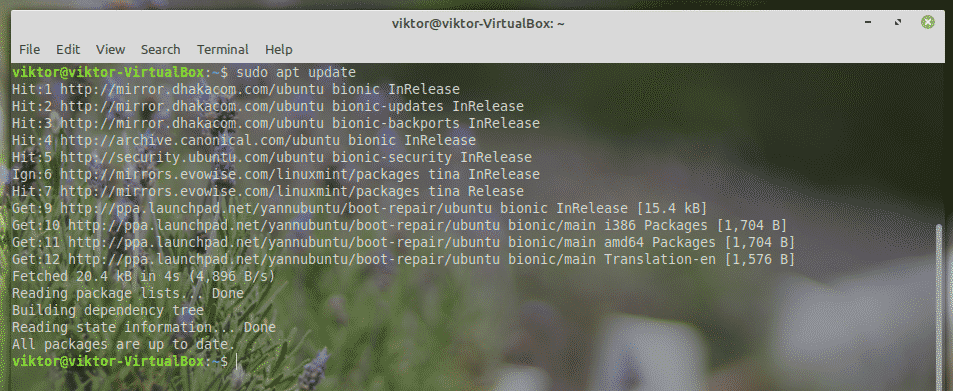
Update the APT cache.
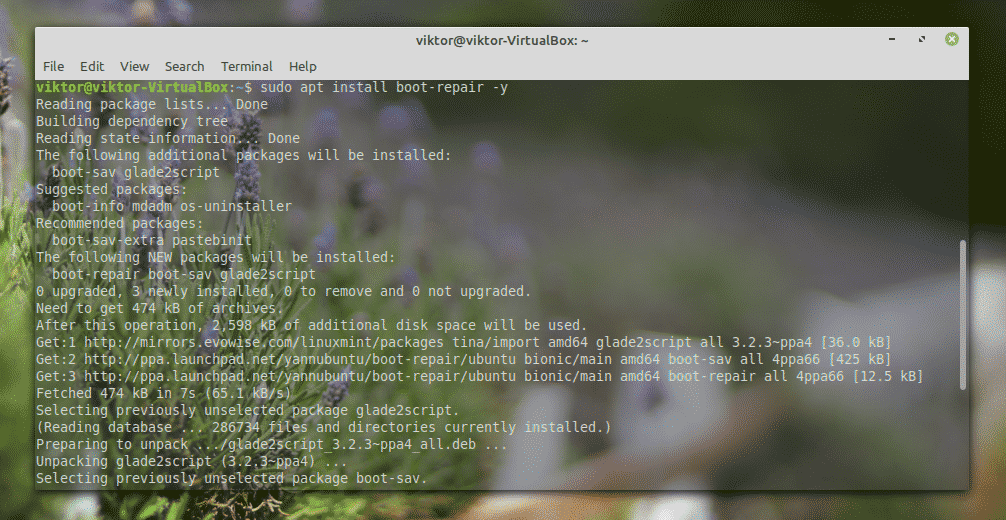
Now, install Boot Repair.
Using Boot Repair on LinuxMint
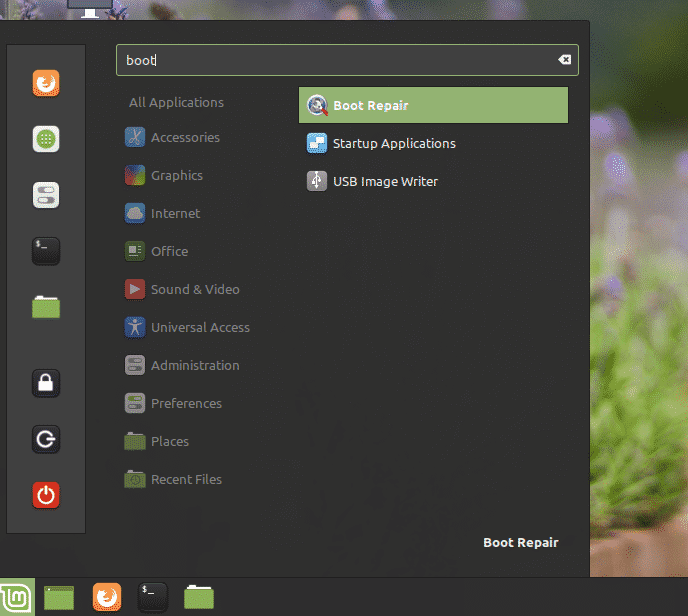
Fire up the tool from the menu.
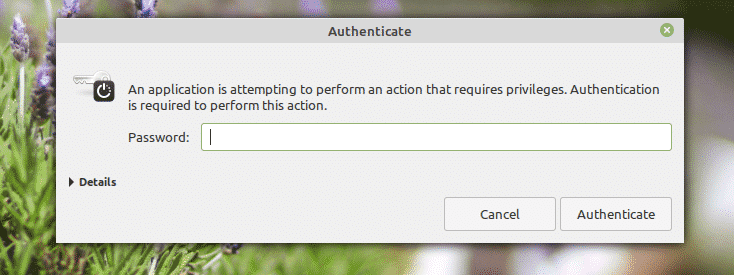
It’ll ask for the root password.
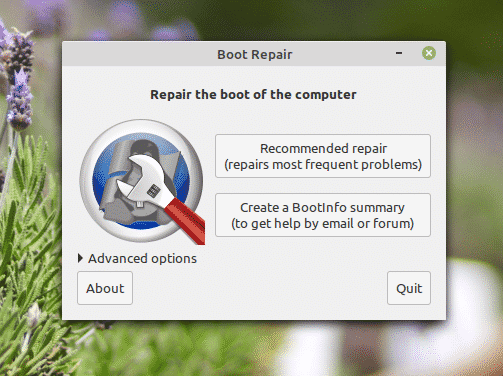
Once you’re on the main screen, there are a couple of options to choose from.
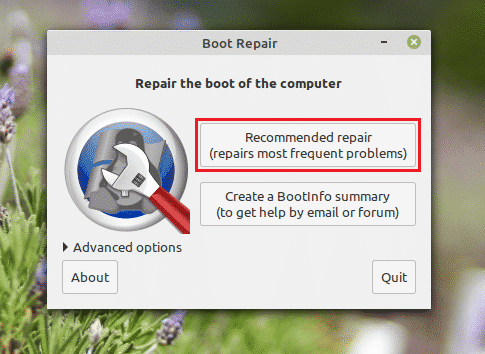
Recommended repair
In most cases, just the “Recommended repair” is more than enough to solve the majority of the issues.
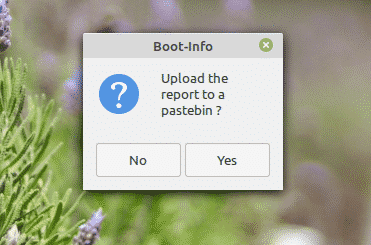
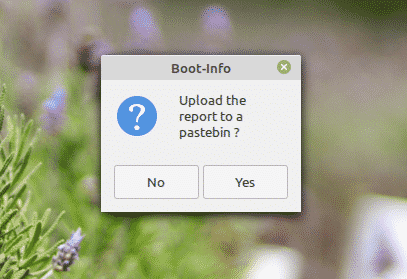
Boot Repair uses online paste services. This is helpful if you’re looking for help from someone, especially in the online forums. If you want to use it, click “Yes”.

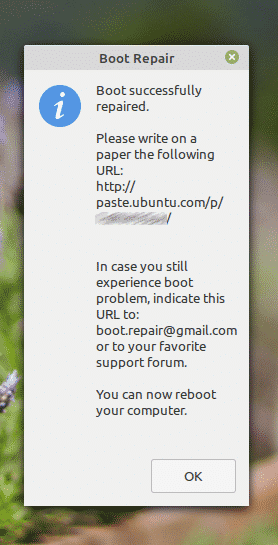
It’ll create a paste on Ubuntu pastebin. Click “Yes” to generate an online paste.
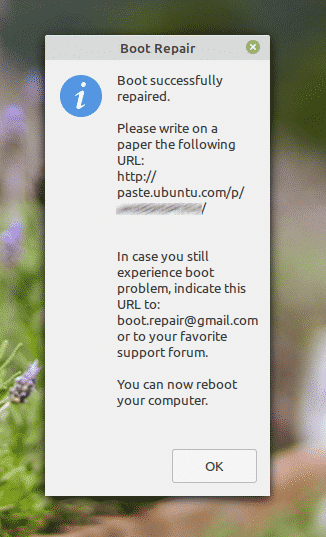
The repair is complete. Reboot your system to see if the issue is fixed.
Create a BootInfo Summary
Use this option to create a report of your system’s boot configuration. The info is super useful in debugging complicated GRUB configurations.
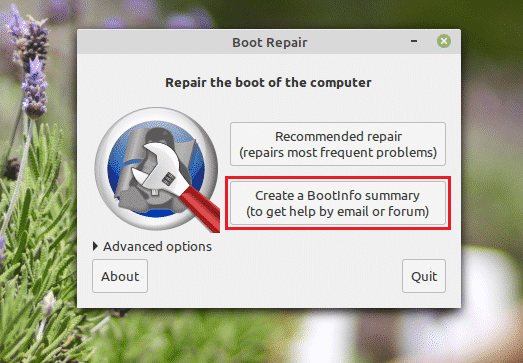
Once you’ve clicked the button, it’ll generate the report. You can upload it directly to the Ubuntu pastebin for easier sharing with others.

If you select “No”, the tool will pop up the report as a text file using the default text editor of your system.

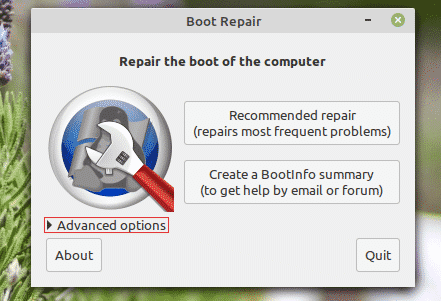
Advanced options
This is a bit geekier part but anyone should understand what’s going on around here.
There are multiple options available that you can tweak. From the “Main option” tab, it’s possible to backup the current partition tables, boot sectors, and logs. It also allows reinstalling GRUB, restoring MBR, and repair file systems.
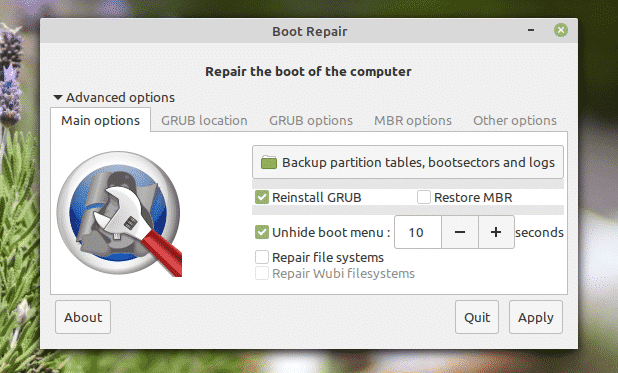
From the “GRUB location” tab, you can decide the default OS to boot into. You can also place GRUB on a different device.
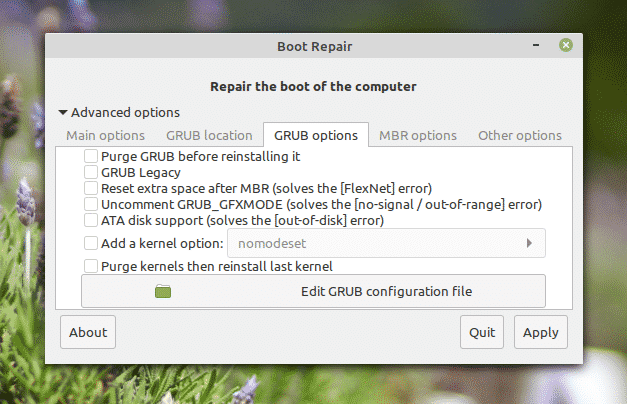
“GRUB options” is a huge list of sensitive options. It allows purging GRUB, installing GRUB legacy, adding kernel options and a lot more. If you think you need to manually the GRUB configuration, you’re free to do so!
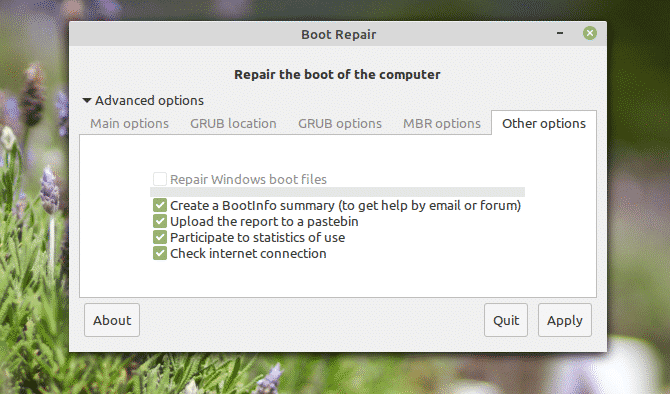
At the “Other options” tab, there are some miscellaneous options that can improve the user experience of the tool.
Once you’re ready, hit “Apply”.
Reboot your system to see if everything works fine.
Final thoughts
While reinstalling the operating system is the ultimate solution to any boot issues, that’s not something we should go for all the time. In fact, it’s the last solution that we should follow in case there’s no solution left.
Boot Repair works the same on Windows. With this tool at hand, there’s literally no reason why you shouldn’t be able to fix corrupted boot situations. The simplicity of this tool makes it easier to fix your system without having no geeky knowledge at all! Of course, the tool is also capable of doing advanced tweaks to the boot configuration without any problem.
from Linux Hint https://ift.tt/2MTXolZ


0 Comments