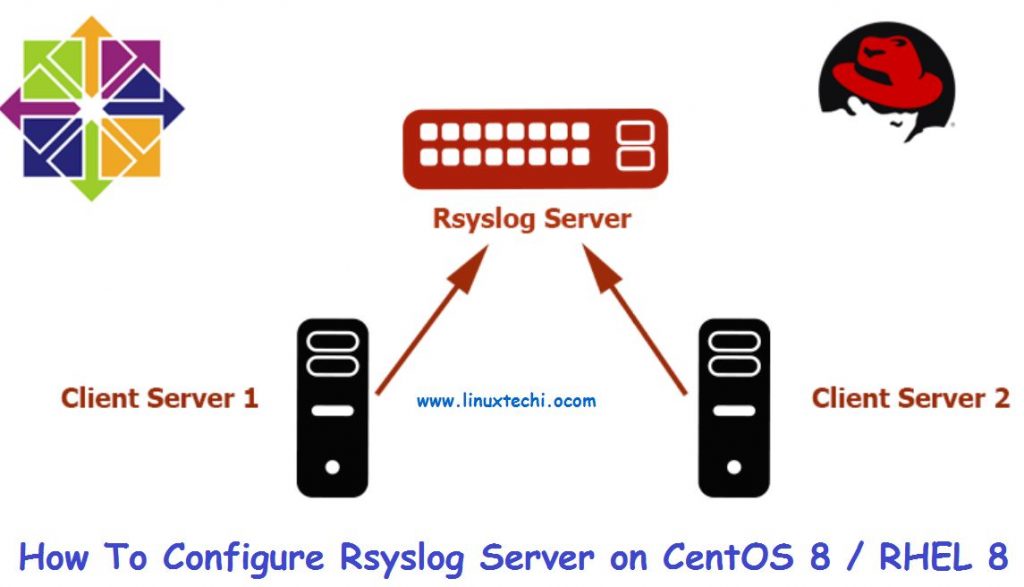
Rsyslog is a free and opensource logging utility that exists by default on CentOS 8 and RHEL 8 systems. It provides an easy and effective way of centralizing logs from client nodes to a single central server. The centralization of logs is beneficial in two ways. First, it simplifies viewing of logs as the Systems administrator can view all the logs of remote servers from a central point without logging into every client system to check the logs. This is greatly beneficial if there are several servers that need to be monitored and secondly, in the event that a remote client suffers a crash, you need not worry about losing the logs because all the logs will be saved on the central rsyslog server. Rsyslog has replaced syslog which only supported UDP protocol. It extends the basic syslog protocol with superior features such as support for both UDP and TCP protocols in transporting logs, augmented filtering abilities, and flexible configuration options. That said, let’s explore how to configure the Rsyslog server in CentOS 8 / RHEL 8 systems.
Prerequisites
We are going to have the following lab setup to test the centralized logging process:
- Rsyslog server CentOS 8 Minimal IP address: 10.128.0.47
- Client system RHEL 8 Minimal IP address: 10.128.0.48
From the setup above, we will demonstrate how you can set up the Rsyslog server and later configure the client system to ship logs to the Rsyslog server for monitoring.
Let’s get started!
Configuring the Rsyslog Server on CentOS 8
By default, Rsyslog comes installed on CentOS 8 / RHEL 8 servers. To verify the status of Rsyslog, log in via SSH and issue the command:
$ systemctl status rsyslog
Sample Output

If rsyslog is not present for whatever reason, you can install it using the command:
$ sudo yum install rsyslog
Next, you need to modify a few settings in the Rsyslog configuration file. Open the configuration file.
$ sudo vim /etc/rsyslog.conf
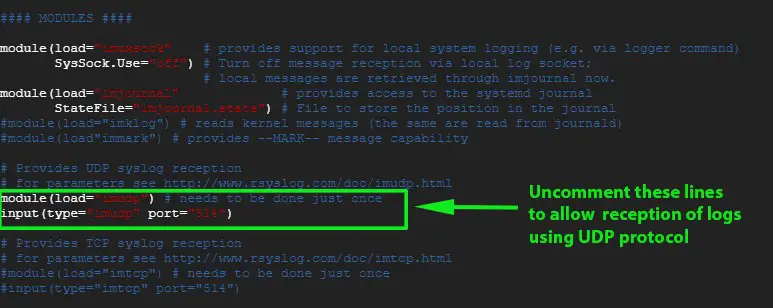
Scroll and uncomment the lines shown below to allow reception of logs via UDP protocol
module(load="imudp") # needs to be done just once
input(type="imudp" port="514")

Similarly, if you prefer to enable TCP rsyslog reception uncomment the lines:
module(load="imtcp") # needs to be done just once
input(type="imtcp" port="514")

Save and exit the configuration file.
To receive the logs from the client system, we need to open Rsyslog default port 514 on the firewall. To achieve this, run
# sudo firewall-cmd --add-port=514/tcp --zone=public --permanent
Next, reload the firewall to save the changes
# sudo firewall-cmd --reload
Sample Output

Next, restart Rsyslog server
$ sudo systemctl restart rsyslog
To enable Rsyslog on boot, run beneath command
$ sudo systemctl enable rsyslog
To confirm that the Rsyslog server is listening on port 514, use the netstat command as follows:
$ sudo netstat -pnltu
Sample Output

Perfect! we have successfully configured our Rsyslog server to receive logs from the client system.
To view log messages in real-time run the command:
$ tail -f /var/log/messages
Let’s now configure the client system.
Configuring the client system on RHEL 8
Like the Rsyslog server, log in and check if the rsyslog daemon is running by issuing the command:
$ sudo systemctl status rsyslog
Sample Output

Next, proceed to open the rsyslog configuration file
$ sudo vim /etc/rsyslog.conf
At the end of the file, append the following line
*.* @10.128.0.47:514           # Use @ for UDP protocol
*.* @@10.128.0.47:514          # Use @@ for TCP protocol
Save and exit the configuration file. Just like the Rsyslog Server, open port 514 which is the default Rsyslog port on the firewall
$ sudo firewall-cmd --add-port=514/tcp --zone=public --permanent
Next, reload the firewall to save the changes
$ sudo firewall-cmd --reload
Next, restart the rsyslog service
$ sudo systemctl restart rsyslog
To enable Rsyslog on boot, run following command
$ sudo systemctl enable rsyslog
Testing the logging operation
Having successfully set up and configured Rsyslog Server and client system, it’s time to verify of your configuration is working as intended.
On the client system issue the command:
# logger "Hello guys! This is our first log"
Now head out to the Rsyslog server and run the command below to check the logs messages in real-time
# tail -f /var/log/messages
The output from the command run on the client system should register on the Rsyslog server’s log messages to imply that the Rsyslog server is now receiving logs from the client system.

And that’s it, guys! We have successfully setup the Rsyslog server to receive log messages from a client system.
Read Also: How to Setup Multi Node Elastic Stack Cluster on RHEL 8 / CentOS 8
from Linuxtechi https://ift.tt/2IZoWVO


0 Comments